DIY BEGINNER PROJECT NO.2 (GLOWING FLOWER)

Glowing Flower | Project Repository
PROJECT REPOSITORY

Glowing Flower

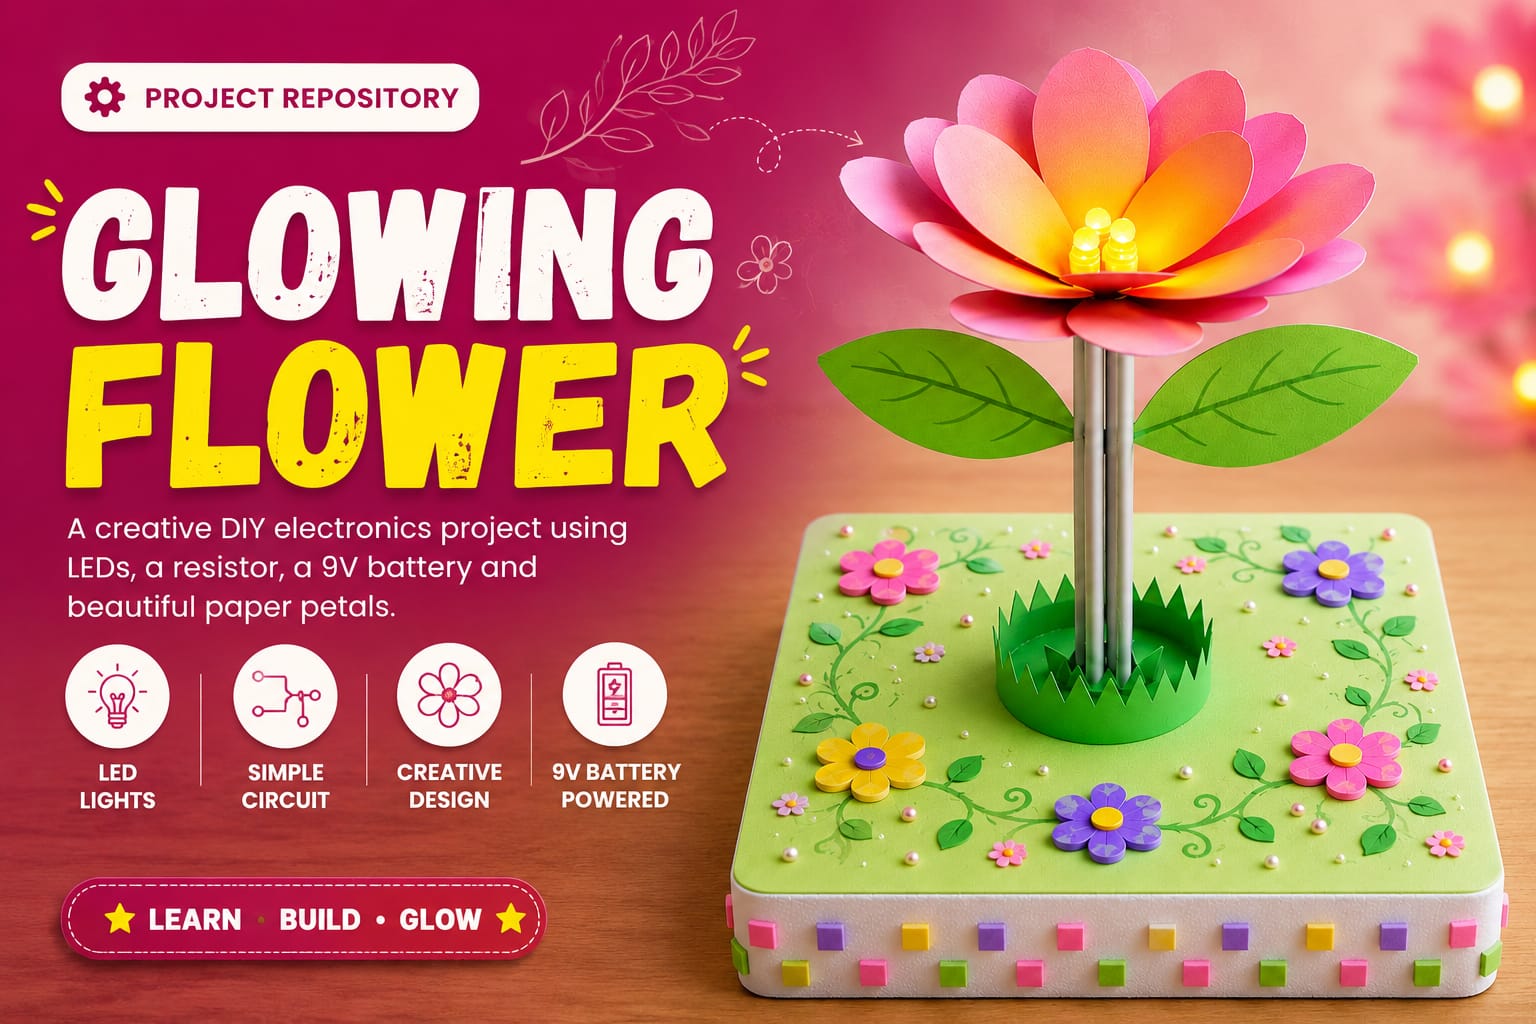
Design and build a glowing flower model using LEDs, a resistor, a 9V battery, and paper petals, in order to demonstrate how a simple series circuit works and how electrical energy is converted into light energy.

Note: Please read the full instructions before making the product.

Category

DIY Electronics Project

Level

Beginner

TABLE OF CONTENTS

AIM

To design and build a glowing flower model using LEDs, a resistor, a 9V battery, and paper petals, in order to demonstrate how a simple series circuit works and how electrical energy is converted into light energy.

OBJECTIVE

This project helps students understand the flow of current in a series circuit and how electronic components like LEDs and resistors work together. When the LEDs are connected in series and powered by a 9V battery, they glow together, lighting up the center of the flower. Along with electronics learning, the project encourages creativity as students design their own colorful flower using paper or cardboard petals.

MATERIALS REQUIRED

Material Quantity
LEDs – Green / Yellow 3
Resistor 1
9V Battery 1
Battery Connector 1
Insulation Tape Few pieces
Glue / Fevicol / Glue Gun As Needed
Colored Paper or Cardboard For flower petals
Scissors or Cutter 1
Base / Stand Cardboard or thermocol

CIRCUIT DESIGN CONCEPT

★ The glowing flower works on the principle of a series electrical circuit.

★ The three LEDs are connected one after another.

★ A resistor is added to limit current and keep the LEDs safe.

★ When the battery is connected, current flows through all LEDs, making them glow together.

This demonstrates:

  • Flow of electric current
  • Series circuit behaviour
  • Electrical → Light energy conversion
  • Basic circuit safety using resistor

★ The model forms a beautiful glowing flower where the LEDs act as the center and the paper forms the petals.

PROCEDURE

Follow the steps below carefully to assemble the Glowing Flower.
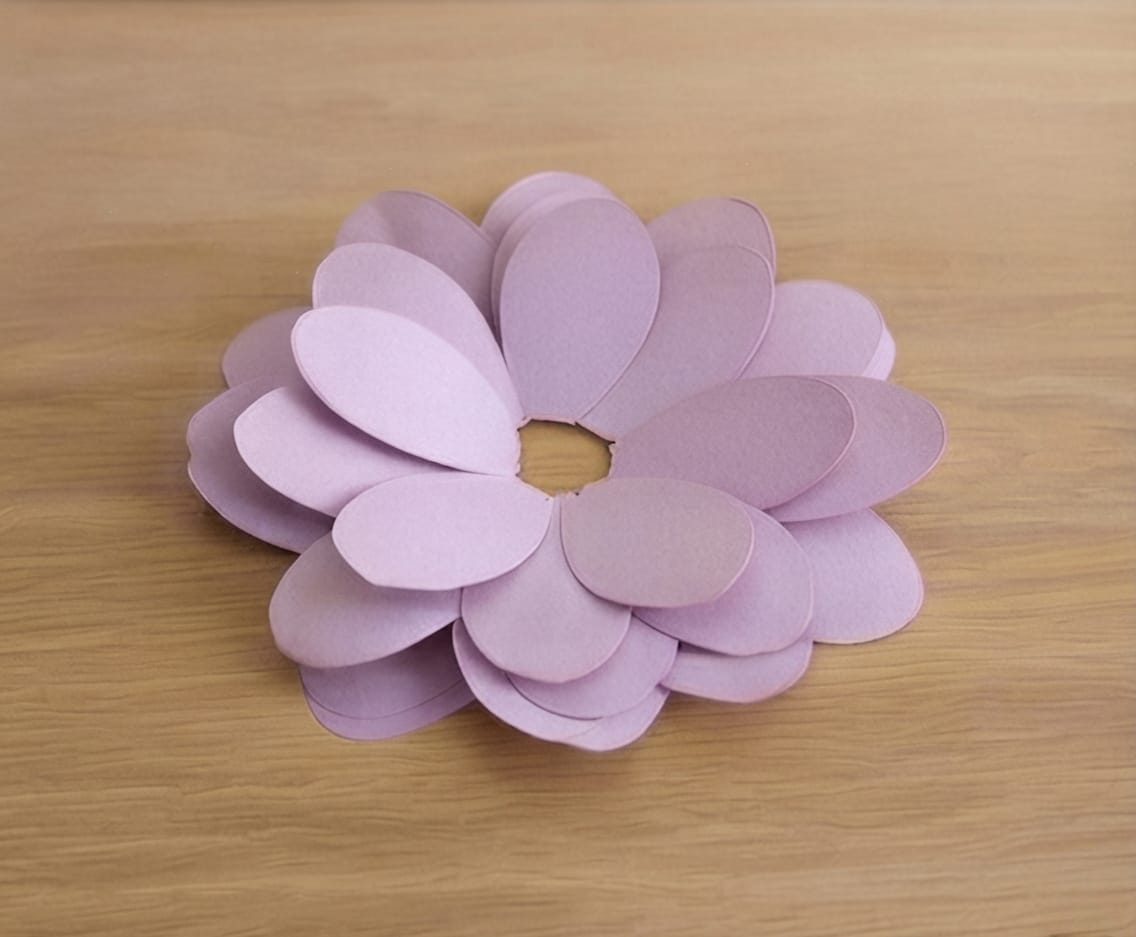
STEP 1

MAKE THE FLOWER PETALS

  • Cut 6–8 petals from colored paper or thin cardboard.
  • Shape each petal neatly using scissors.
  • Arrange all petals in a circular flower pattern.
  • Leave a small space at the center to place the LEDs later.

💡 ALTERNATIVES & TIPS

  • Use glitter paper, foam sheets, or origami paper for a decorative look.
  • Ensure petals are of similar size for a neat finish.
  • Layer two colors to make a dual-shade flower.

Step 1. Make the Flower Petals

STEP 2

PREPARE THE LED SERIES CIRCUIT

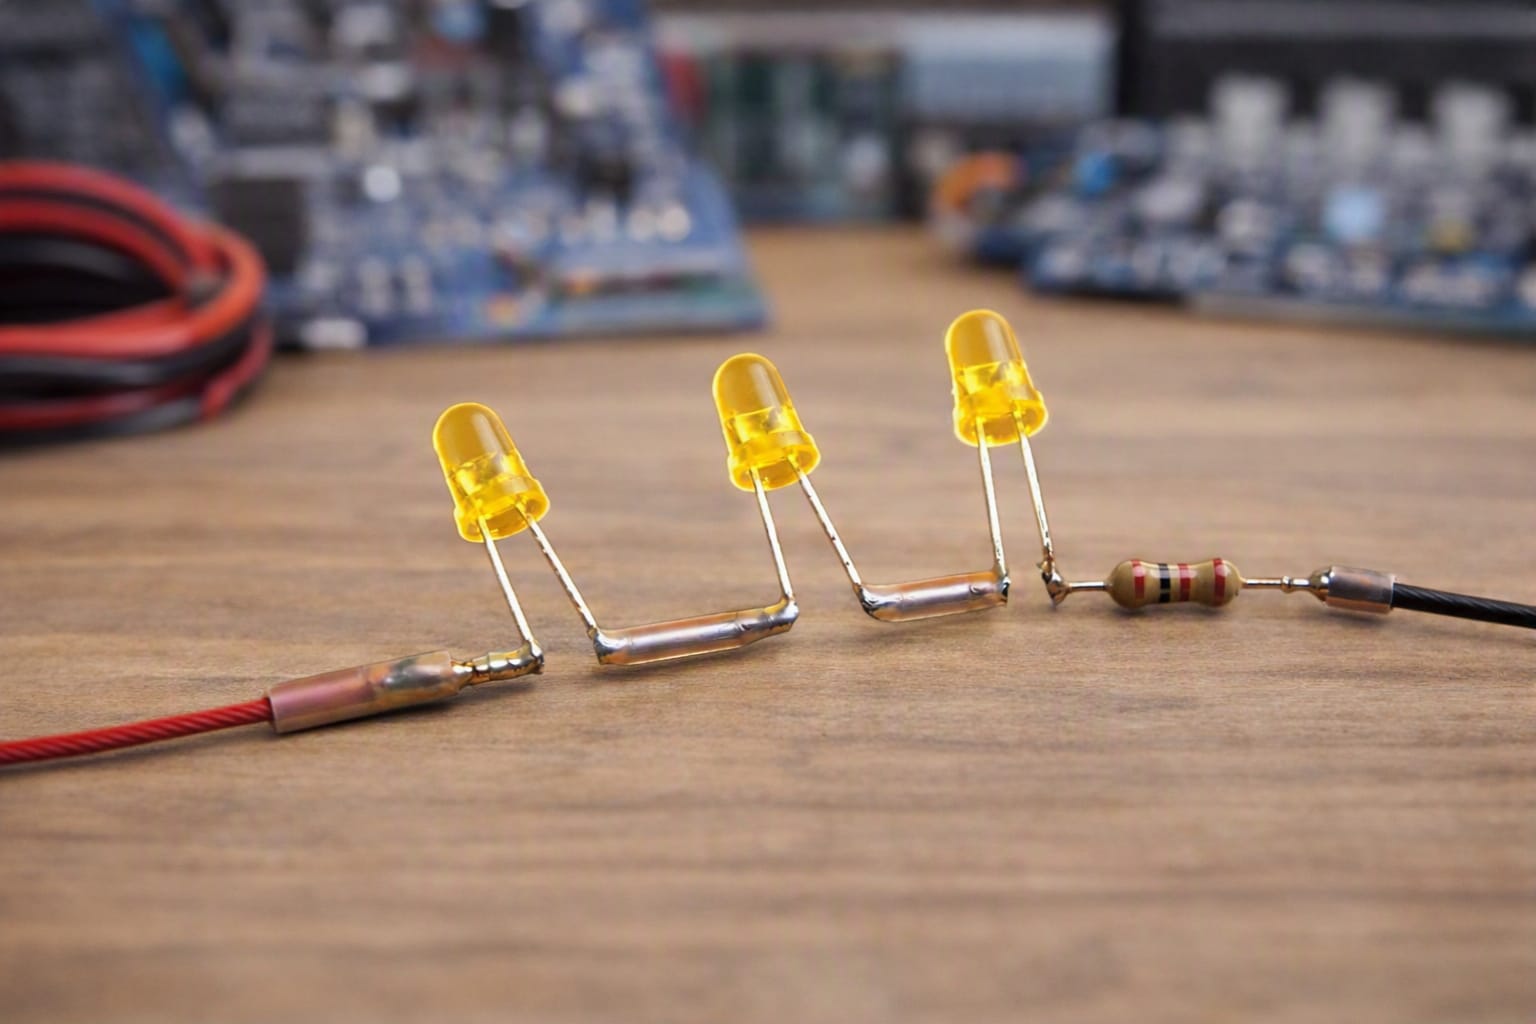
  • Connect the positive leg (+) of the first LED to the negative leg (–) of the second LED.
  • Repeat the same for all three LEDs in series.
  • At the end of the LED chain, connect the resistor inline with one of the LED legs.
  • Twist all joints tightly and cover them with insulation tape.

💡 ALTERNATIVES & TIPS

  • If LED legs are short, extend them using spare wire pieces.
  • Do not bend LED legs too close to the bulb — they may break.
  • Ensure polarity (positive/negative) is correct to avoid the circuit not glowing.

Step 2. Prepare the LED Series Circuit
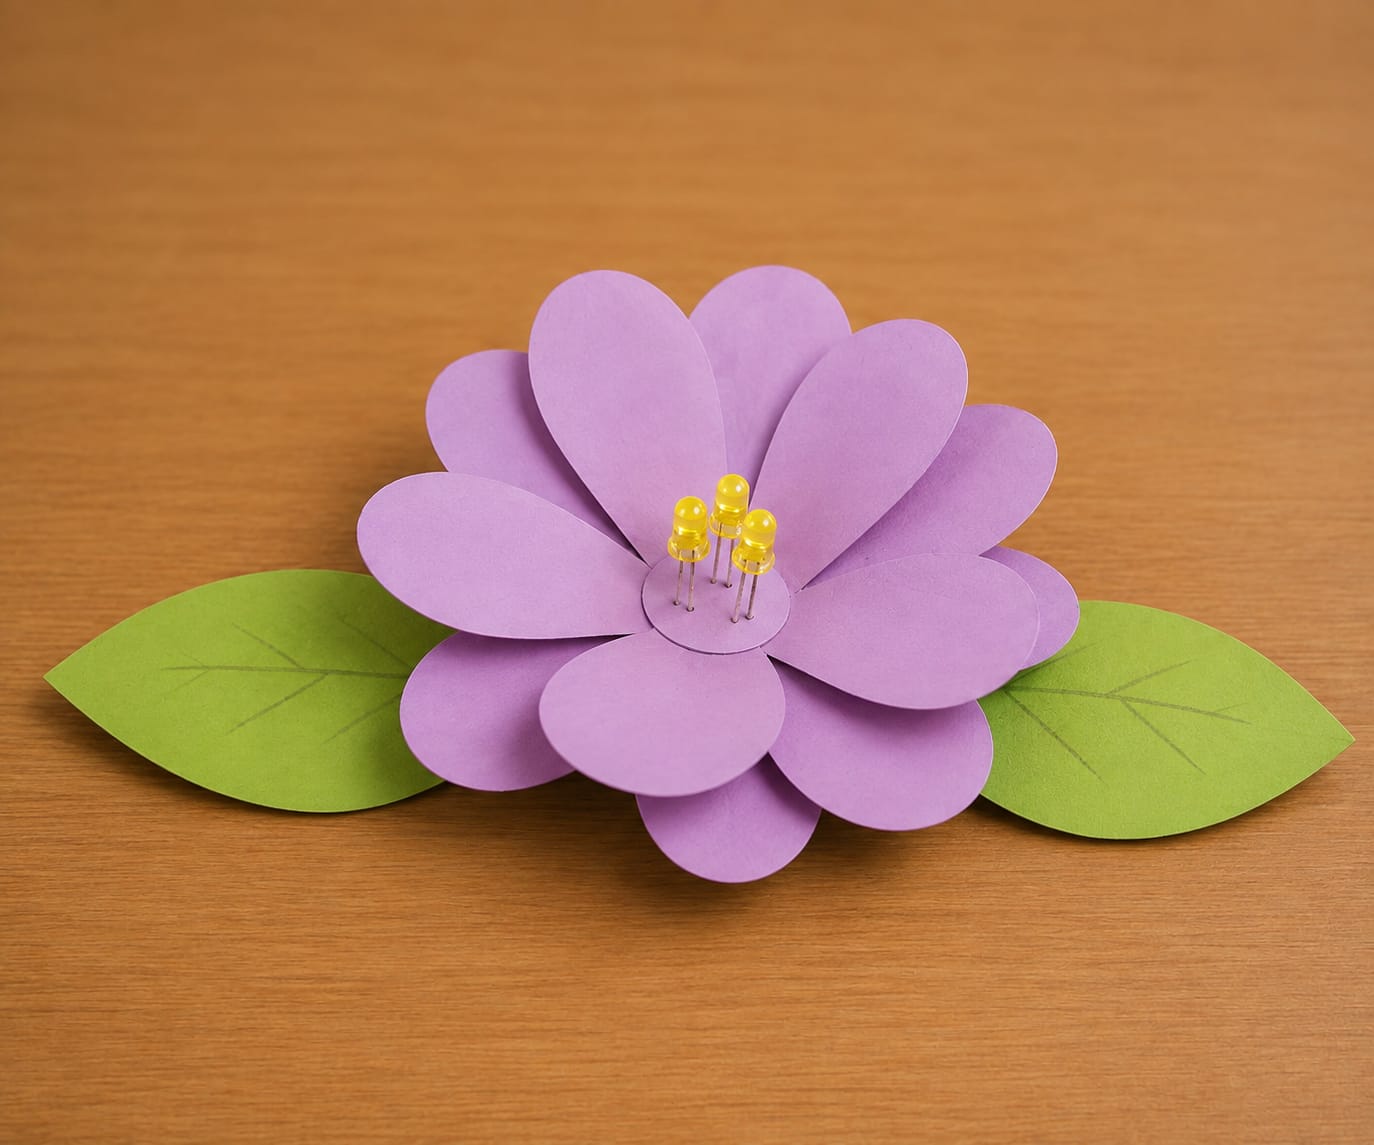
STEP 3

FIX LEDs AT THE CENTER OF THE FLOWER

  • Place the 3 connected LEDs at the center area left earlier.
  • Adjust them so that all LED bulbs point upward and remain visible.
  • Secure the LEDs using glue or a glue gun (recommended for strong hold).

💡 ALTERNATIVES & TIPS

  • Use a small foam piece under the LEDs to elevate them.
  • Make sure glue does not touch LED legs or joints.

Step 3. Fix LEDs at the Center of the Flower
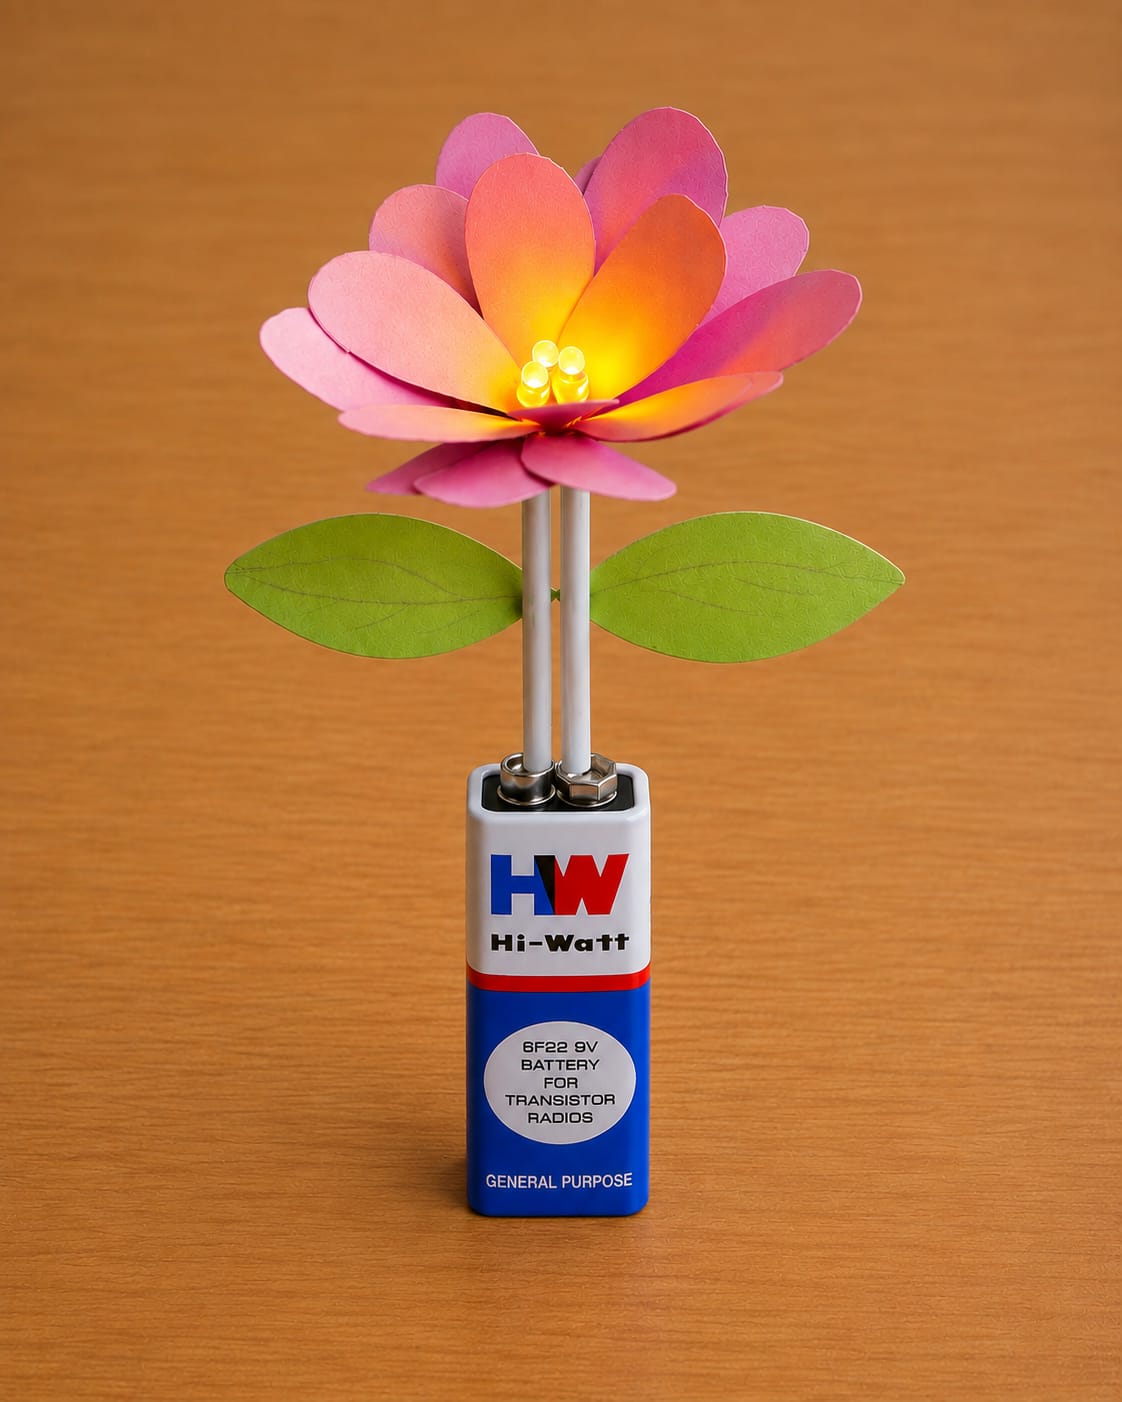
STEP 4

CONNECT THE BATTERY

  • Connect the free positive terminal of the LED chain to the red wire of the battery connector.
  • Connect the free resistor leg (negative side) to the black wire of the connector.
  • Finally, attach the connector to the 9V battery.

💡 ALTERNATIVES & TIPS

  • Test the circuit once before fixing it to the base.
  • If LEDs do not glow, check polarity or loose connections.

Step 4. Connect the Battery

STEP 5

FIX THE FLOWER TO THE BASE

  • Take a piece of cardboard or thermocol as the base.
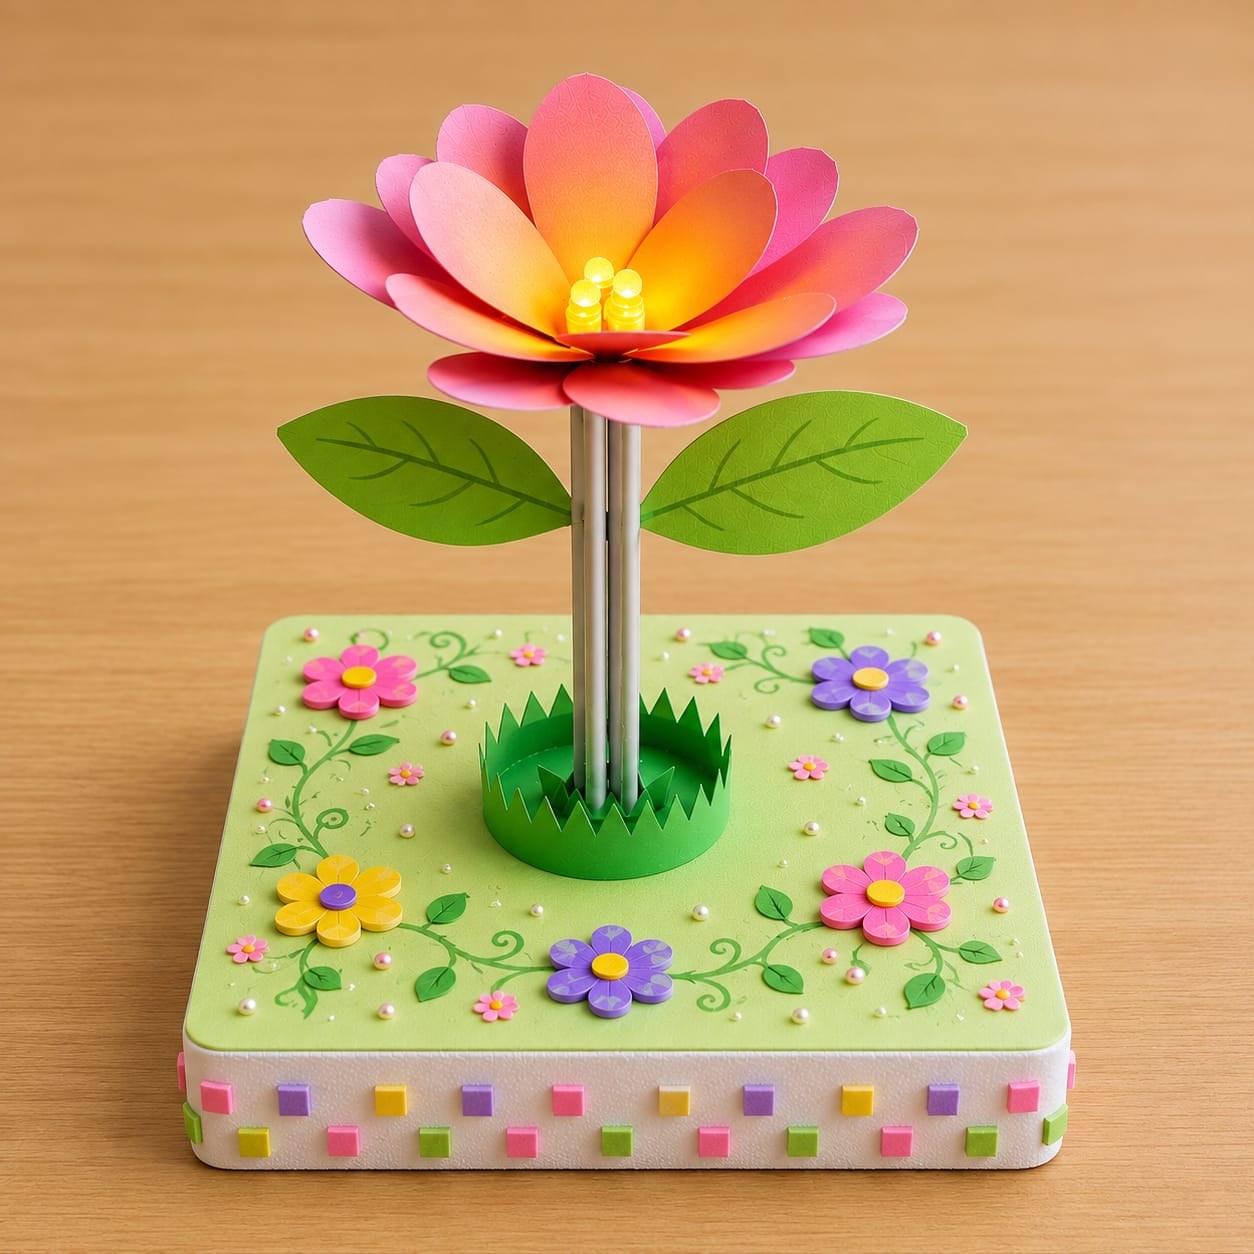
  • Stick the completed flower firmly in the center.
  • Secure the 9V battery at the backside or bottom using tape or glue.

💡 ALTERNATIVES & TIPS

  • Decorate the base with grass designs, stickers, or glitter.
  • Keep the battery accessible for easy removal or replacement.

Step 5. Fix the Flower to the Base

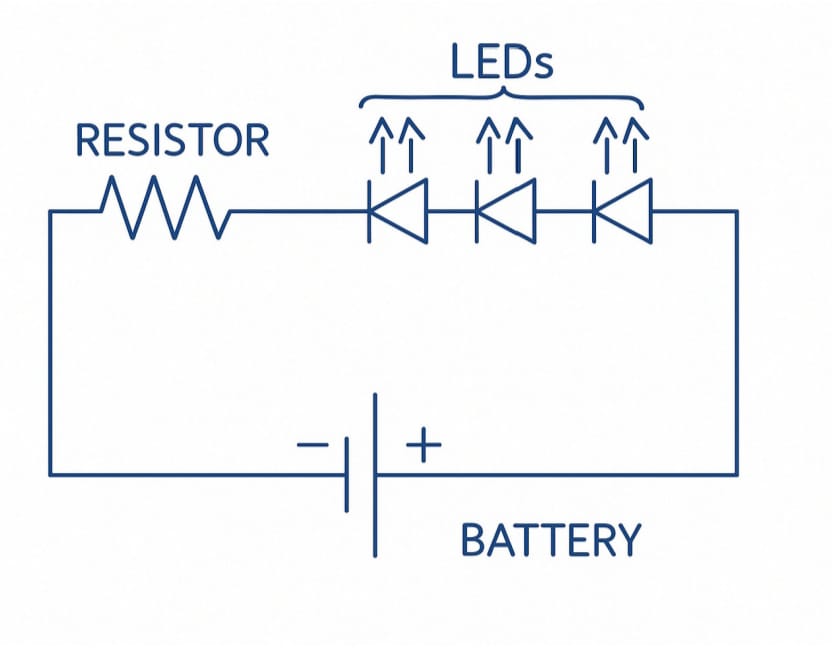
CIRCUIT DIAGRAM

Circuit Diagram

Figure 1. Circuit Diagram of the Glowing Flower

WORKING PRINCIPLE

When the 9V battery is connected, electric current flows through the LEDs one after another because they are connected in series. The resistor limits the current to prevent damage. All LEDs glow simultaneously, creating a bright glowing flower. This shows how electrical energy is converted into light energy. This principle is the same used in LED decorative lights, indicator lights, and simple electronic toys.

FINAL RESULT

A beautifully crafted glowing flower is successfully created using three LEDs placed at the center of paper petals. When powered by the 9V battery, all LEDs glow together, giving the appearance of a vibrant, radiant flower.

SAMPLE OUTPUT

(i) When battery is not connected → All 3 LEDs doesn’t glow
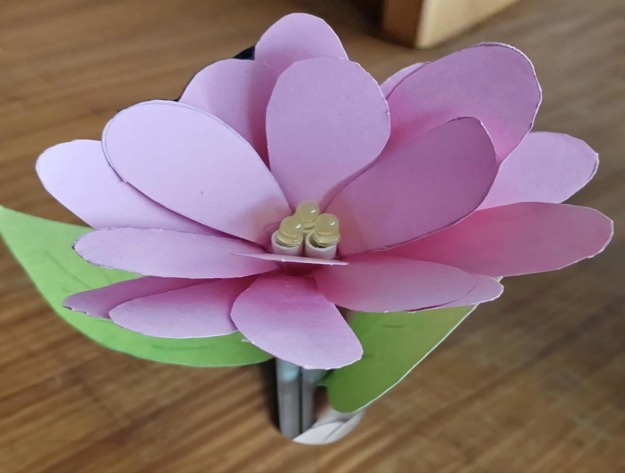
Sample Output 1

Sample Output – Battery Not Connected


(ii) When battery is connected properly → All 3 LEDs glow
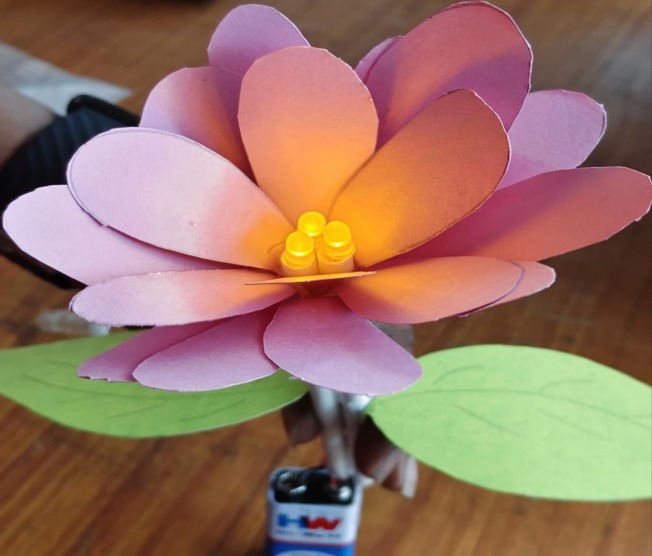
Sample Output 2

Sample Output – Battery Connected

ADDITIONAL NOTES

  • Test the complete circuit before fixing the flower permanently to the base.
  • Make sure all LED connections are secure and properly insulated.
  • Keep the battery accessible so it can be easily removed or replaced.
  • Arrange the petals neatly around the LEDs for a clean and attractive final appearance.

SAFETY

  • Do not use the 9V battery for too long continuously; LEDs may heat up.
  • Handle scissors and cutters carefully.
  • Keep glue gun usage supervised for younger children.

CREATIVITY EXTENSION

  • Add more petals to make a fuller flower.
  • Create leaves, stems, or a garden background.
  • Add a small switch to turn the flower ON/OFF easily.
  • Use different LED colors for a multicolor glowing flower.
  • Make a bouquet by making 2–3 glowing flowers and attaching them to sticks.

Leave A Comment

Your email address will not be published. Required fields are marked *