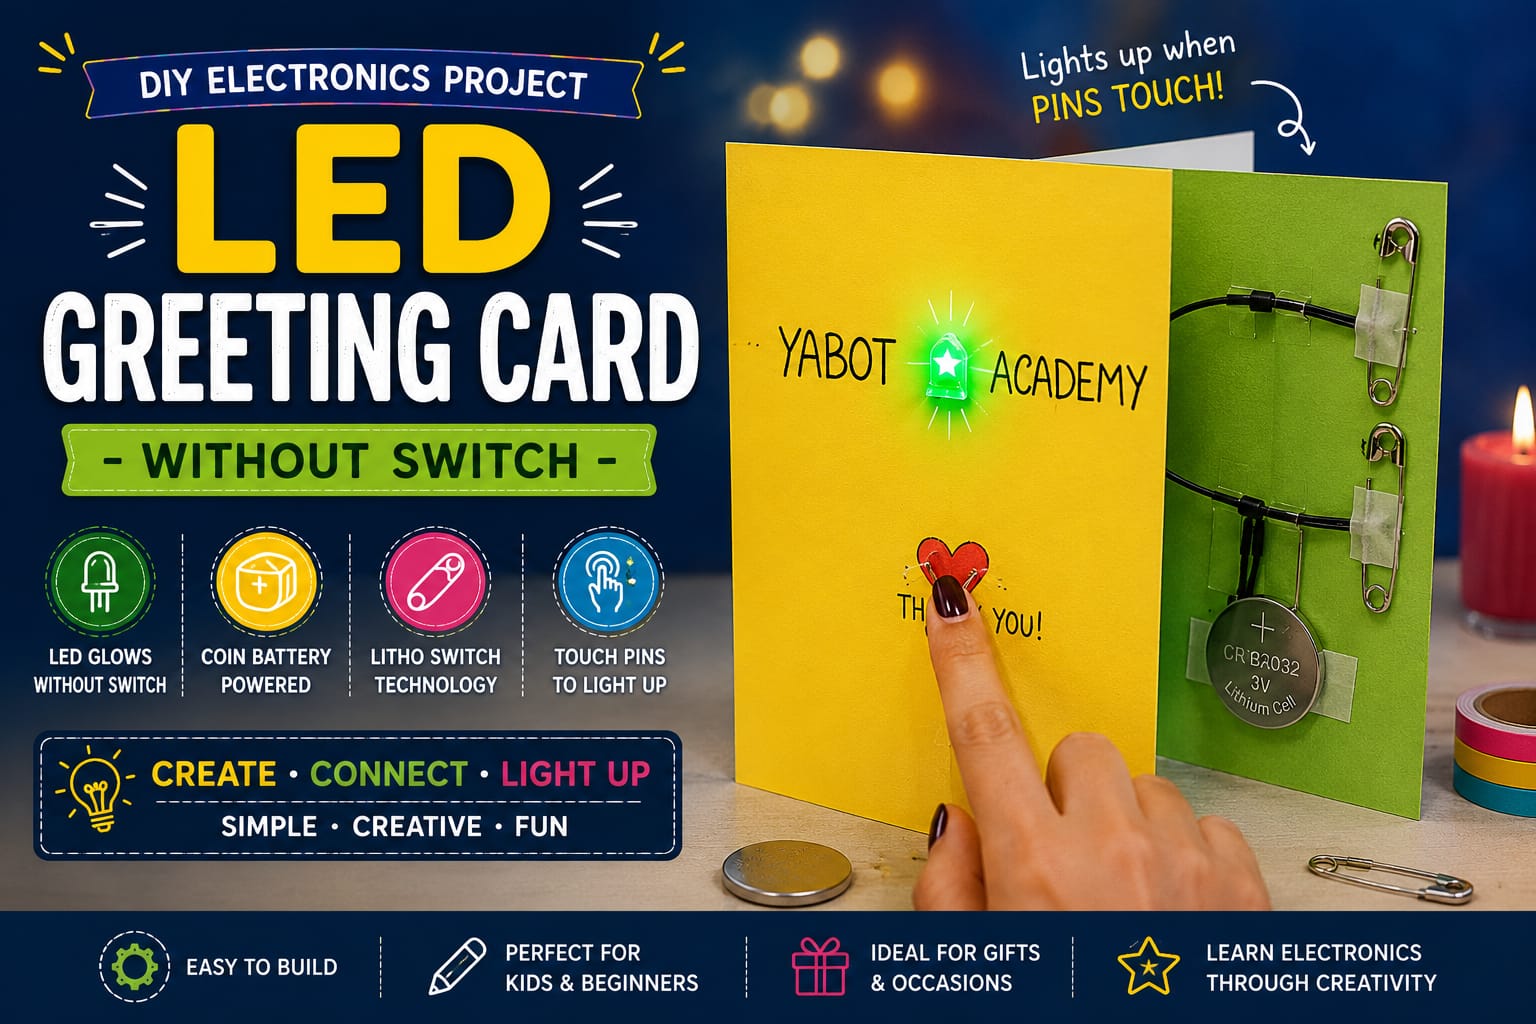
Design and build a creative LED Greeting Card that lights up without using a traditional switch by using a coin battery, jumper wires and safety pins.
Note: Please read the full instructions before making the product.
DIY Electronics Project
Beginner
To design and build a simple LED-based greeting card that lights up without using a traditional switch, using a coin battery, jumper wires, and safety pins as a conductive touch-based connection system.
This project demonstrates how an LED can be powered and controlled using direct physical connections instead of a conventional switch. It helps learners understand basic circuit connections, polarity, and the concept of conductivity in metals through a creative greeting card design.
| Material | Quantity |
|---|---|
| A4 Size Thick Paper (Any Colour) | 1 |
| LED (Any Colour) | 1 |
| Coin Battery (3V) | 1 |
| Female-to-Female Jumper Wires (Both Ends Cut) | 2 |
| Safety Pins | 2 |
| Double-Sided Tape | As Needed |
| Transparent Tape | As Needed |
| Colours / Markers | As Needed |
| Scissors | 1 |
| Glue (Optional) | Optional |
The LED Greeting Card works without a traditional switch by using two metallic safety pins as conductors. When the safety pins touch each other, they complete the electrical circuit, allowing current to flow from the coin battery to the LED, causing it to glow.
When the safety pins are separated, the electrical circuit remains open, preventing the flow of current and turning the LED OFF. This simple mechanism demonstrates how conductive materials can act as switching elements in creative electronic projects.
Follow the steps below carefully to assemble the LED Greeting Card.

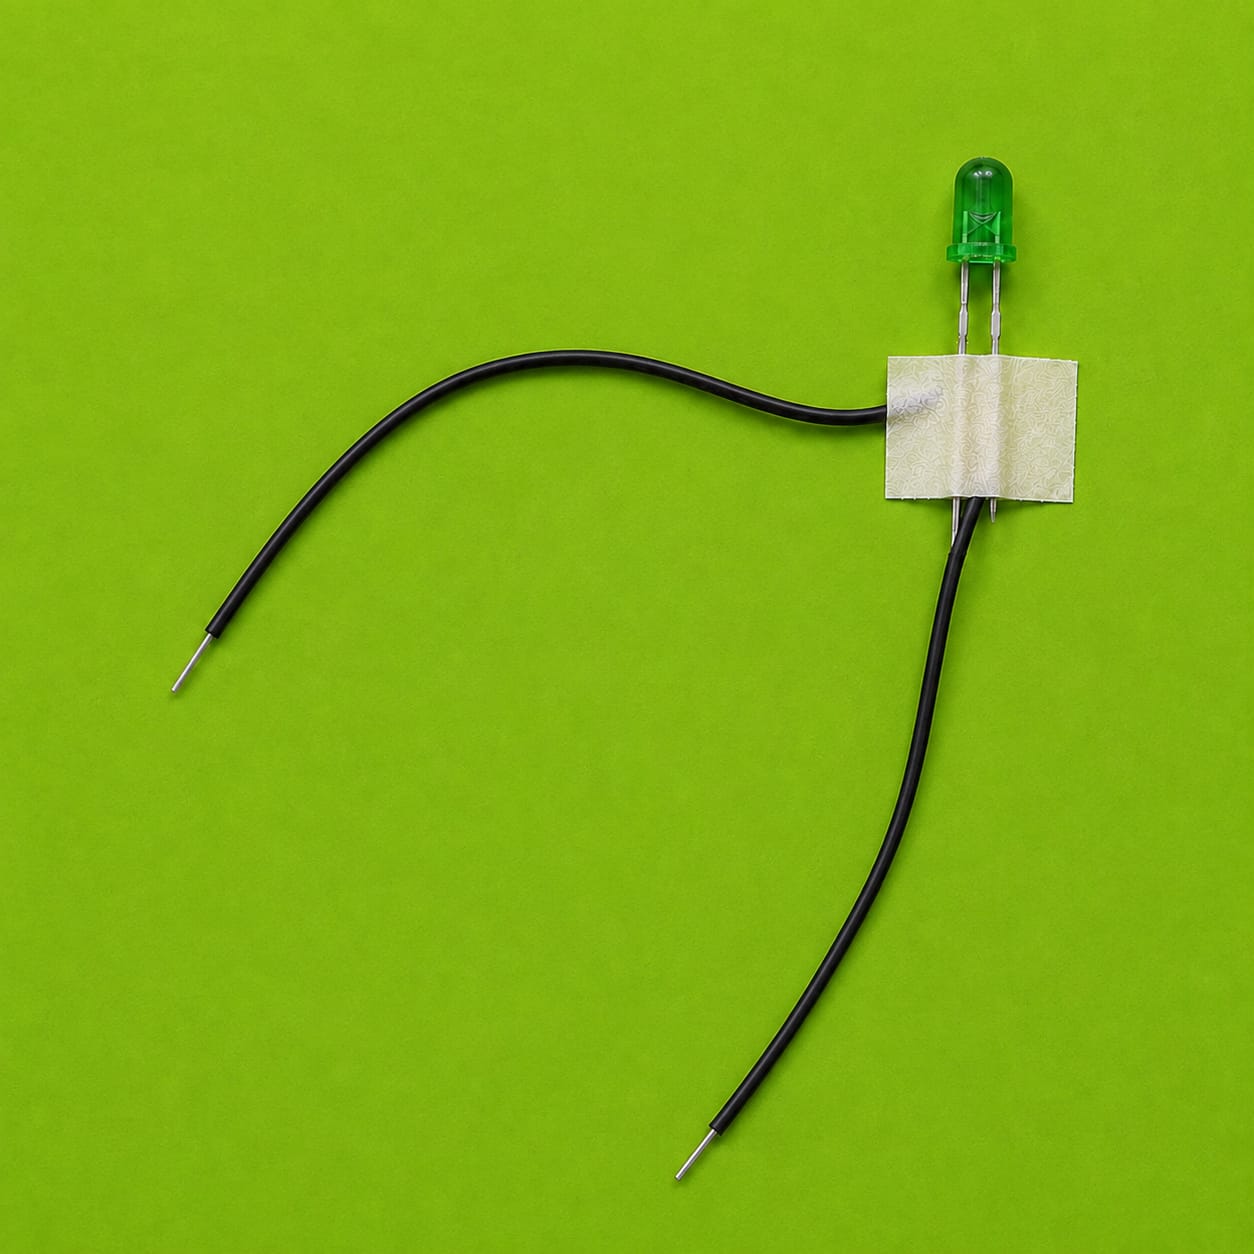
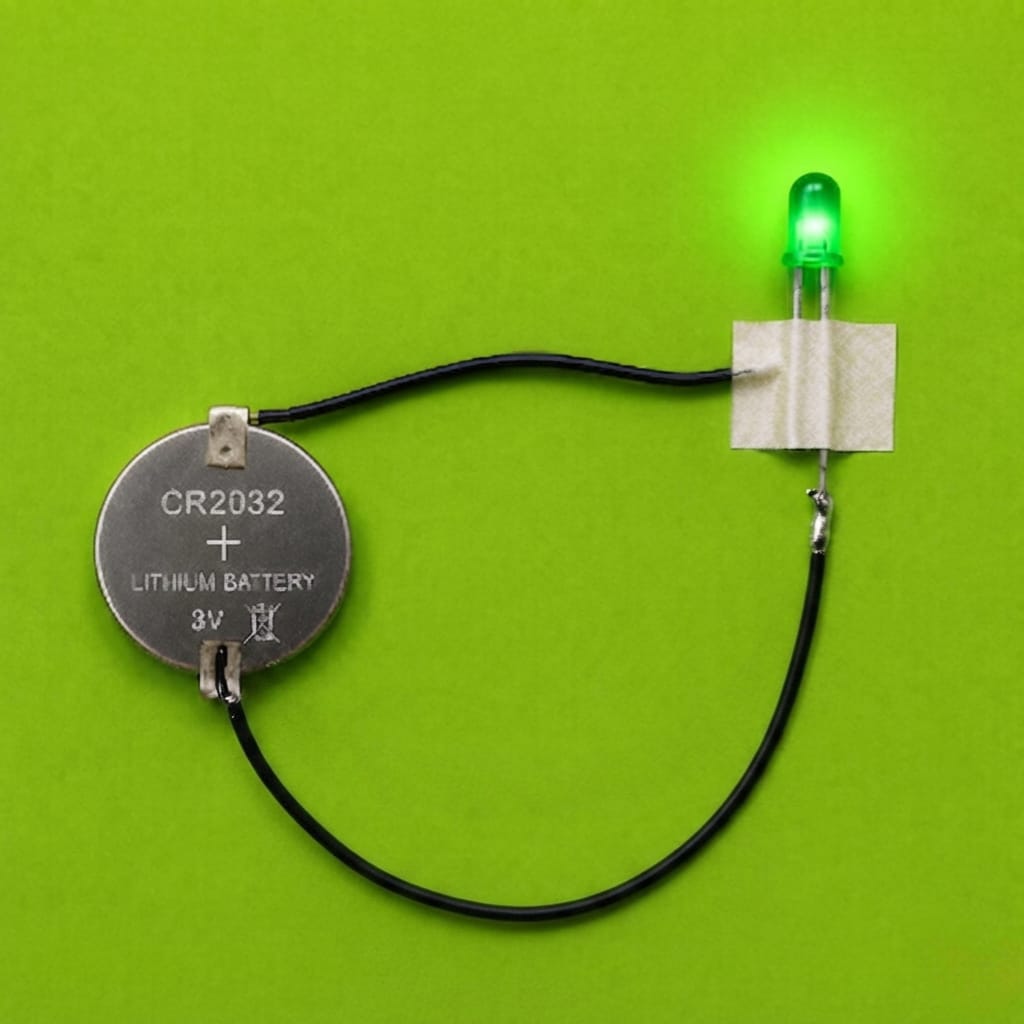
Before assembling the switch mechanism, verify that the basic electrical circuit functions correctly.
This step creates the touch-operated switch using two safety pins.
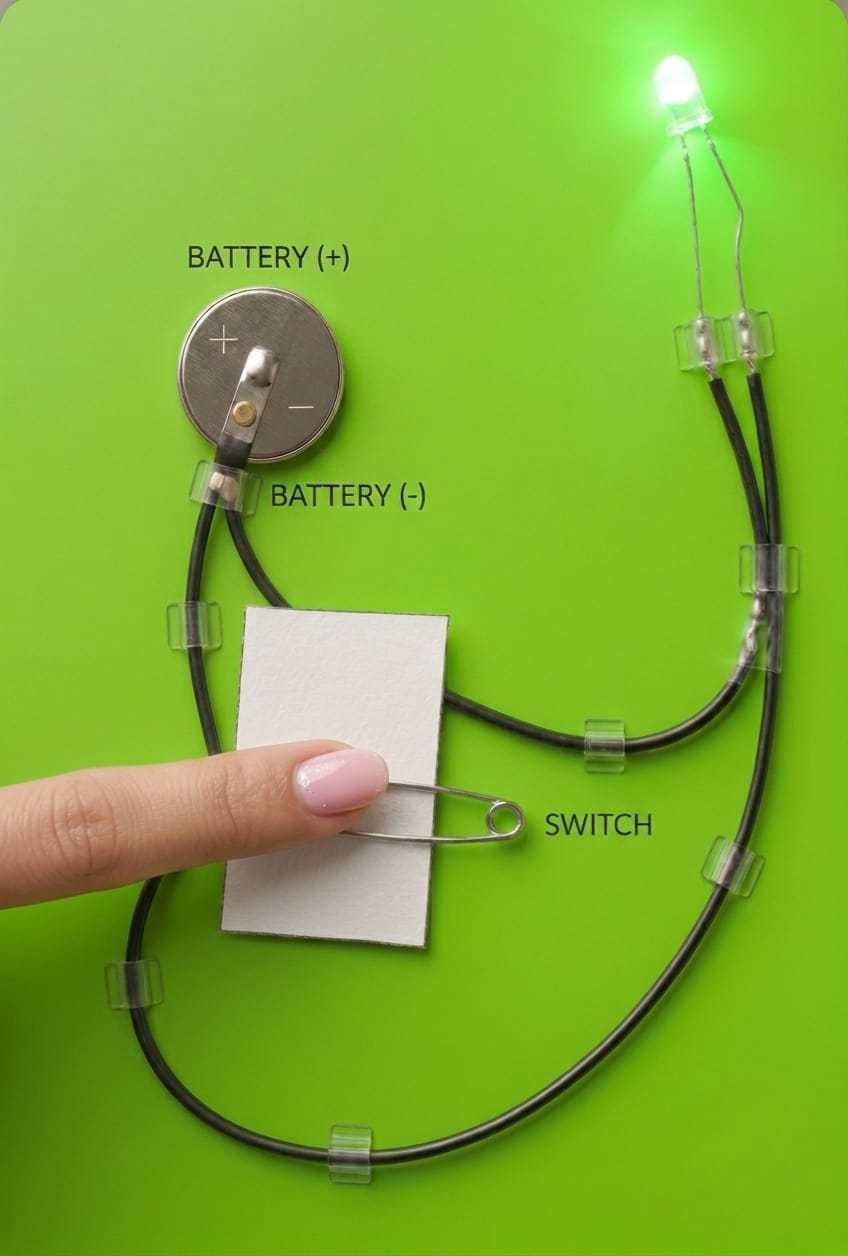
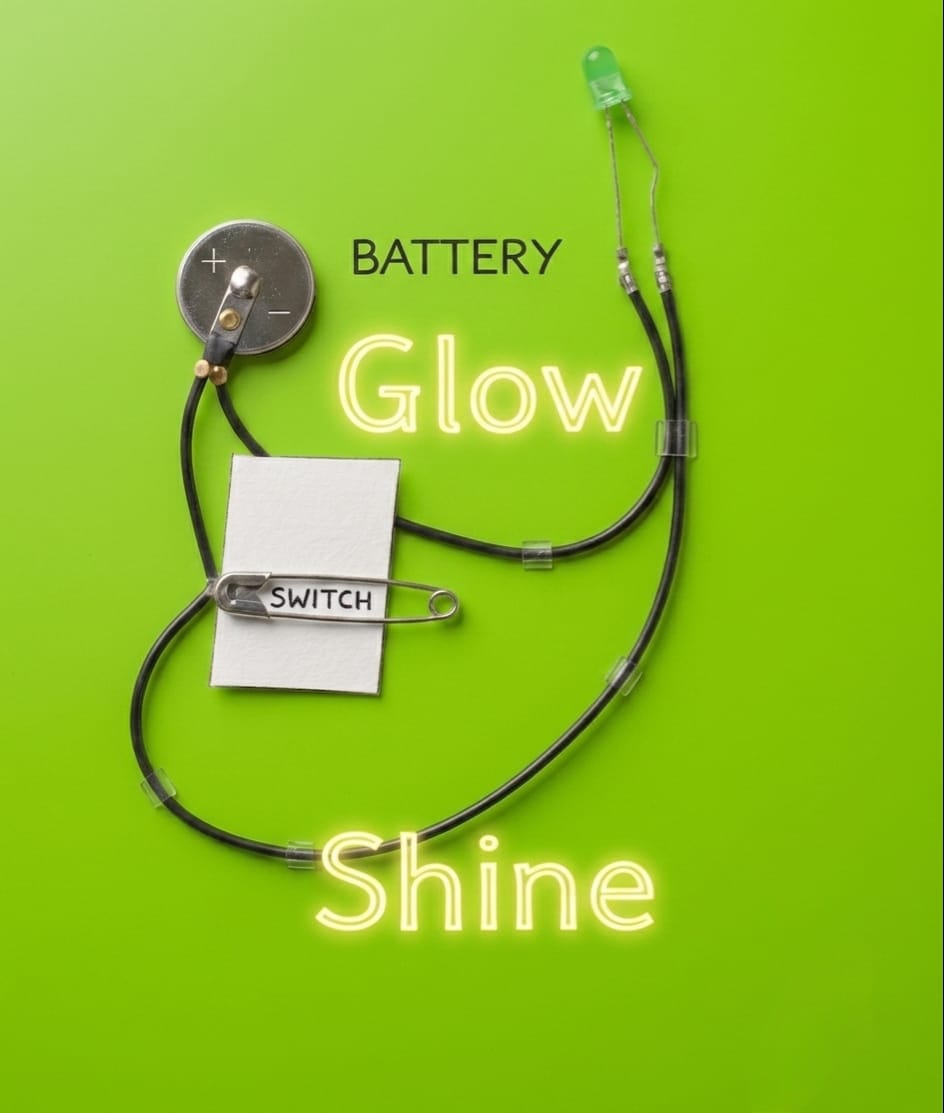
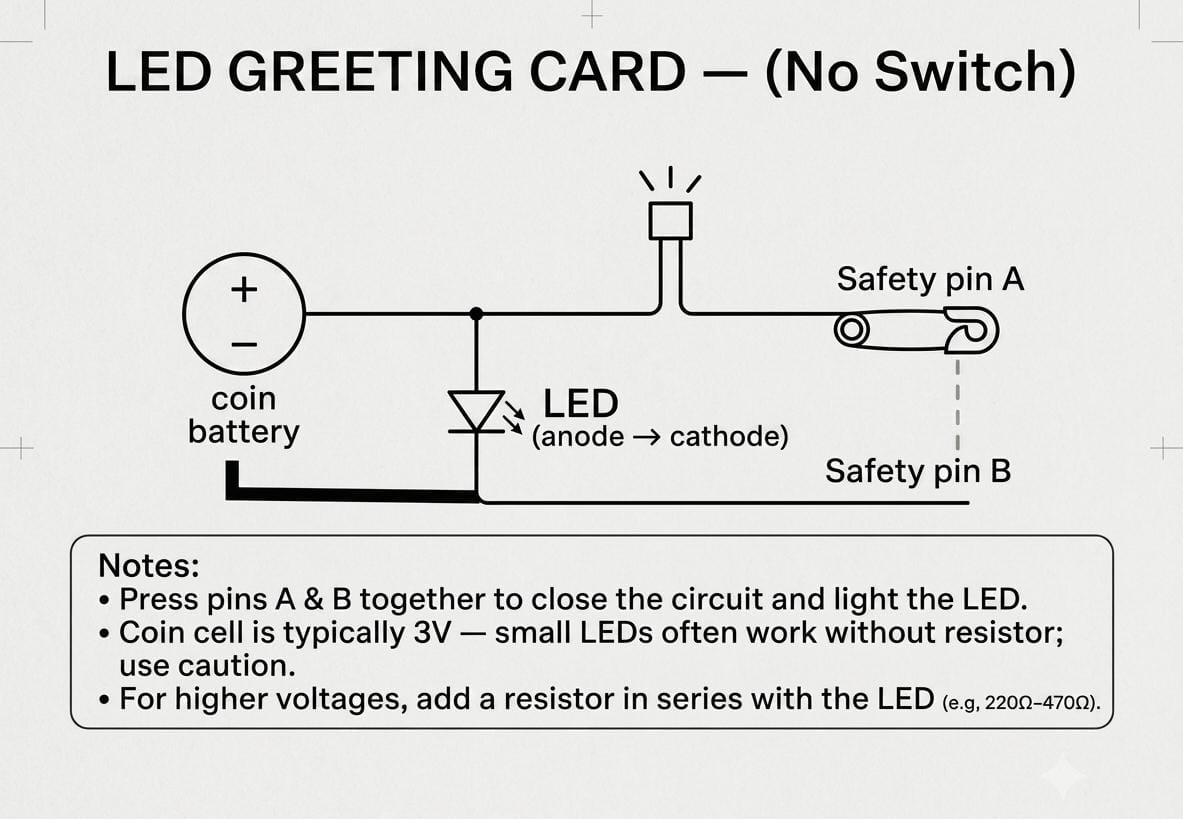
Figure 1. Circuit Diagram of the LED Greeting Card Without Switch
When the two safety pins come into contact with each other, they act as conductors and complete the electrical circuit between the battery and the LED. Current flows from the battery’s positive terminal to the LED anode, passes through the LED cathode, travels across the touching safety pins and finally returns to the battery’s negative terminal. As soon as this circuit is completed, the LED glows brightly. When the safety pins are separated, the circuit becomes open, interrupting the current flow and turning the LED OFF.
This project demonstrates how conductive materials can be creatively used as switch mechanisms without using a conventional push button or switch.
Watch the complete demonstration of this project using the link below.
A creative and functional LED Greeting Card Without Switch was successfully built. The LED lights up beautifully whenever the two safety pins touch each other, demonstrating how conductive materials can replace traditional switches in simple electronic circuits.
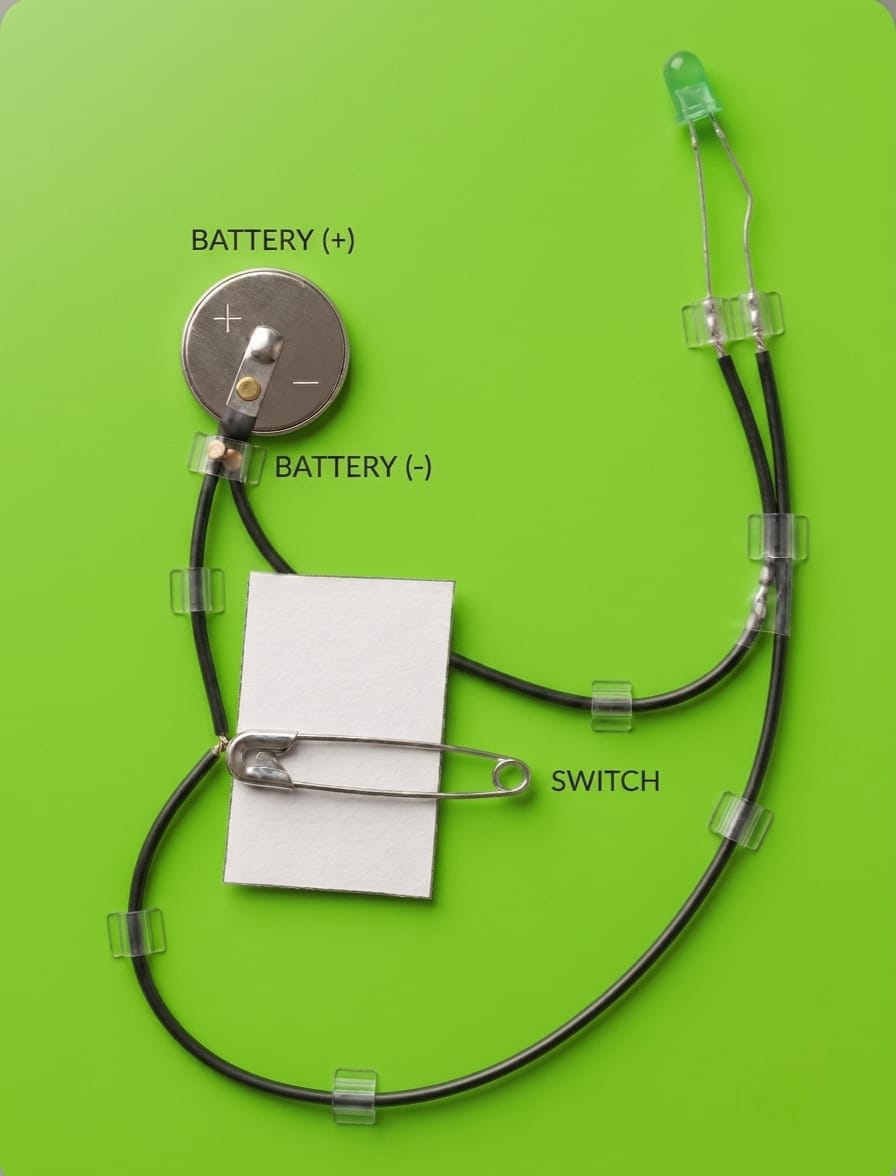
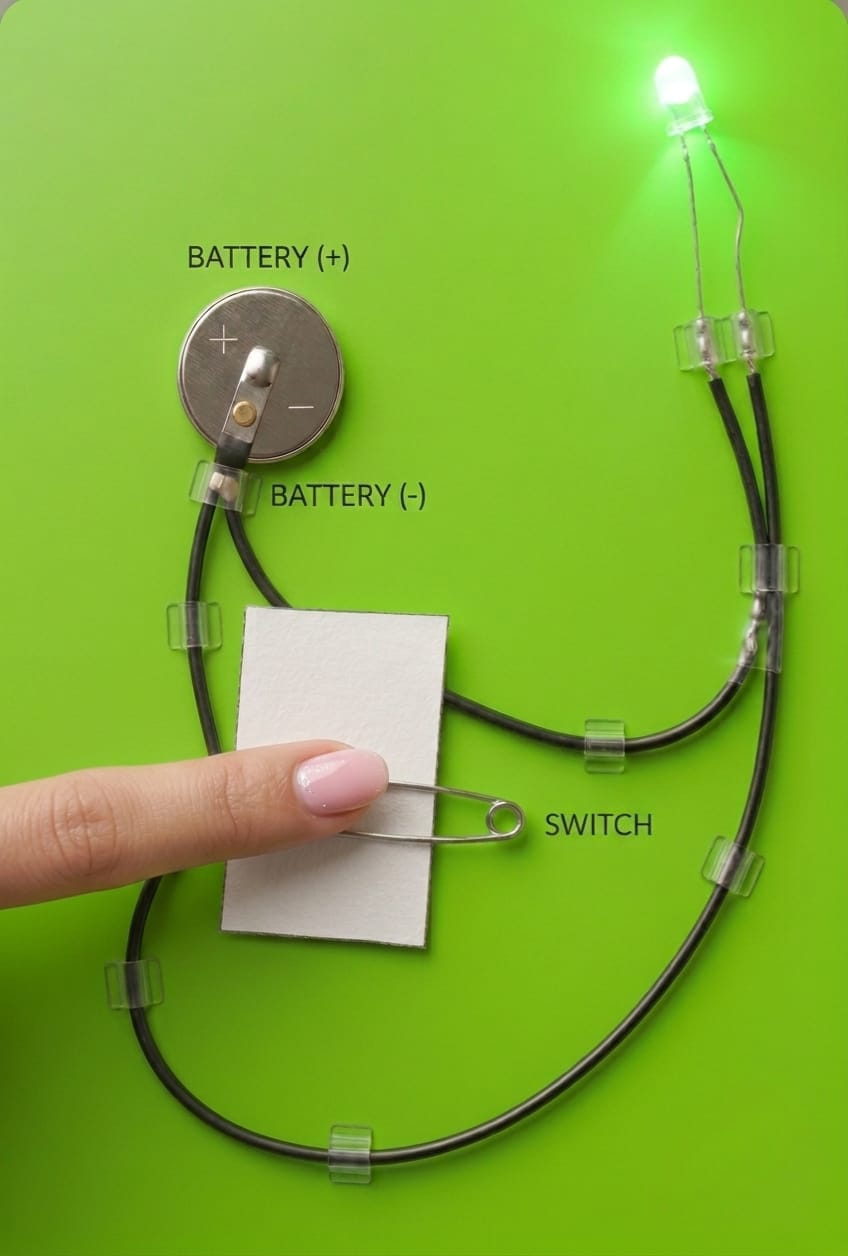
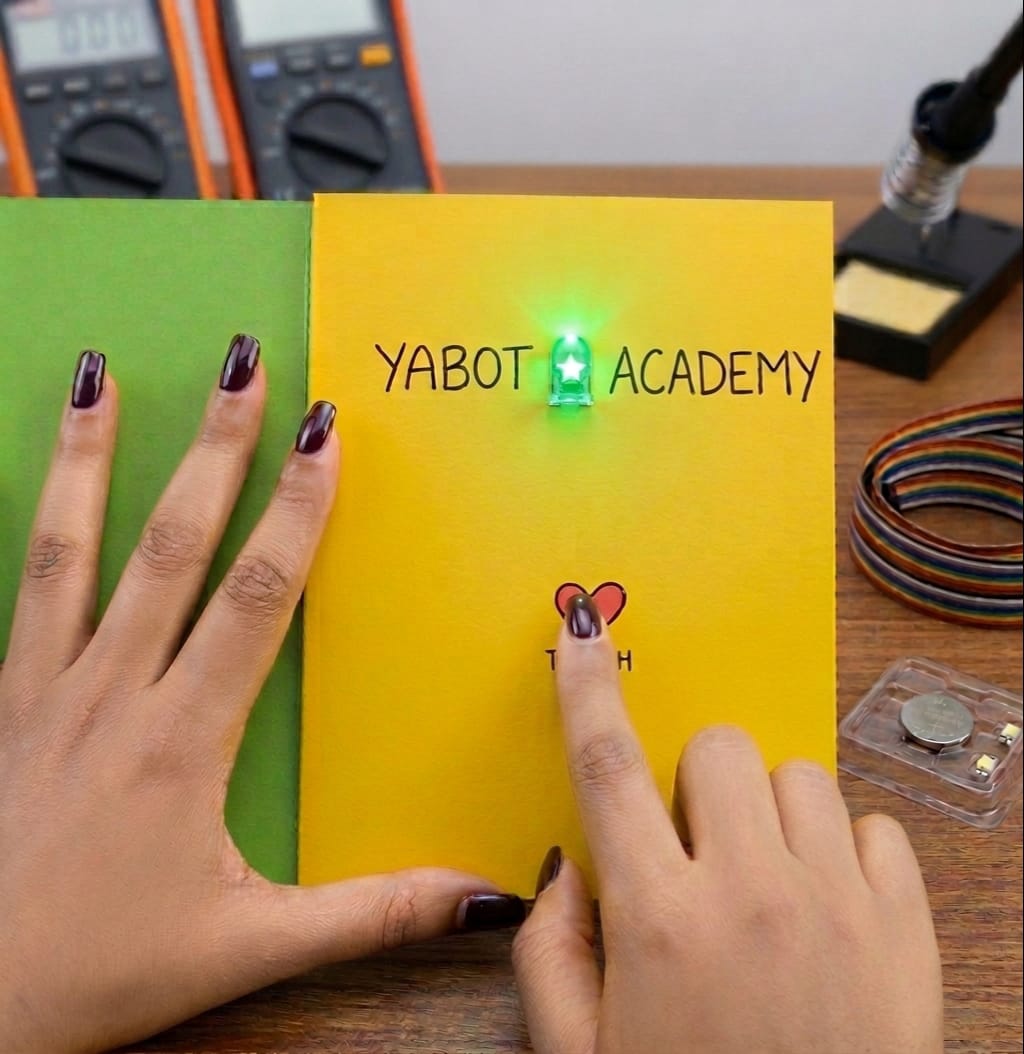
Completed LED Greeting Card Without Switch