



TABLE OF CONTENTS
AIM:
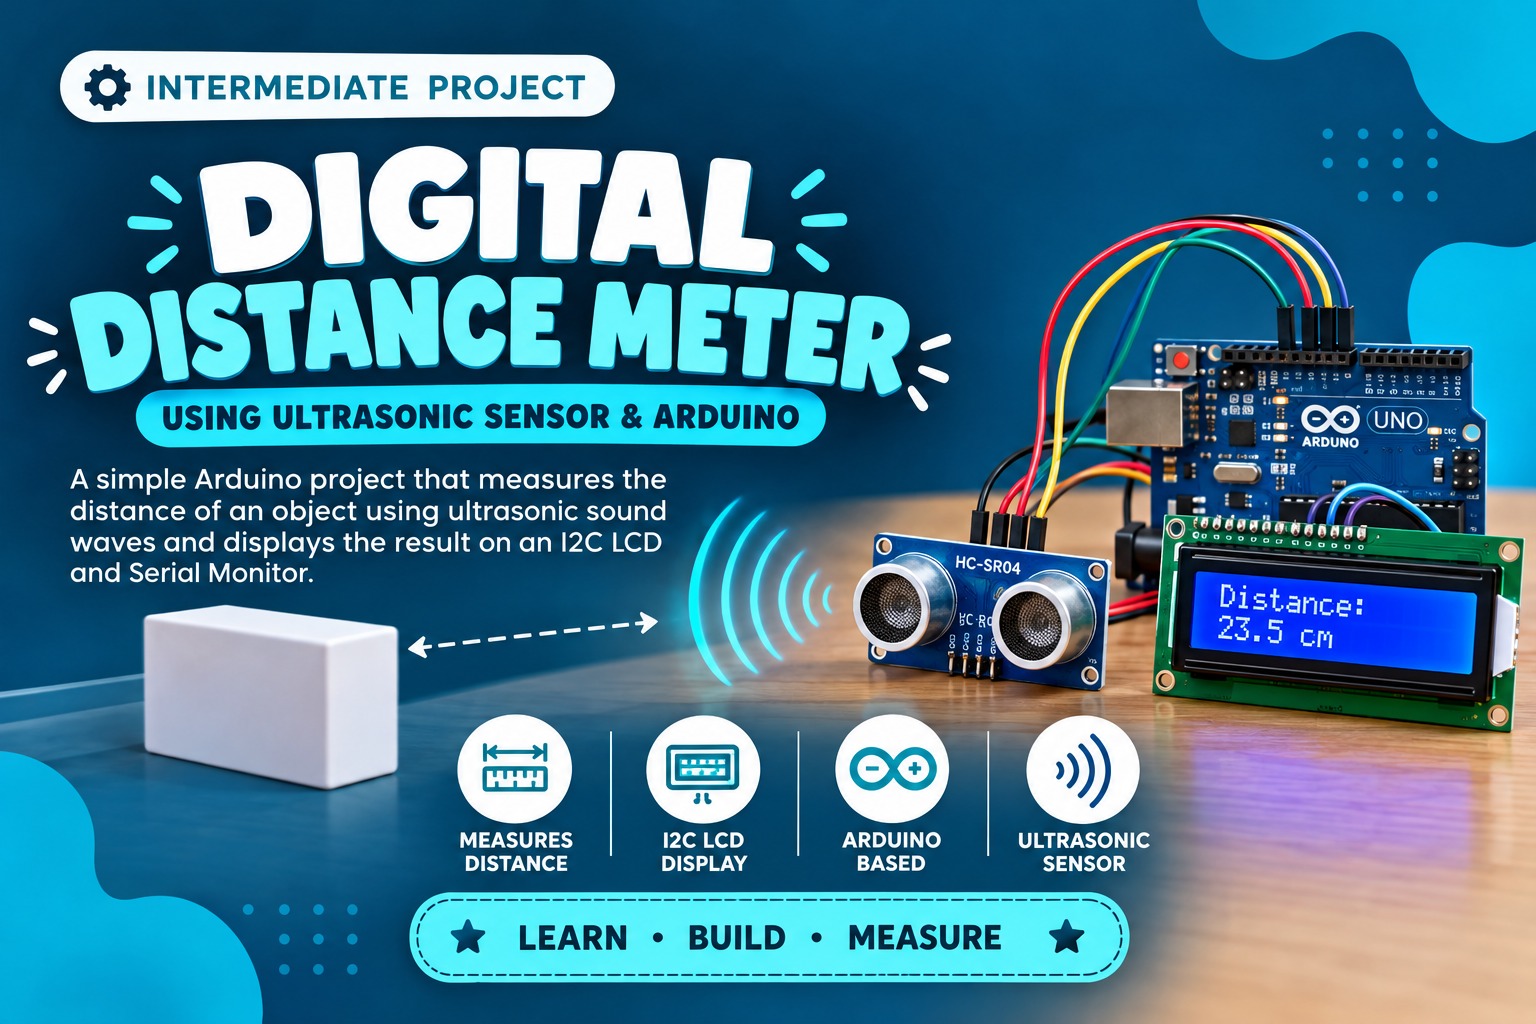
To design and build a digital distance meter using an ultrasonic sensor and Arduino that measures the distance of an object and displays it on an I2C LCD and Serial Monitor.
OBJECTIVE:
This project helps students understand how ultrasonic sensors work, how sound waves are used to measure distance, and how Arduino processes sensor data.
● The measured distance is shown on the I2C LCD and also on the Serial Monitor.
Kids will learn:
MATERIALS PROVIDED:
CIRCUIT DESIGN CONCEPT:
The ultrasonic sensor sends a short ultrasonic pulse from the TRIG pin. The pulse travels through the air, hits an object, and returns to the sensor through the ECHO pin.
Sound Pulse:
Arduino sends a trigger signal and the ultrasonic sensor sends ultrasonic sound waves.
Distance Calculation:
Arduino measures the return time of the ultrasonic wave and converts it into distance in centimeters.
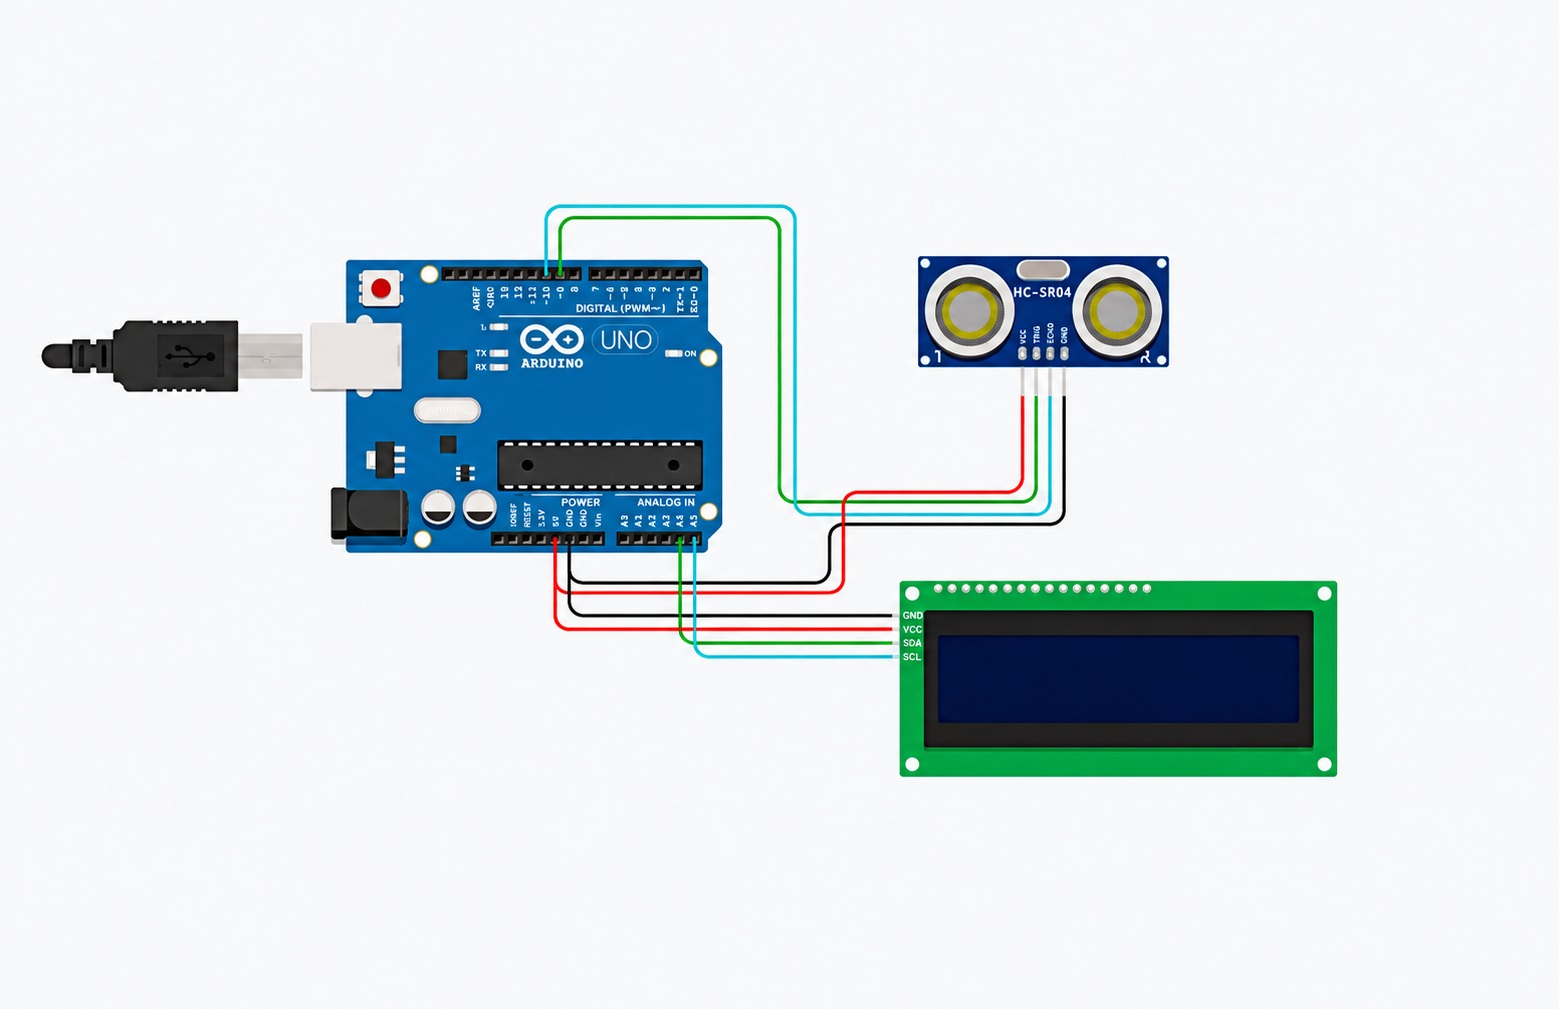
CIRCUIT CONNECTIONS:
HC-SR04 Ultrasonic Sensor
| HC-SR04 Pin | Arduino UNO |
|---|---|
| VCC | 5V |
| GND | GND |
| TRIG | D9 |
| ECHO | D10 |
16×2 I2C LCD
| I2C LCD Pin | Arduino UNO |
|---|---|
| VCC | 5V |
| GND | GND |
| SDA | A4 |
| SCL | A5 |
PROCEDURE:
STEP 1: SET UP THE BASE
● Place the Arduino on a flat surface or fix it inside a cardboard or plastic box.
➔ Use double-sided tape to avoid loose connections.
➔ A wooden base or thermocol sheet can also be used.
STEP 2: CONNECT THE ULTRASONIC SENSOR
● Fix the ultrasonic sensor on the front side so the sensor eyes face outward.
● VCC → 5V
● GND → GND
● TRIG → D9
● ECHO → D10
➔ Keep the sensor straight for accurate readings.
STEP 3: CONNECT THE I2C LCD
● VCC → 5V
● GND → GND
● SDA → A4
● SCL → A5
➔ Adjust the LCD contrast if the text is not visible.
STEP 4: UPLOAD THE CODE
● Connect Arduino to the computer and upload the distance measurement code.
➔ Check the correct board and COM port before uploading.
STEP 5: TEST THE DISTANCE METER
● Place different objects in front of the ultrasonic sensor and observe the changing distance.
➔ Test using a hand, book, or ruler.
WORKING PRINCIPLE:
SAMPLE CODE:
#include <Wire.h>
#include <LiquidCrystal_I2C.h>

LiquidCrystal_I2C lcd(0x3f, 16, 2);

int trigPin = 9;
int echoPin = 10;

void setup() {

  pinMode(trigPin, OUTPUT);
  pinMode(echoPin, INPUT);

  Serial.begin(9600);

  lcd.init();
  lcd.backlight();
}

void loop() {

  long duration;
  int distance;

  digitalWrite(trigPin, LOW);
  delayMicroseconds(2);

  digitalWrite(trigPin, HIGH);
  delayMicroseconds(10);

  digitalWrite(trigPin, LOW);

  duration = pulseIn(echoPin, HIGH);

  distance = duration * 0.034 / 2;

  lcd.clear();

  lcd.setCursor(0, 0);
  lcd.print("Distance:");

  lcd.setCursor(0, 1);
  lcd.print(distance);
  lcd.print(" cm");

  Serial.print("Distance: ");
  Serial.print(distance);
  Serial.println(" cm");

  delay(500);
}
CIRCUIT DIAGRAM:
FINAL RESULT:
APPLICATIONS:
SAMPLE OUTPUT:
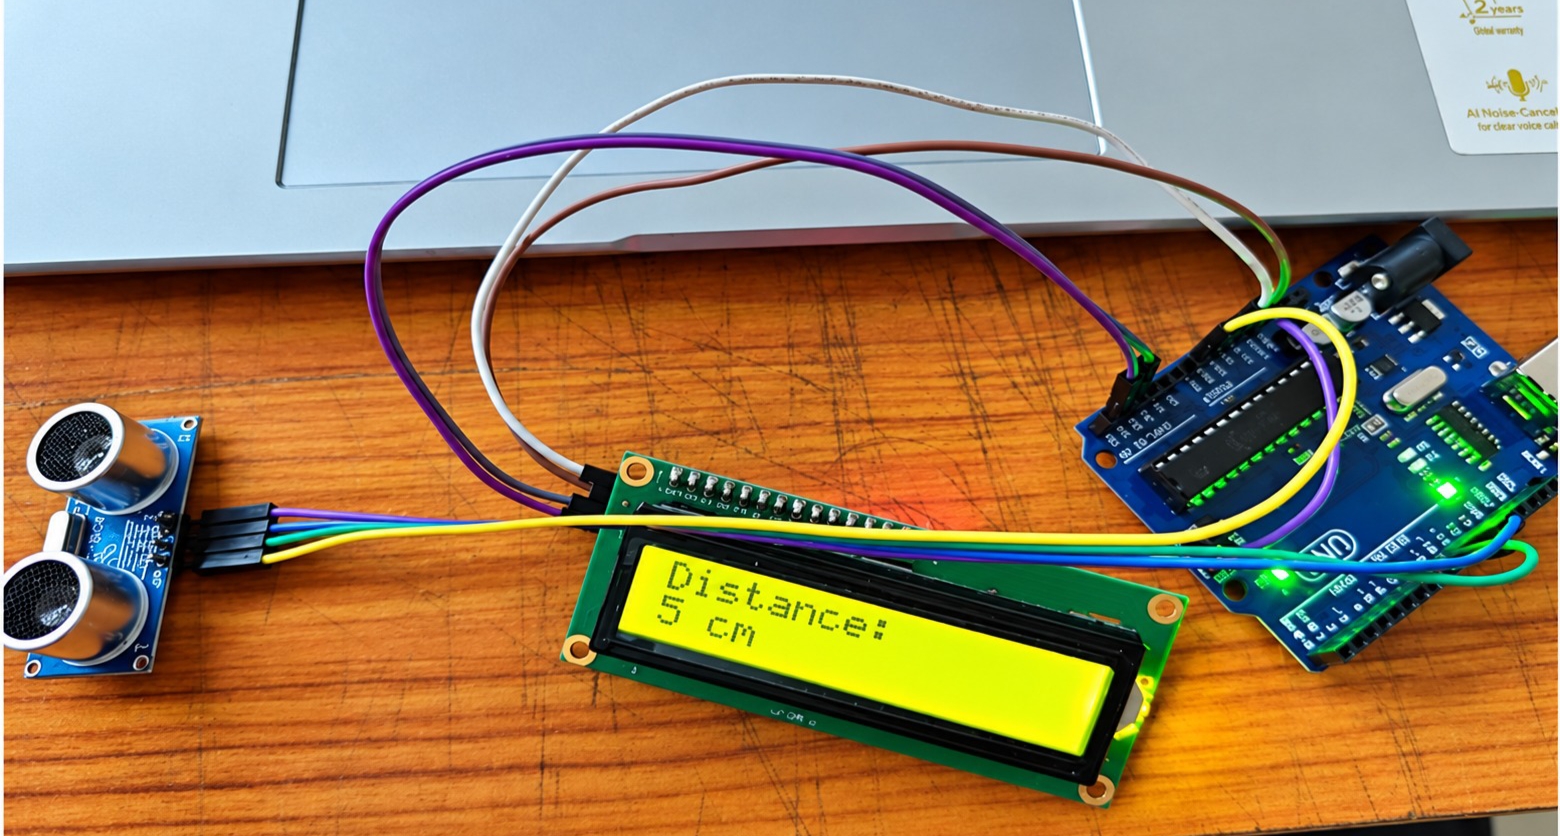
Example Display:
Distance: 25 cm
The value changes when the object moves closer to or farther from the ultrasonic sensor.
ADDITIONAL NOTES:
● SAFETY:
➔ Do not short-circuit Arduino pins.
➔ Handle jumper wires carefully.
➔ Power OFF before changing connections.
● GAME / ACTIVITY CHALLENGE:
➔ Guess the distance of an object before measuring it.
➔ Compare the sensor reading with a ruler.
➔ Try to get the most accurate reading.
● CREATIVITY EXTENSION:
➔ Create a parking distance meter model.
➔ Add Green and Red LEDs for safe/close indication.
➔ Add a buzzer for an alert.
➔ Convert it into a smart dustbin sensor.
➔ Make a handheld distance measuring device.



