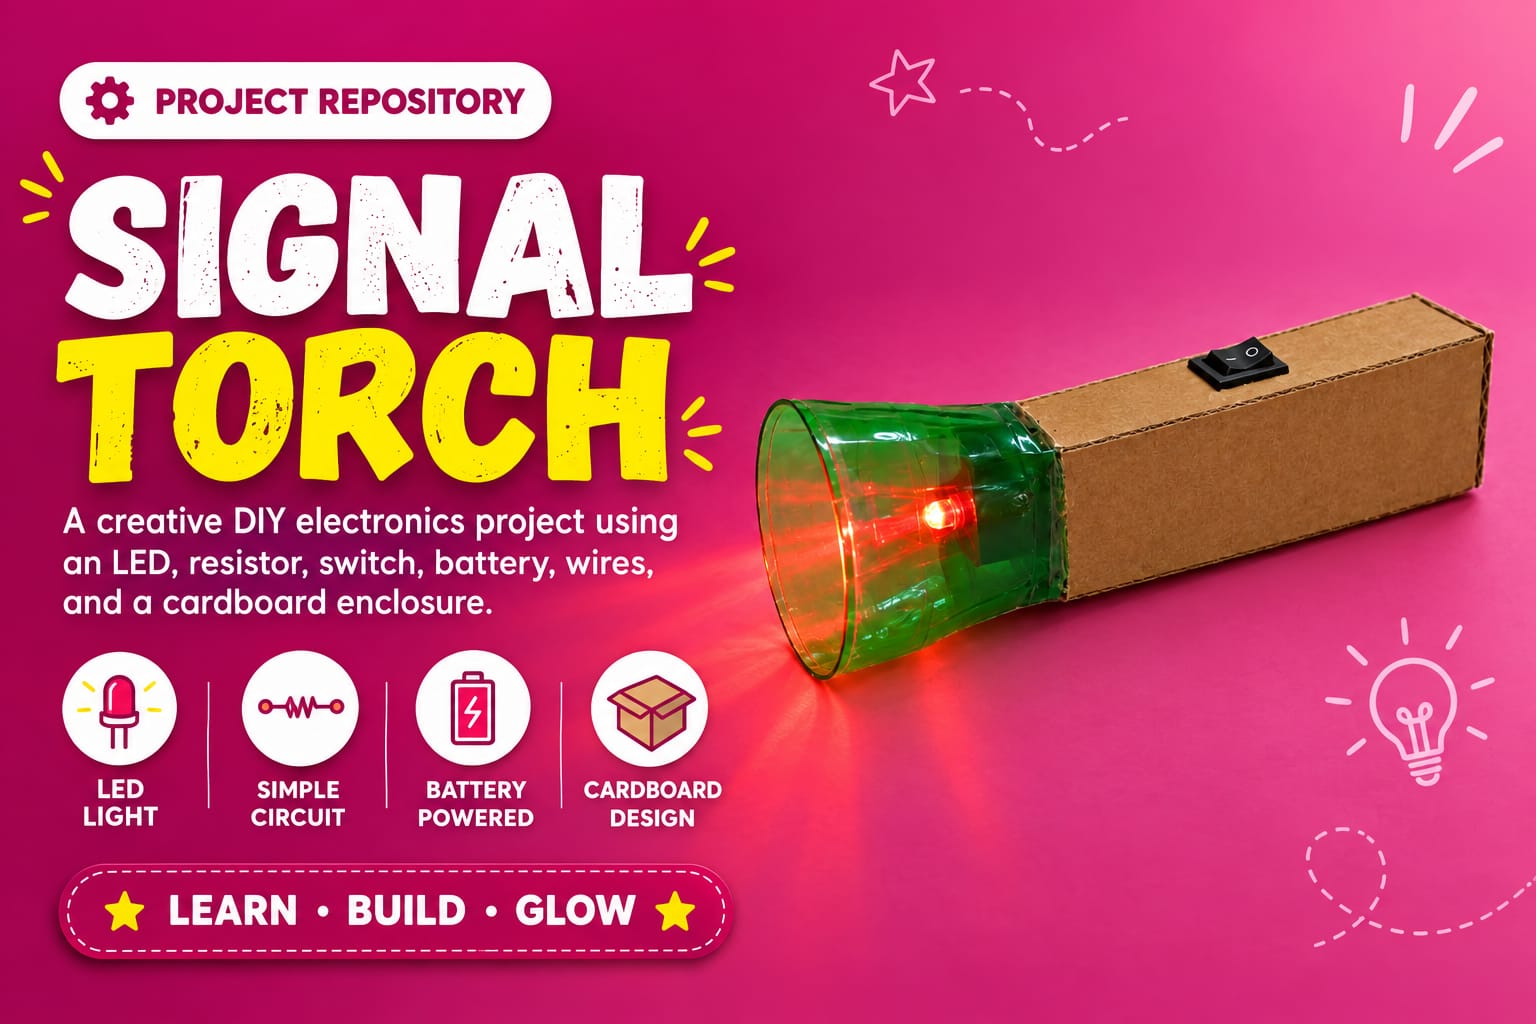
Design and build a simple Signal Torch using an LED, resistor, switch,
battery, wires, and a cardboard enclosure. The torch produces light in
dark conditions and can also be used as a signal torch for visibility
at night.
Note: Please read the full instructions before making the product.
DIY Electronics Project
Beginner
To design and build a simple Signal Torch using an LED, resistor, switch, battery, and cardboard enclosure. The torch produces light in dark conditions and can also be used as a signal torch for visibility at night.
This project introduces students to the basics of:
| Material | Quantity |
|---|---|
| LED | 1 |
| 1kΩ Resistor | 1 |
| Switch | 1 |
| 9V Battery | 1 |
| Battery Connector | 1 |
| Insulation Tape | As Needed |
| Glue / Fevicol / Glue Gun | As Needed |
| Paper or Cardboard | For base |
| Scissors / Cutter | 1 |
| Colours / Sketch Pens | For decoration |
| Plastic Bottle | 1 |
| Wires | As Needed |
Current Flow:
Battery (+) → Switch → Resistor → LED → Battery (–)
Follow the steps below carefully to assemble the Signal Torch.
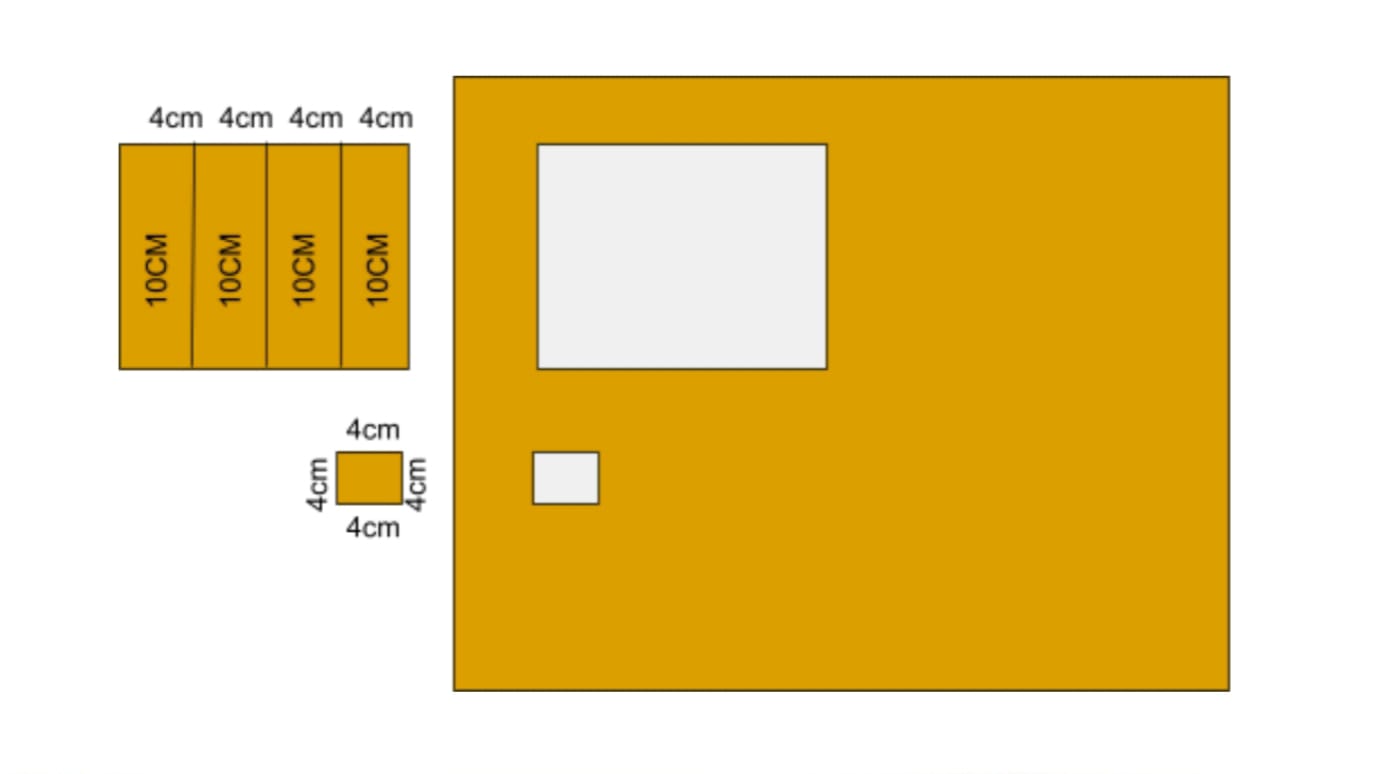
Step 1. Prepare the Cardboard
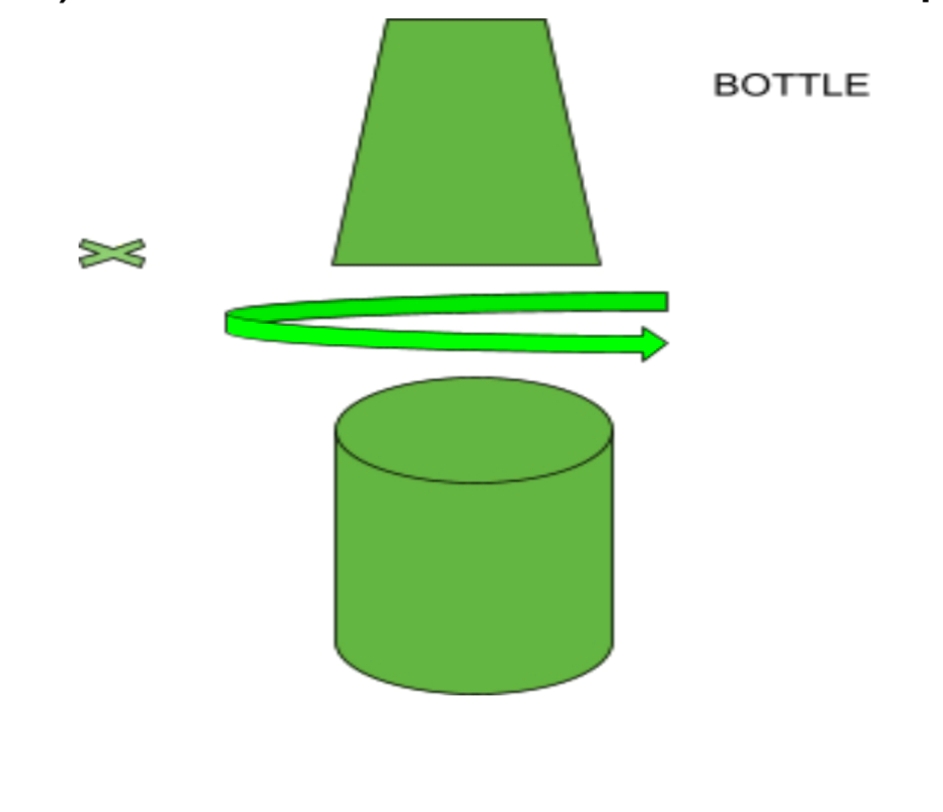
Step 2. Prepare the Bottle Cover
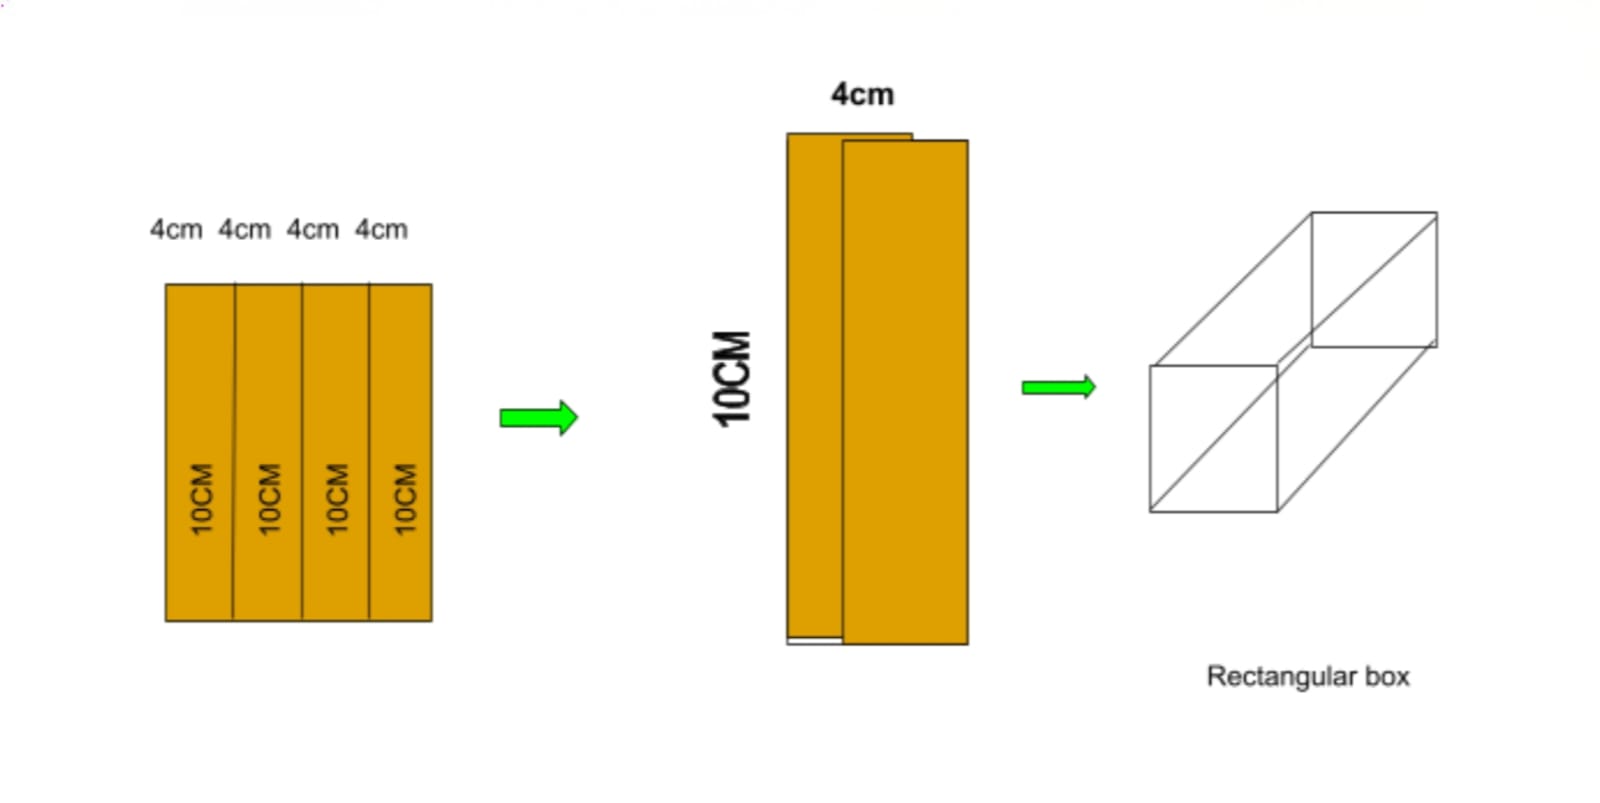
Step 3. Make the Rectangular Torch Body
LED Polarity:
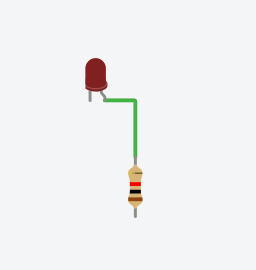
Step 4. Connect the LED and Resistor
Circuit Connection:
Battery (+) → Switch → 1kΩ Resistor → LED → Battery (–)
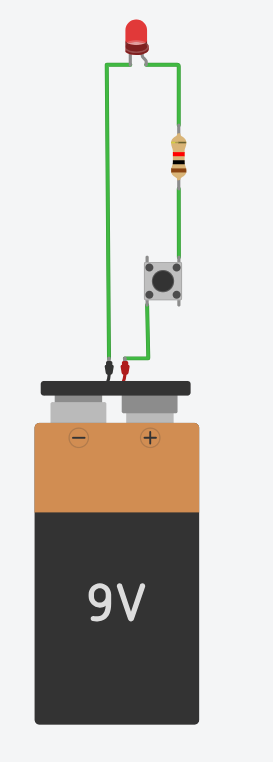
Step 5. Connect the Switch and Battery
 .
.
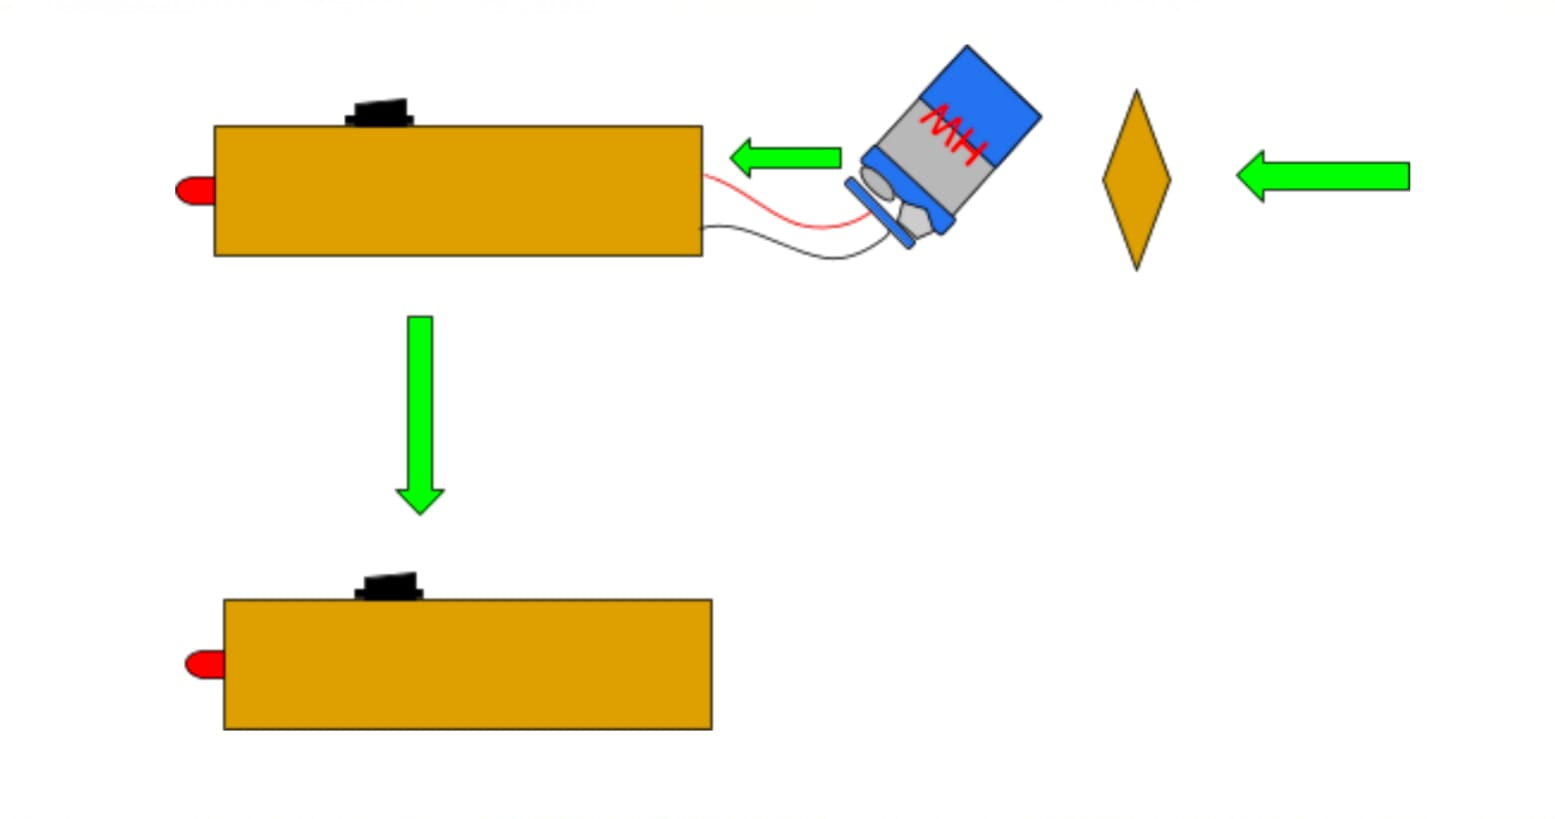
Step 6. Install the Circuit Inside the Box
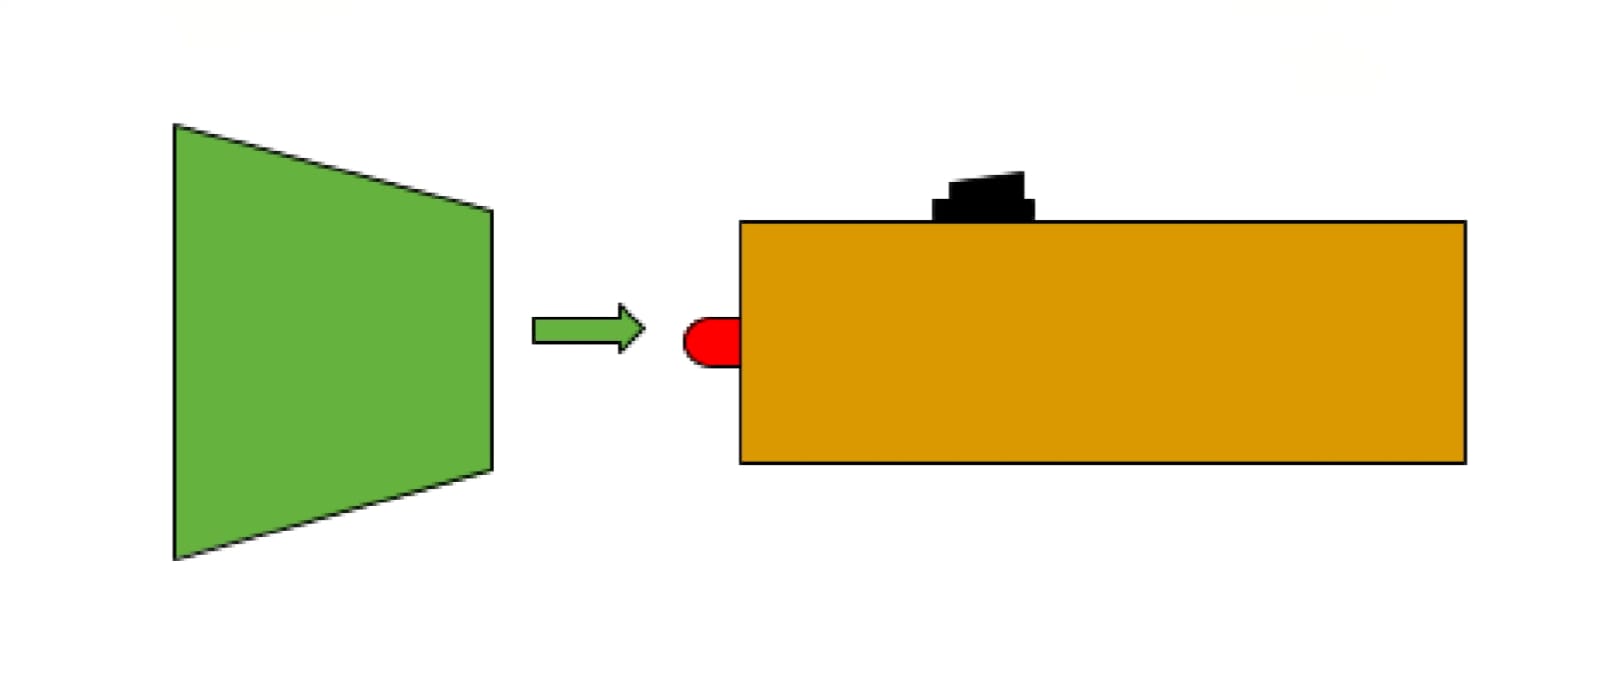
Step 7. Attach the Front Cover
Expected Result:
If the LED does not glow, check:
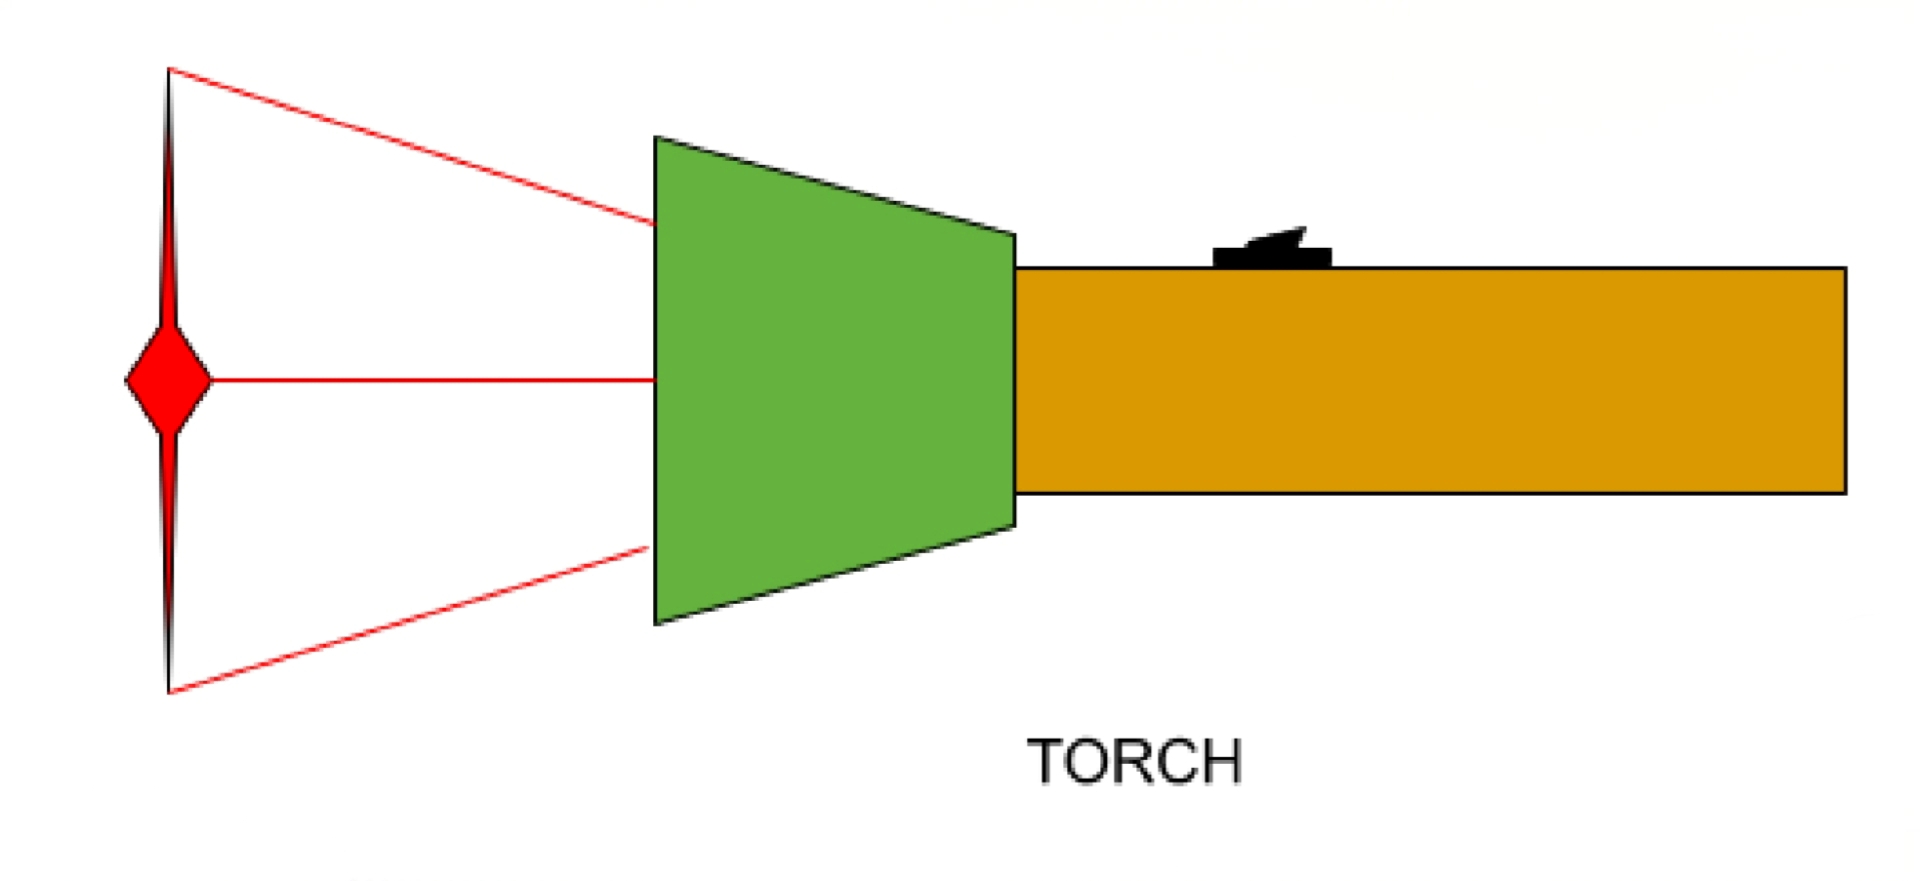
Step 8. Testing the Signal Torch
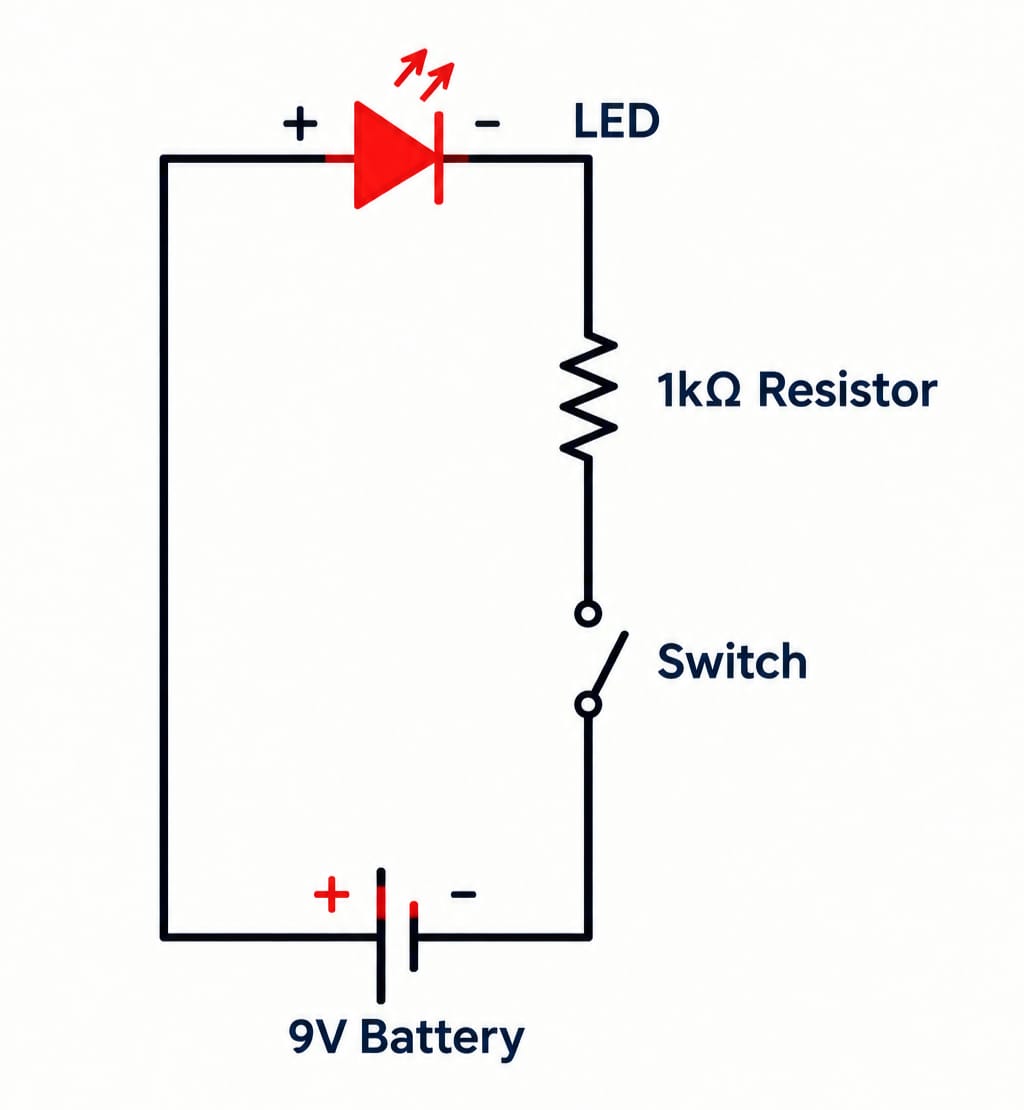
Figure 1. Circuit Diagram of the Signal Torch
The Signal Torch works by using a closed electrical circuit. When the switch is turned ON, the circuit is completed.
Current Flow:
Battery (+) → Switch → Resistor → LED → Battery (–)
Electrical current flows from the positive terminal of the battery through the switch, resistor, and LED, and returns to the negative terminal of the battery.
The LED converts electrical energy into light energy, producing illumination. When the switch is turned OFF, the circuit becomes open and current stops flowing, so the LED turns OFF.
This project demonstrates:
A functional Signal Torch is created using a cardboard body, LED, resistor, switch, battery, wires, and a transparent plastic bottle cover.
When the switch is turned ON, the LED glows and provides light. The torch can also be used as a simple signalling device in dark conditions.
(i) LED OFF – Torch OFF
Switch is OFF → Circuit is open → LED does not glow.
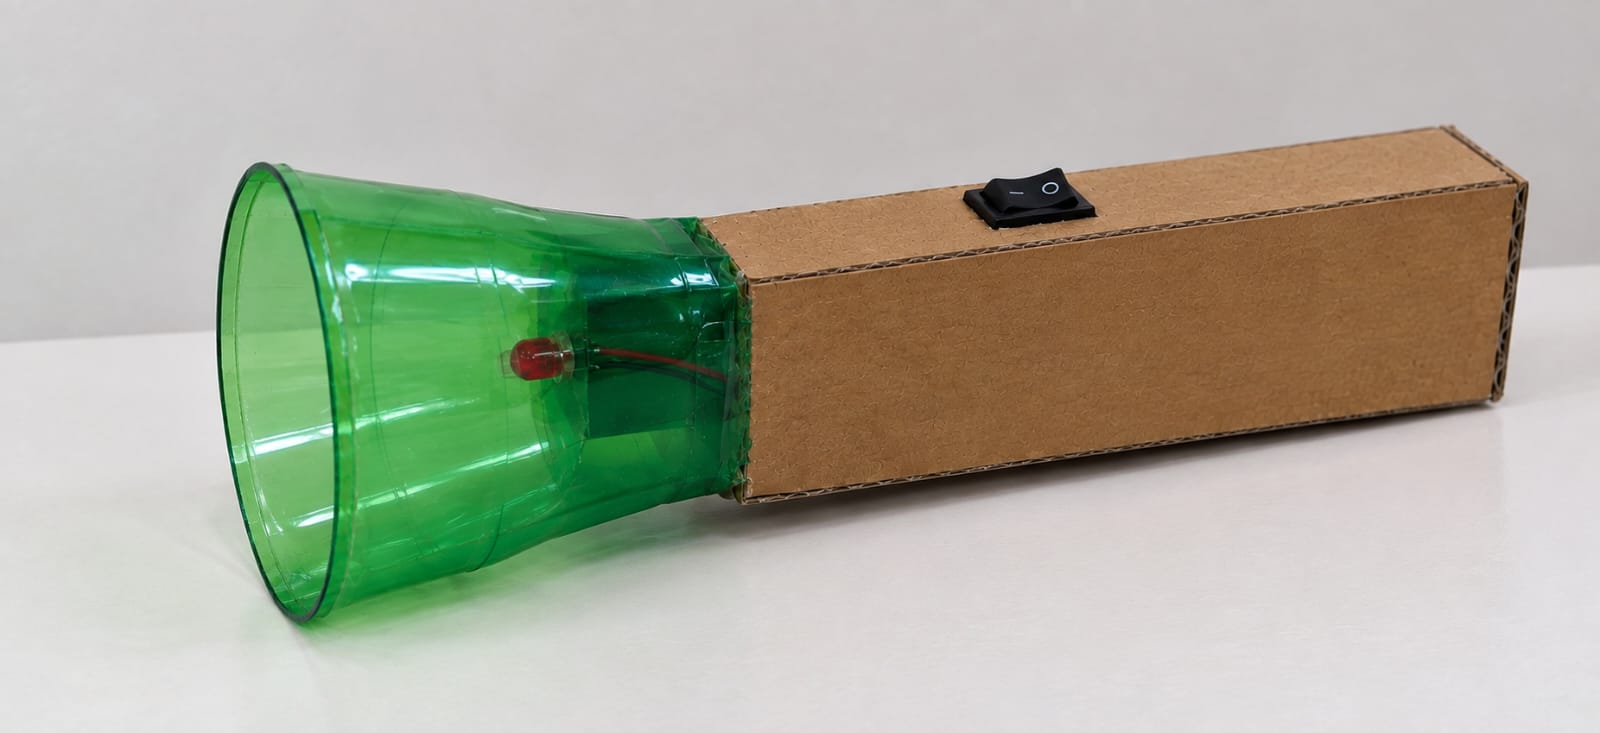
Sample Output – LED OFF / Torch OFF
(ii) LED ON – Torch ON
Switch is ON → Circuit is complete → LED glows.
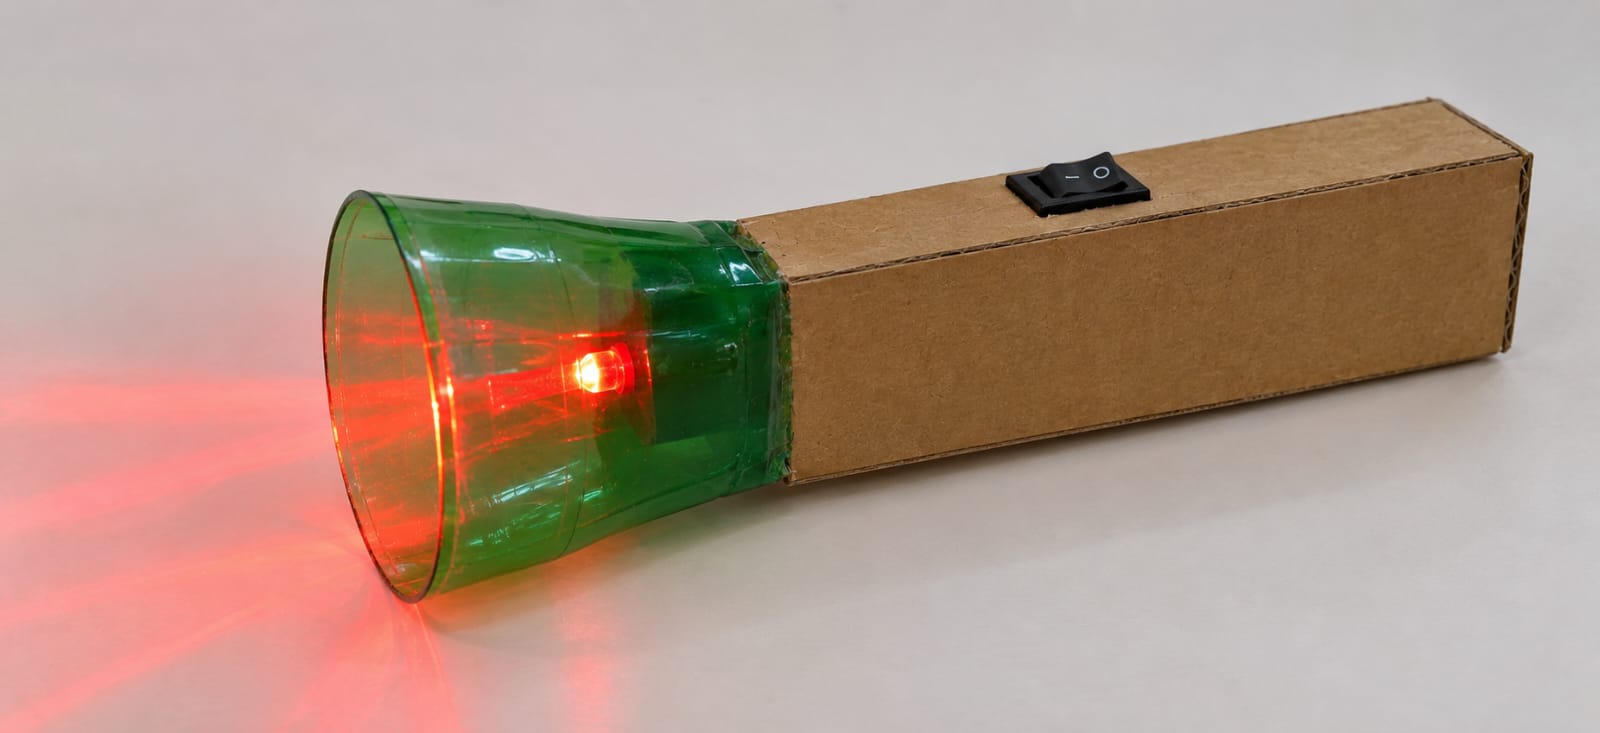
Sample Output – LED ON / Torch ON
Watch the Maker’s Lab video to understand the Signal Torch project and its working.
After completing this project, students will be able to: