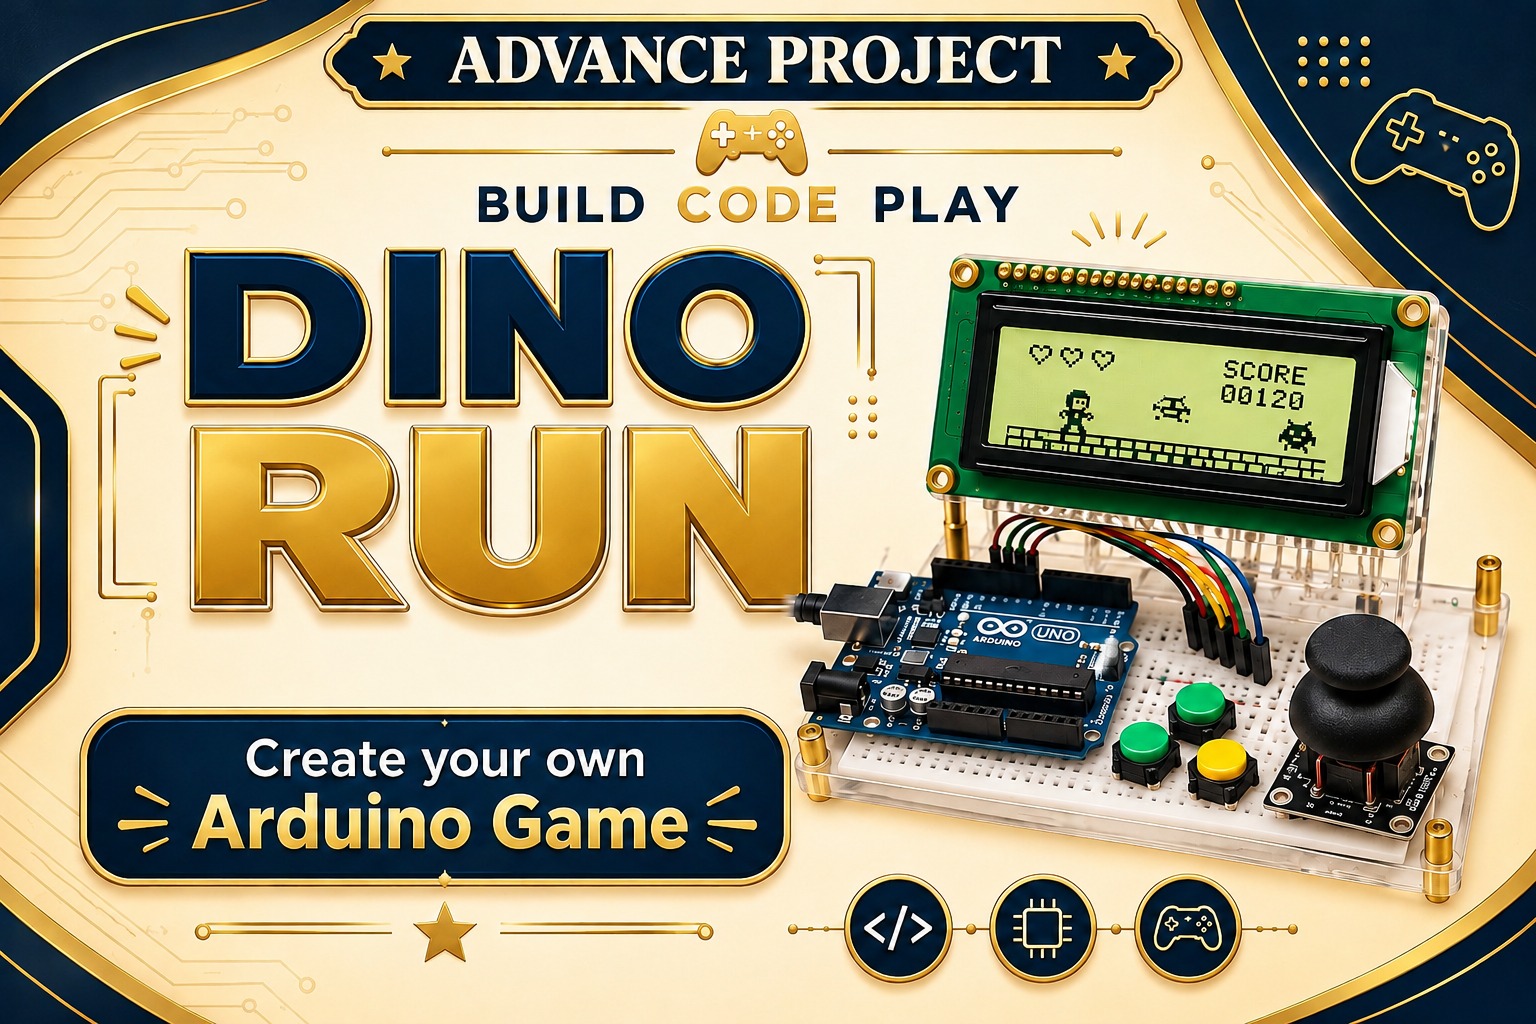
A pocket-sized arcade game: a dinosaur that runs, jumps over cacti, and collects coins on a small LCD screen – all controlled by a joystick and powered by an Arduino. You’ll learn how the hardware talks to the code, and how the code makes a game feel fun.
Project goal: Build and program a mini arcade game using an Arduino Nano, an LCD screen, a joystick and a buzzer.
Here are the main parts used to build the Dino Run game:
| Component | What it does |
|---|---|
| Arduino Nano | The brain – runs your code and controls everything else. |
| 20×4 LCD Screen | The eyes – 4 rows of 20 characters, like a tiny old-school TV. |
| Joystick | The hands – tells the Arduino which way you’re pushing, and detects button presses. |
| Buzzer | The voice – beeps for jumps, coins, crashes and wins. |
| EEPROM (built in) | The memory that doesn’t forget – remembers your high score even when the power is off. |
Note: EEPROM is built into the Arduino Nano, so it is not a separate external component.
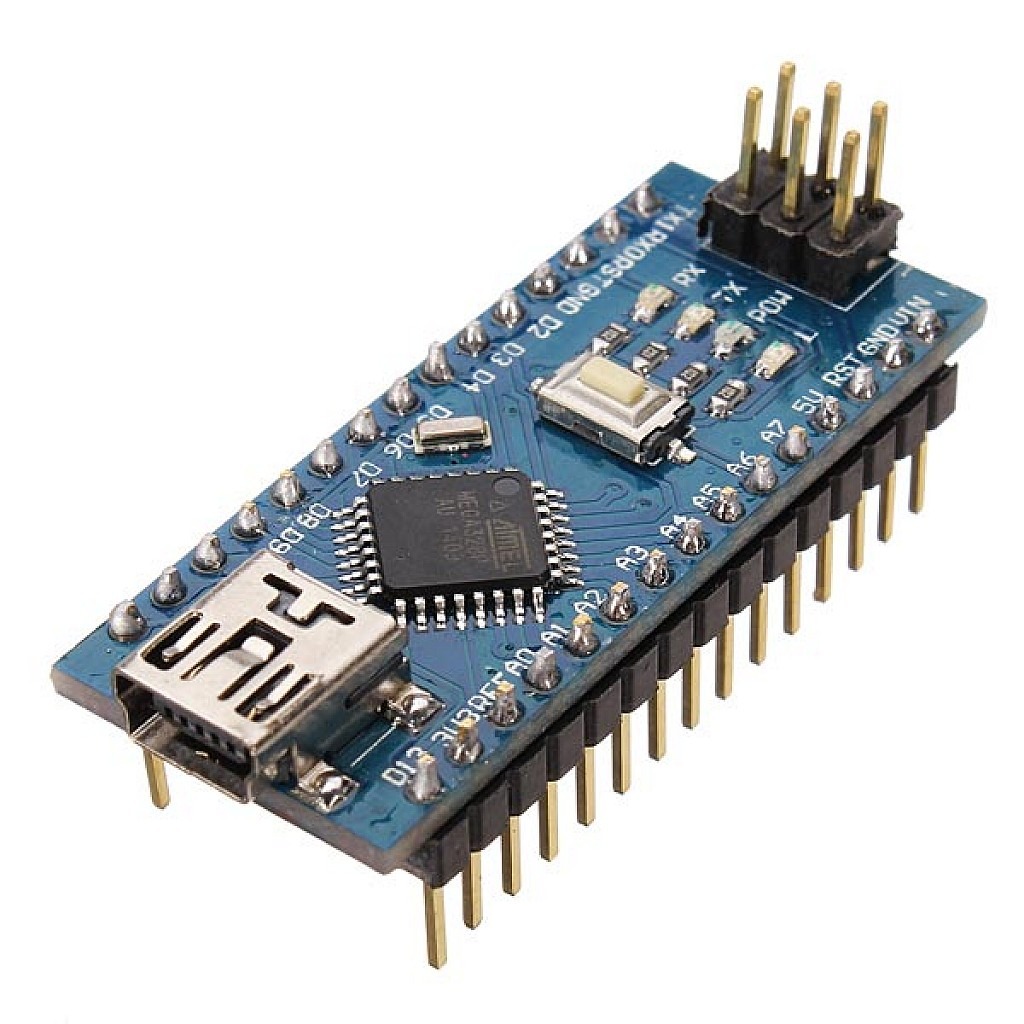
Arduino Nano
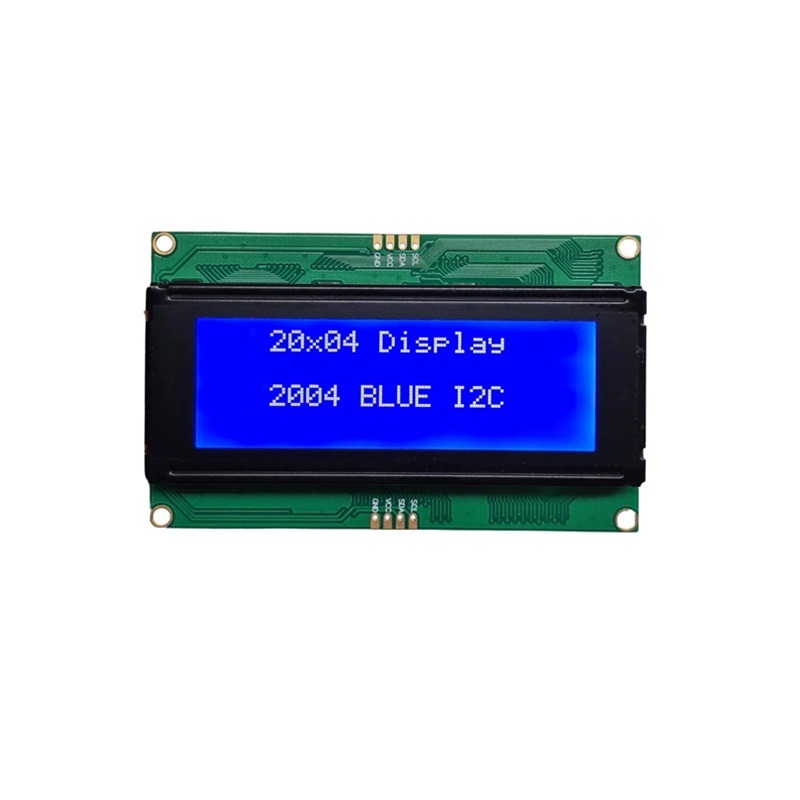
20×4 LCD Screen
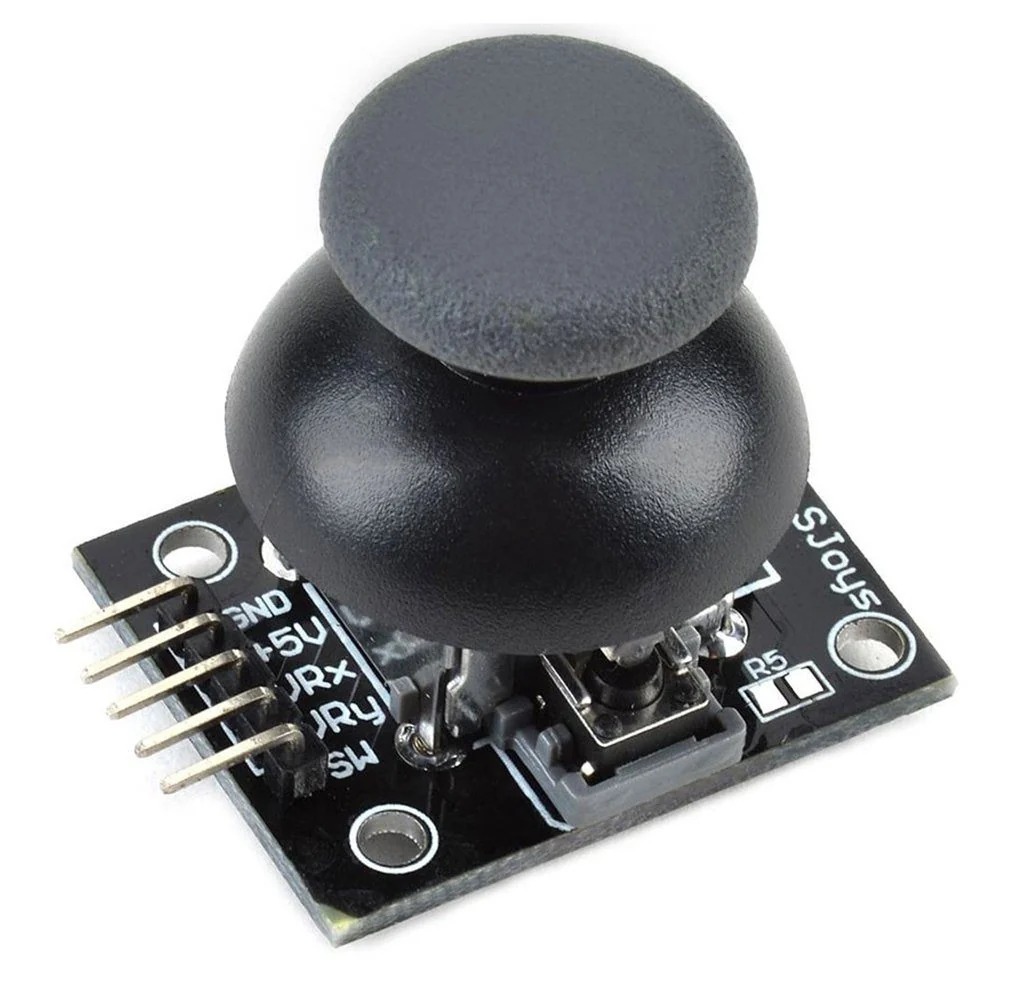
Joystick
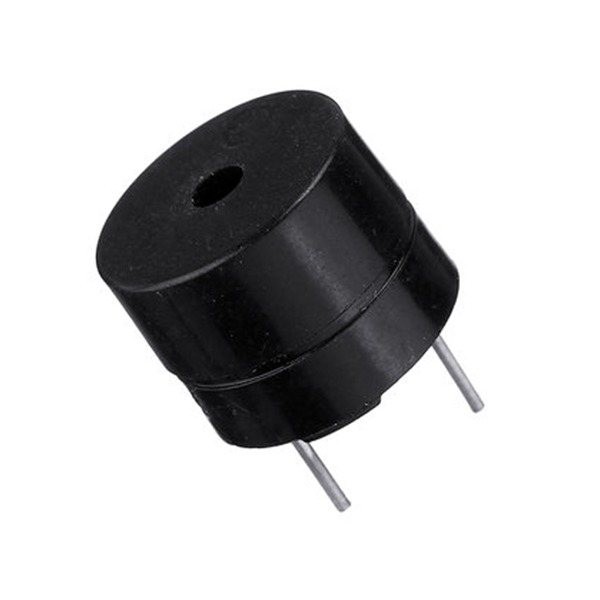
Buzzer
Wiring is just connecting wires between matching holes (called “pins”) so the parts can send messages to each other. Go slowly, one wire at a time, and it’s hard to get wrong!
Safety tip: Before you touch any wires, unplug the USB cable from the Arduino. It’s much safer to wire things up with the power off.
Your LCD module has 4 small pins on the back, usually labelled GND, VCC, SDA and SCL. Connect each one to the matching pin on the Arduino Nano:
Tip: SDA and SCL are like a tiny 2-wire chat line the screen uses to talk to the Arduino. GND is short for “ground” – think of it as the return path that completes the circuit.
Your joystick module has 5 pins: VCC, GND, VERT (sometimes called VRy), HORZ (sometimes called VRx), and SEL. Connect them like this:
The buzzer has 2 legs – a longer one (+) and a shorter one (−). If yours isn’t marked, don’t worry; buzzers are forgiving.
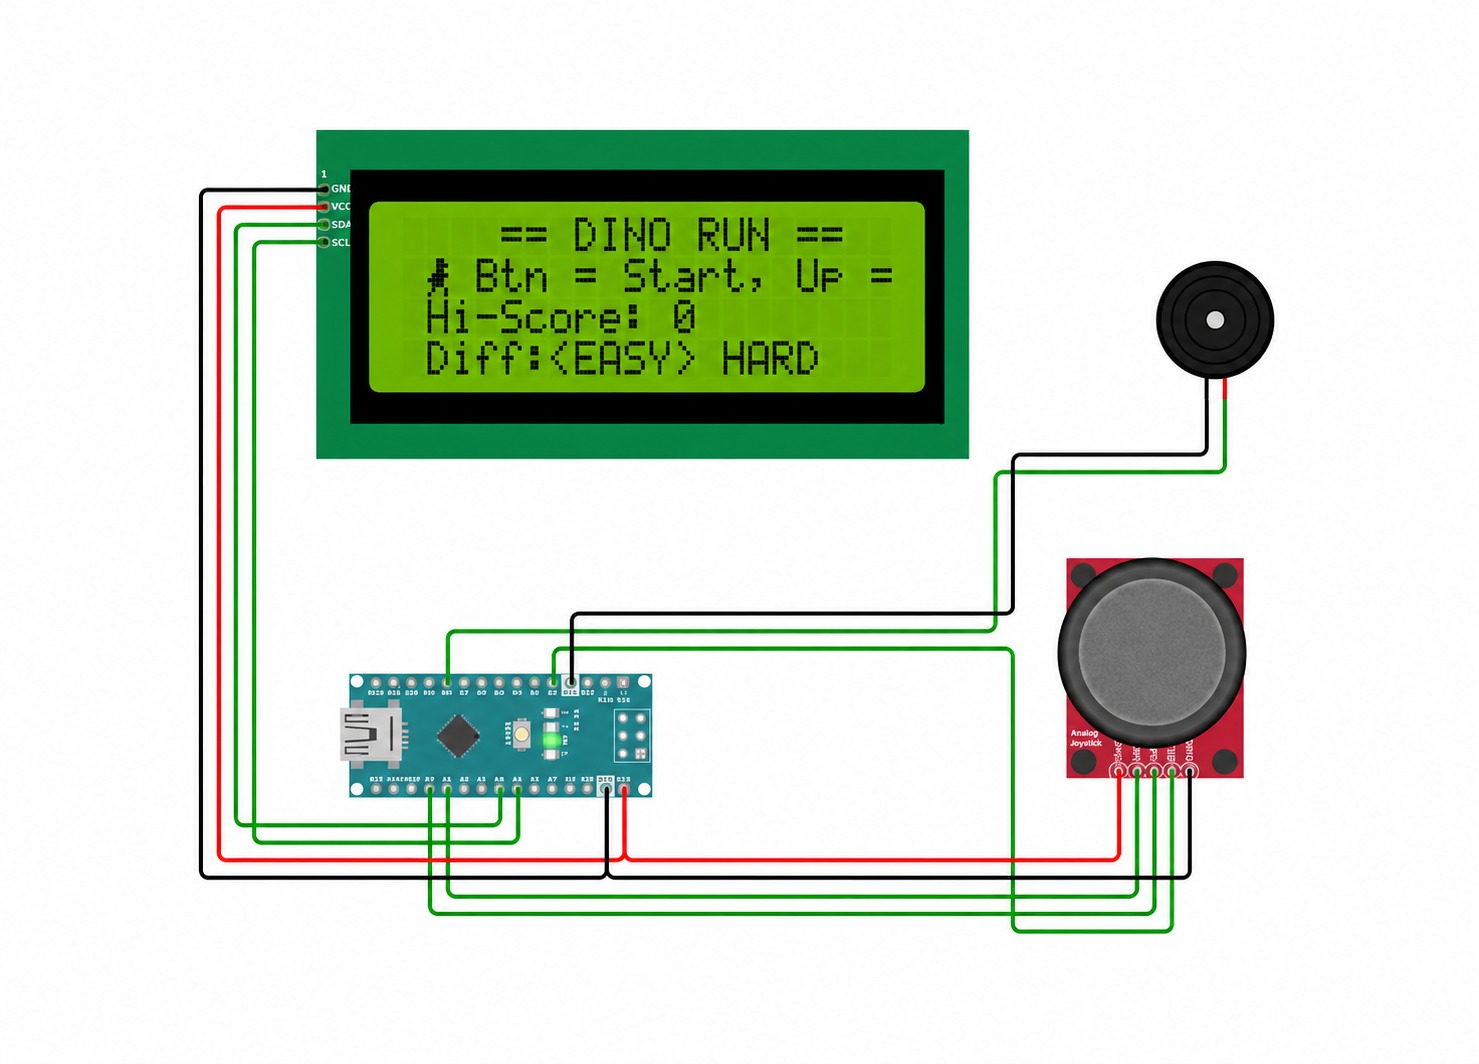
Wiring is done – now let’s teach the Arduino what to do! This part happens on your computer, using free software.
The Arduino IDE is the free program you use to write and upload code. Visit arduino.cc/en/software, download the version for your computer (Windows, Mac or Linux), and install it like any other program.
A “library” is a bundle of code someone else already wrote, so you don’t have to write it yourself. Our LCD needs one:
Connect the Arduino Nano to your computer with a USB cable. Your computer may make a little sound when it notices the new device – that’s normal.
If you see “programmer is not responding,” go back to Tools → Processor and switch to “ATmega328P (Old Bootloader).” If no port shows up at all, your Nano clone probably needs a free CH340 USB driver. Search “CH340 driver” for your operating system, install it, then unplug and replug the USB cable.
setup(): runs ONCE when the Arduino turns on – it sets up the screen, sounds and loads your high score.
loop(): runs FOREVER – this is where the actual gameplay happens.
The game is always in one “state”: MENU, PLAYING, GAME OVER or VICTORY, like scenes in a play.
Open your copy of DinoGame.ino and try changing just ONE line at a time – save, upload and see what’s different:
1. Jump higher/longer: Find currentJumpDuration = 850; and make the number bigger.
2. Change the coin sound: Find sfxCoin() and change the numbers inside tone(...).
3. Give yourself a 4th life: Find lives = 3; in startGame() and change it to 4.
4. Start the game on Hard mode: Find selectedDifficulty = DIFF_EASY; and change it to DIFF_HARD;.
5. Write your own Game Over message: Edit the text inside lcd.print("GAME OVER!"); (keep it under 19 characters so it fits the screen!).
Remember: If something breaks, that’s totally normal – just undo your change and try again. That’s exactly how real programmers learn.
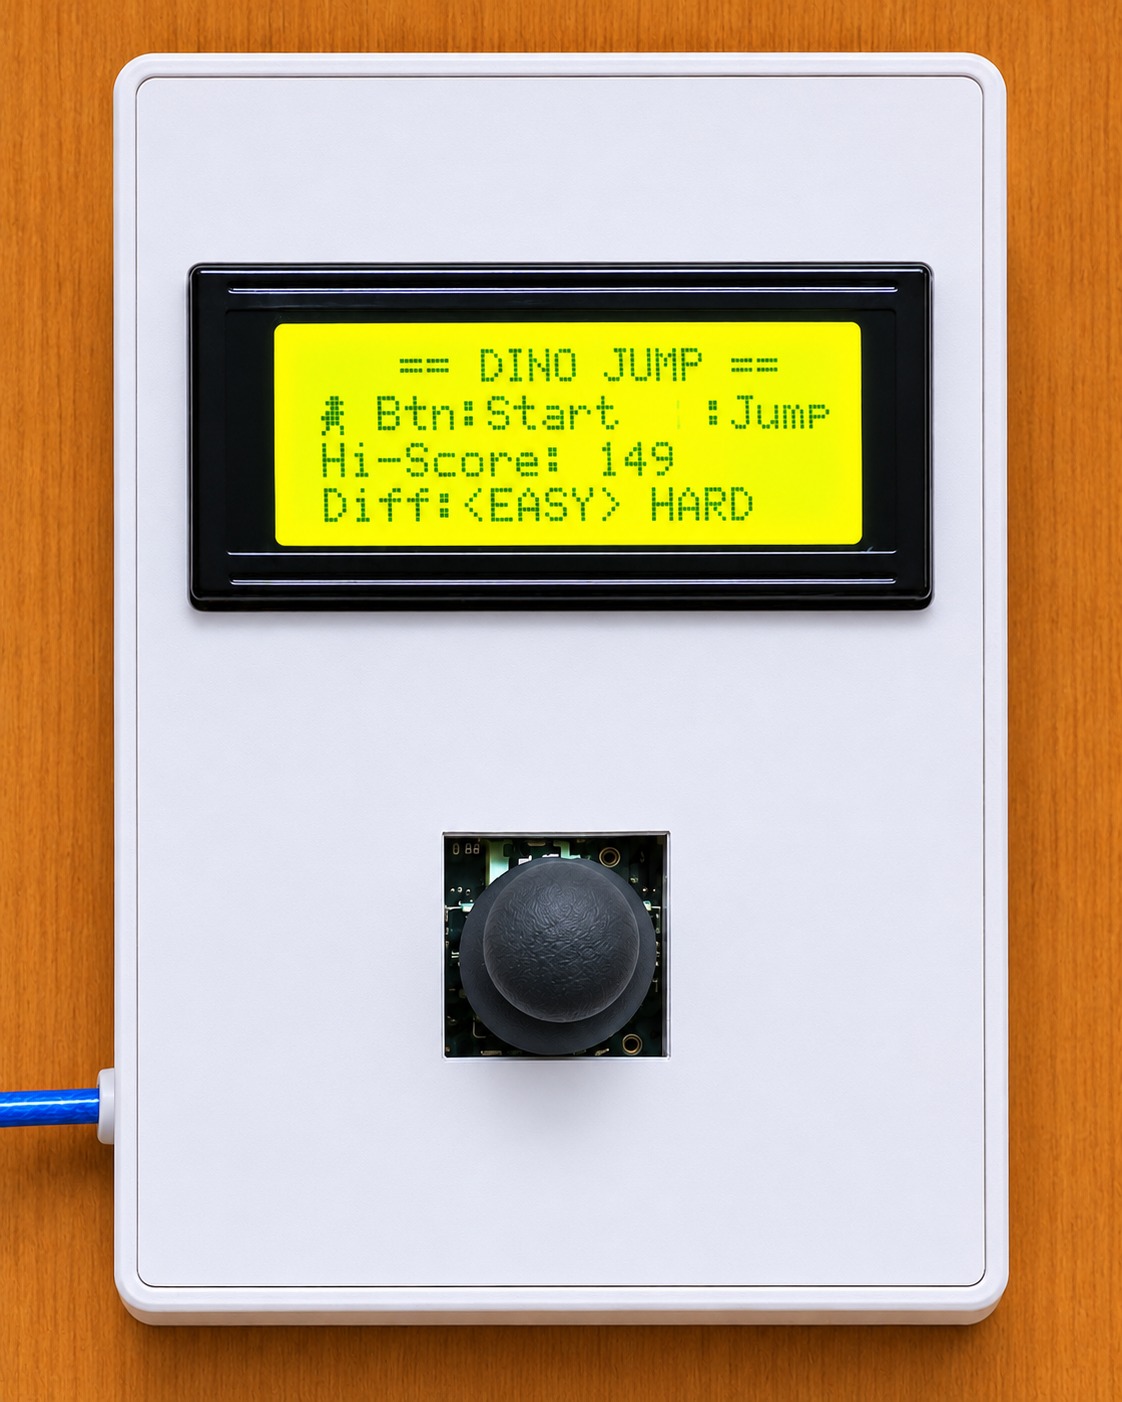
Ready for something bigger? Try designing a Shield power-up – an item that makes the dino briefly invincible when collected.
shieldActive = true; and start a timer.Think like a game designer: This is exactly how real game features get built – take a big idea and break it into small pieces you’ve already seen work somewhere else in the code.
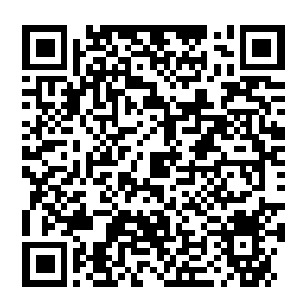
Scan the QR code below to download the full Arduino sketch for this project!