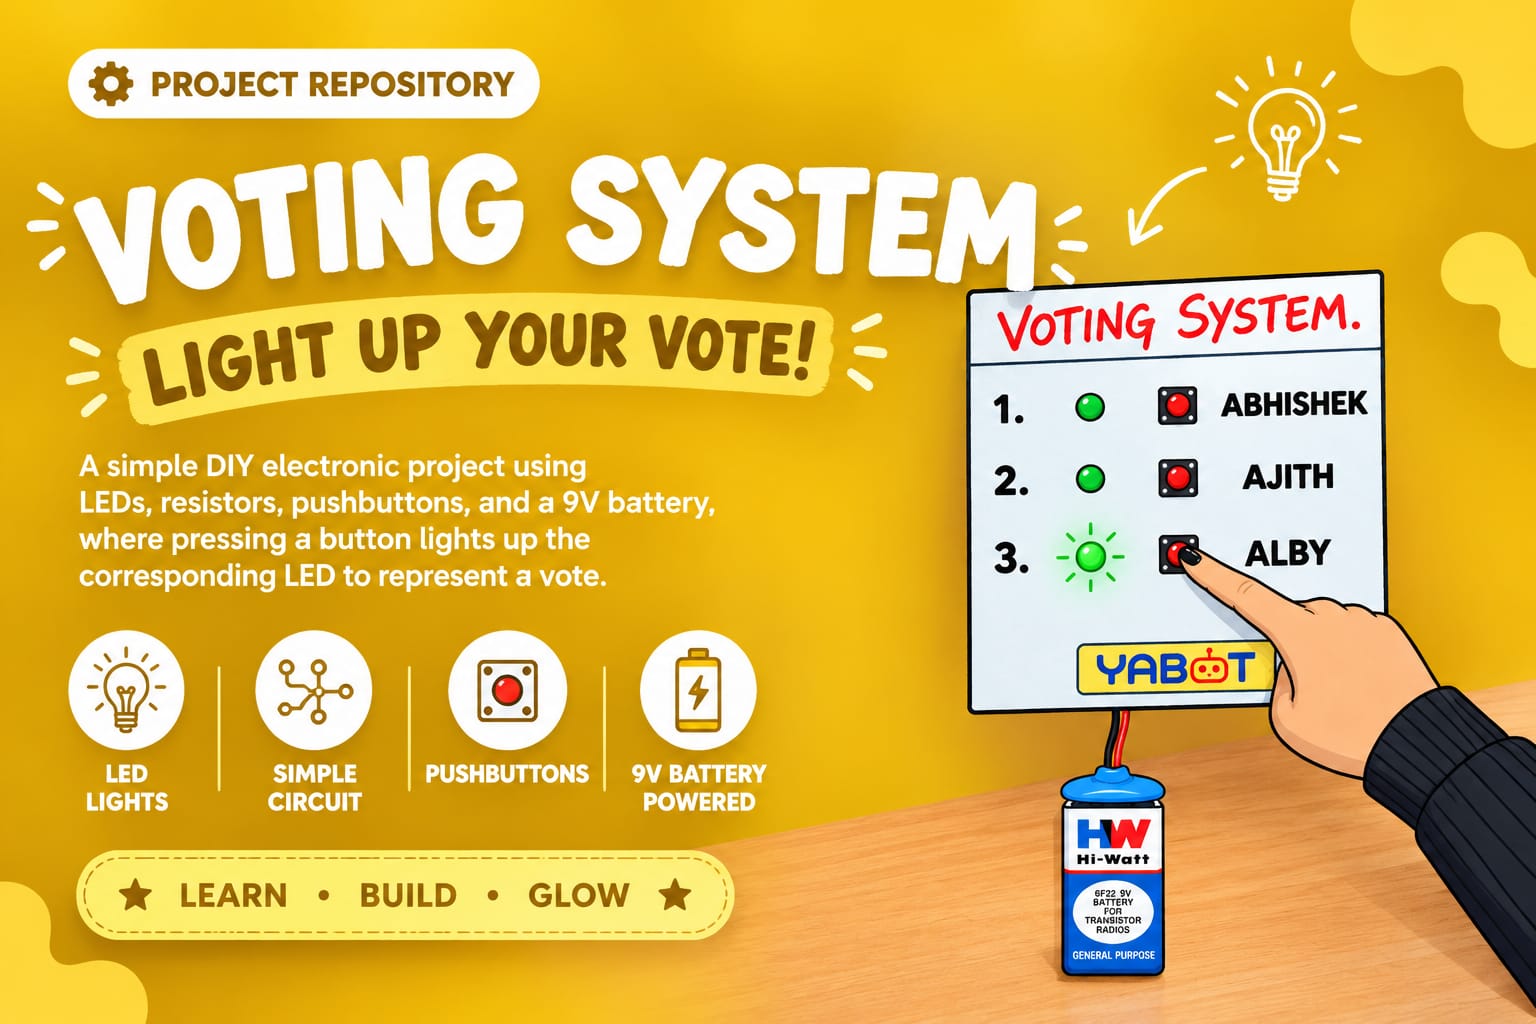
Design and build a simple Voting System model using LEDs, resistors,
pushbuttons, and a 9V battery, where pressing a button lights up the
corresponding LED to represent a vote.
Note: Please read the full instructions before making the product.
DIY Electronics Project
Beginner
To design and build a simple Voting System model using LEDs, resistors, pushbuttons, and a 9V battery, where pressing a button lights up the corresponding LED to represent a vote.
This project introduces students to the basics of switch-controlled circuits, LED polarity, and parallel connections using a fun voting activity. Each button represents a candidate or option, and the LED glows only when the button is pressed—simulating a voting machine.
The project enhances understanding of:
| Material | Quantity |
|---|---|
| LEDs | 3 |
| Resistors | 3 |
| Pushbuttons | 3 |
| 9V Battery | 1 |
| Battery Connector | 1 |
| Insulation Tape | As Needed |
| Glue / Fevicol / Glue Gun | As Needed |
| Paper or Cardboard | For base |
| Scissors / Cutter | 1 |
| Colours / Sketch Pens | For decoration |
| Base / Stand | Cardboard or Thermocol |
Battery (+) → Button → Resistor → LED → Battery (–)
This allows only the selected LED to glow.
Follow the steps below carefully to assemble the Voting System.
Example layout:
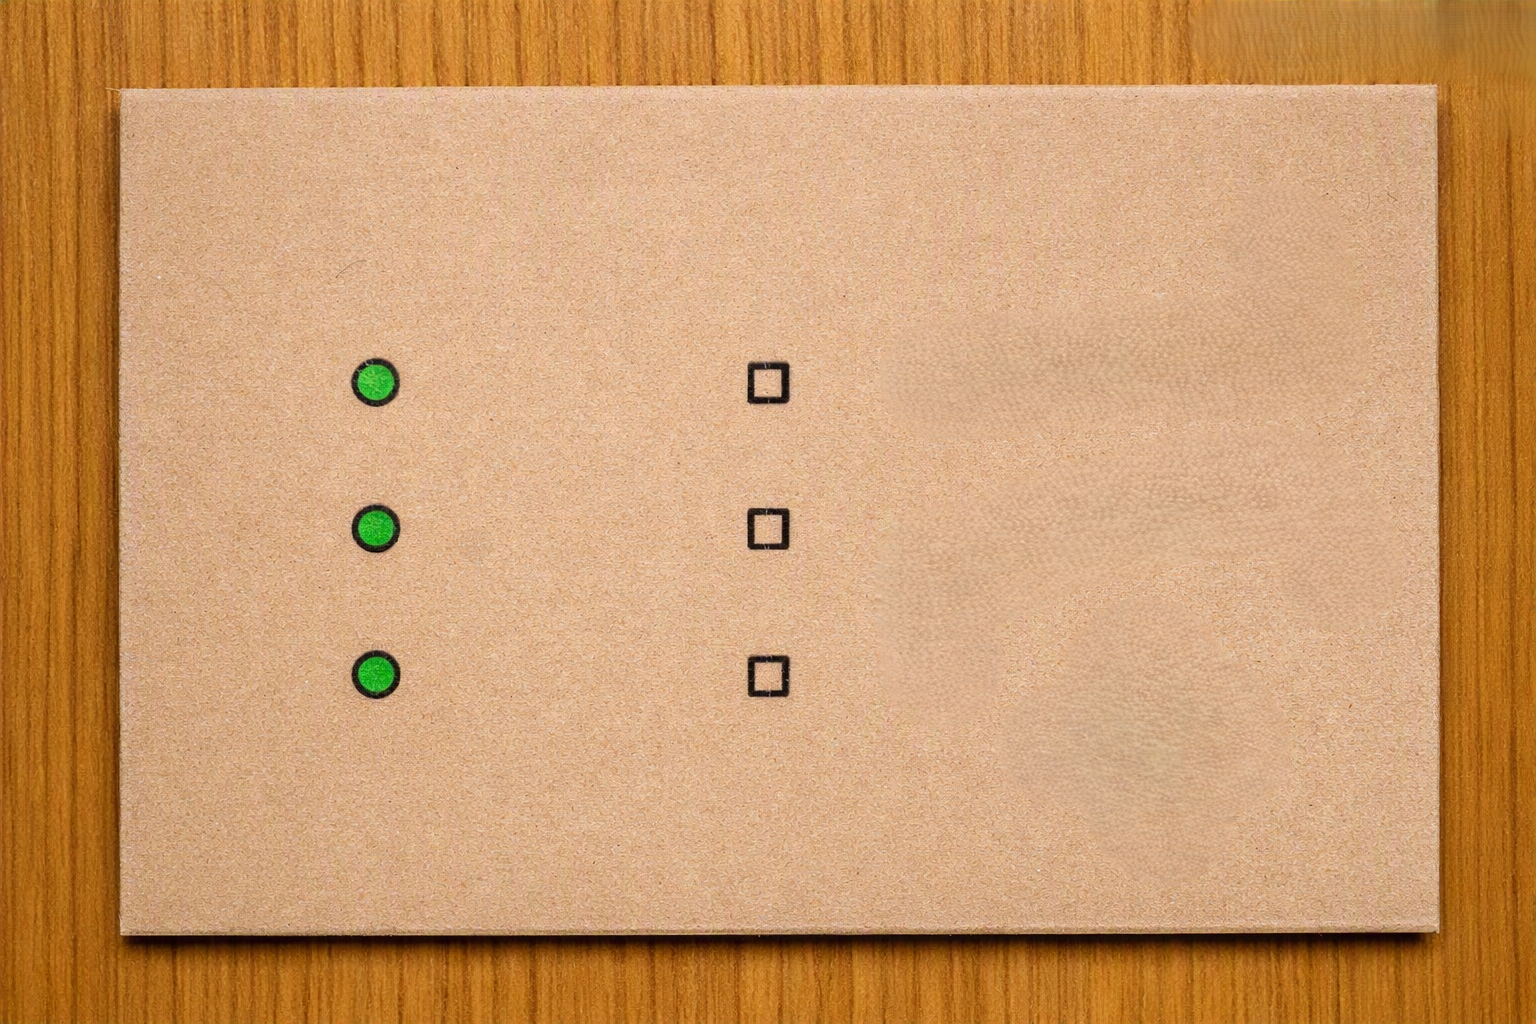
Step 1. Prepare the Base
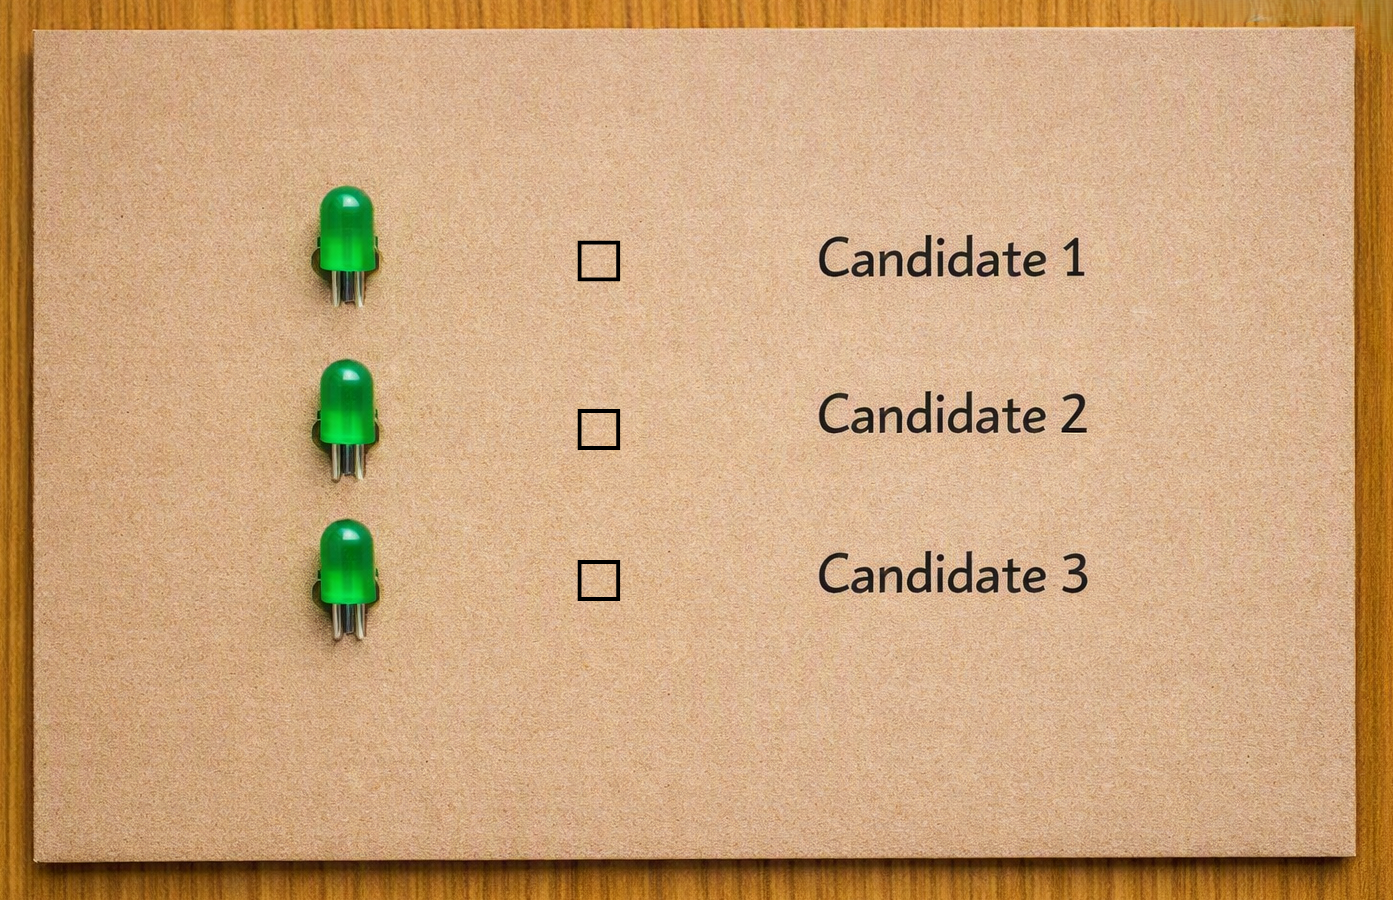
Step 2. Fix the LEDs on the Board
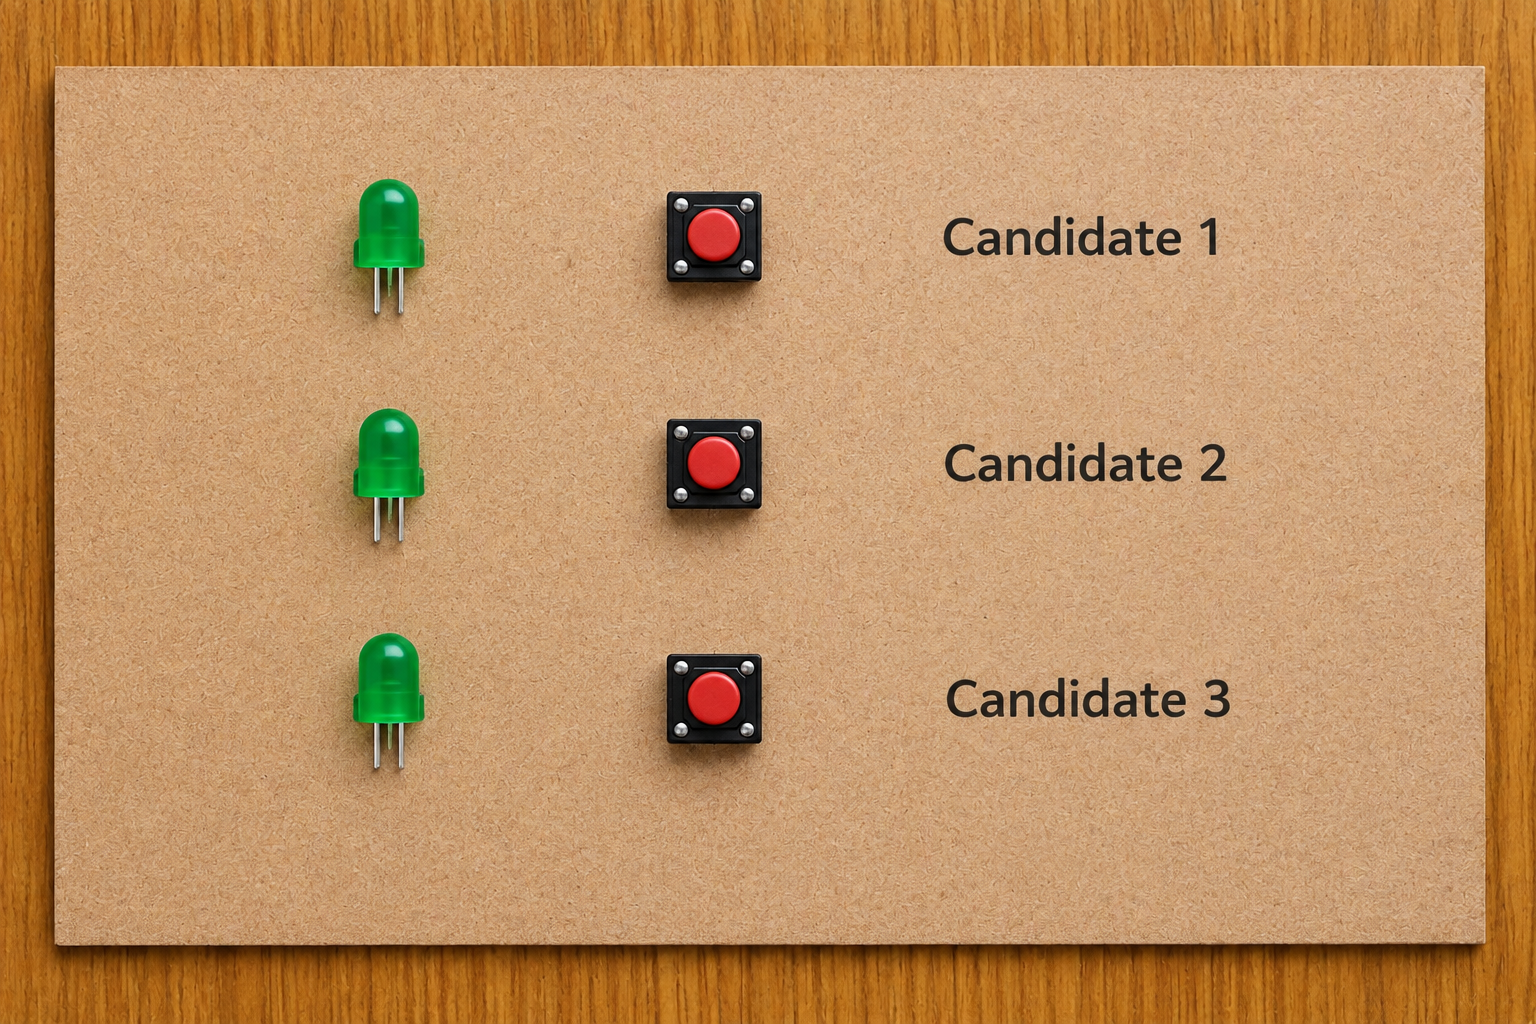
Step 3. Mount the Pushbuttons Beside the LEDs
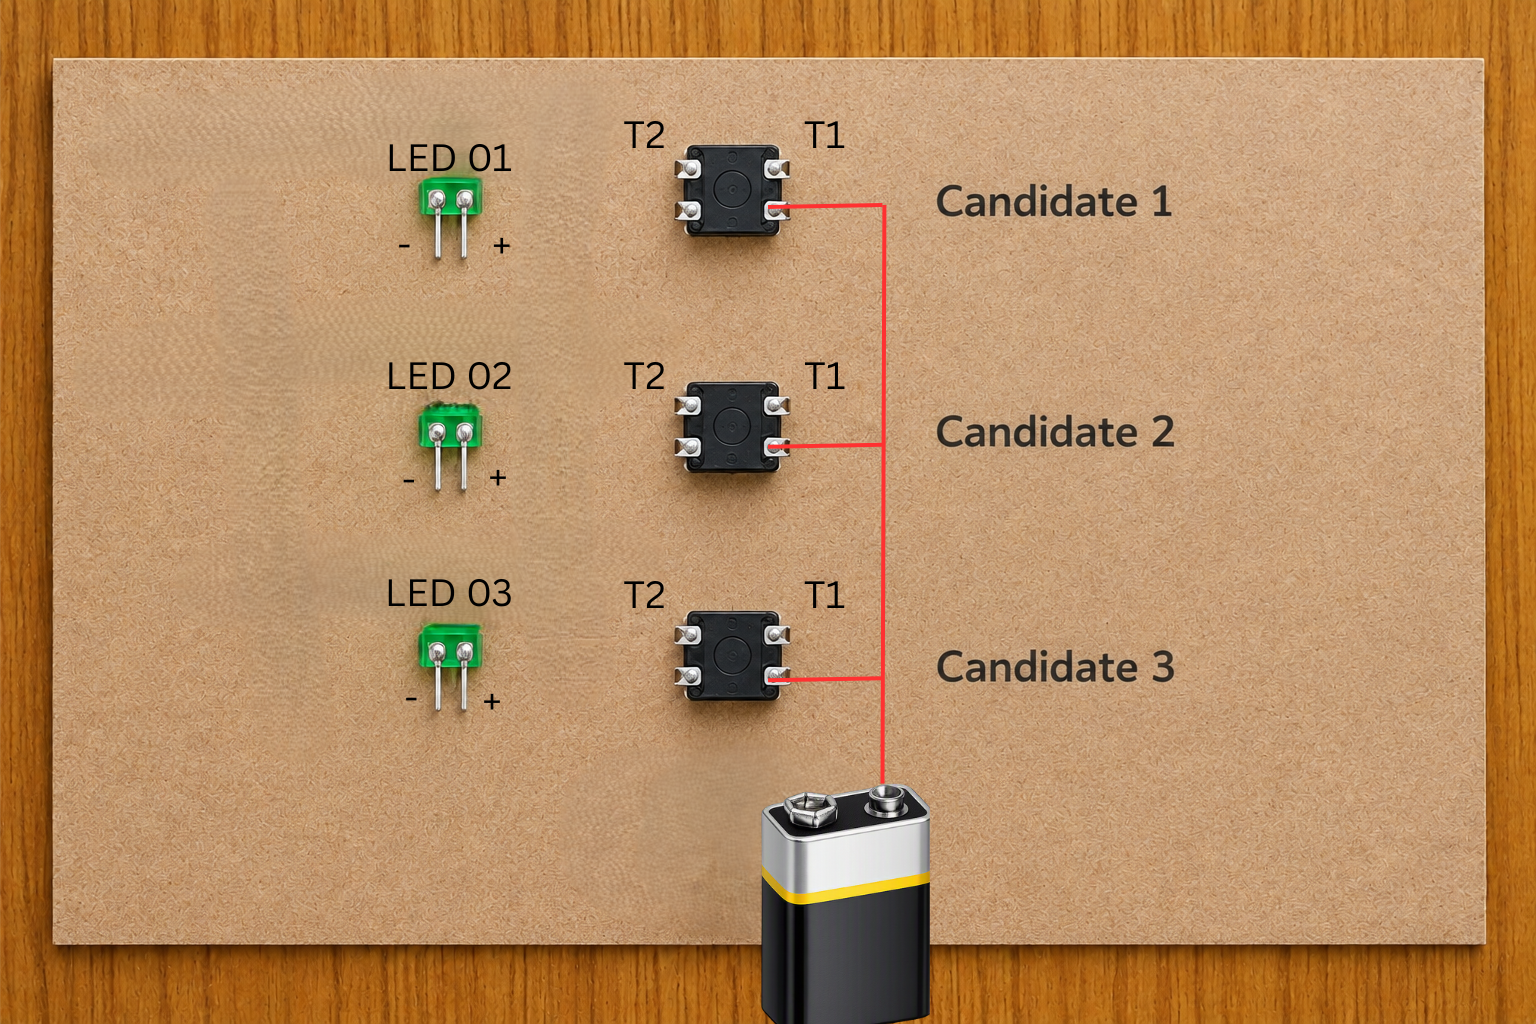
Step 4. Connect the Positive Side
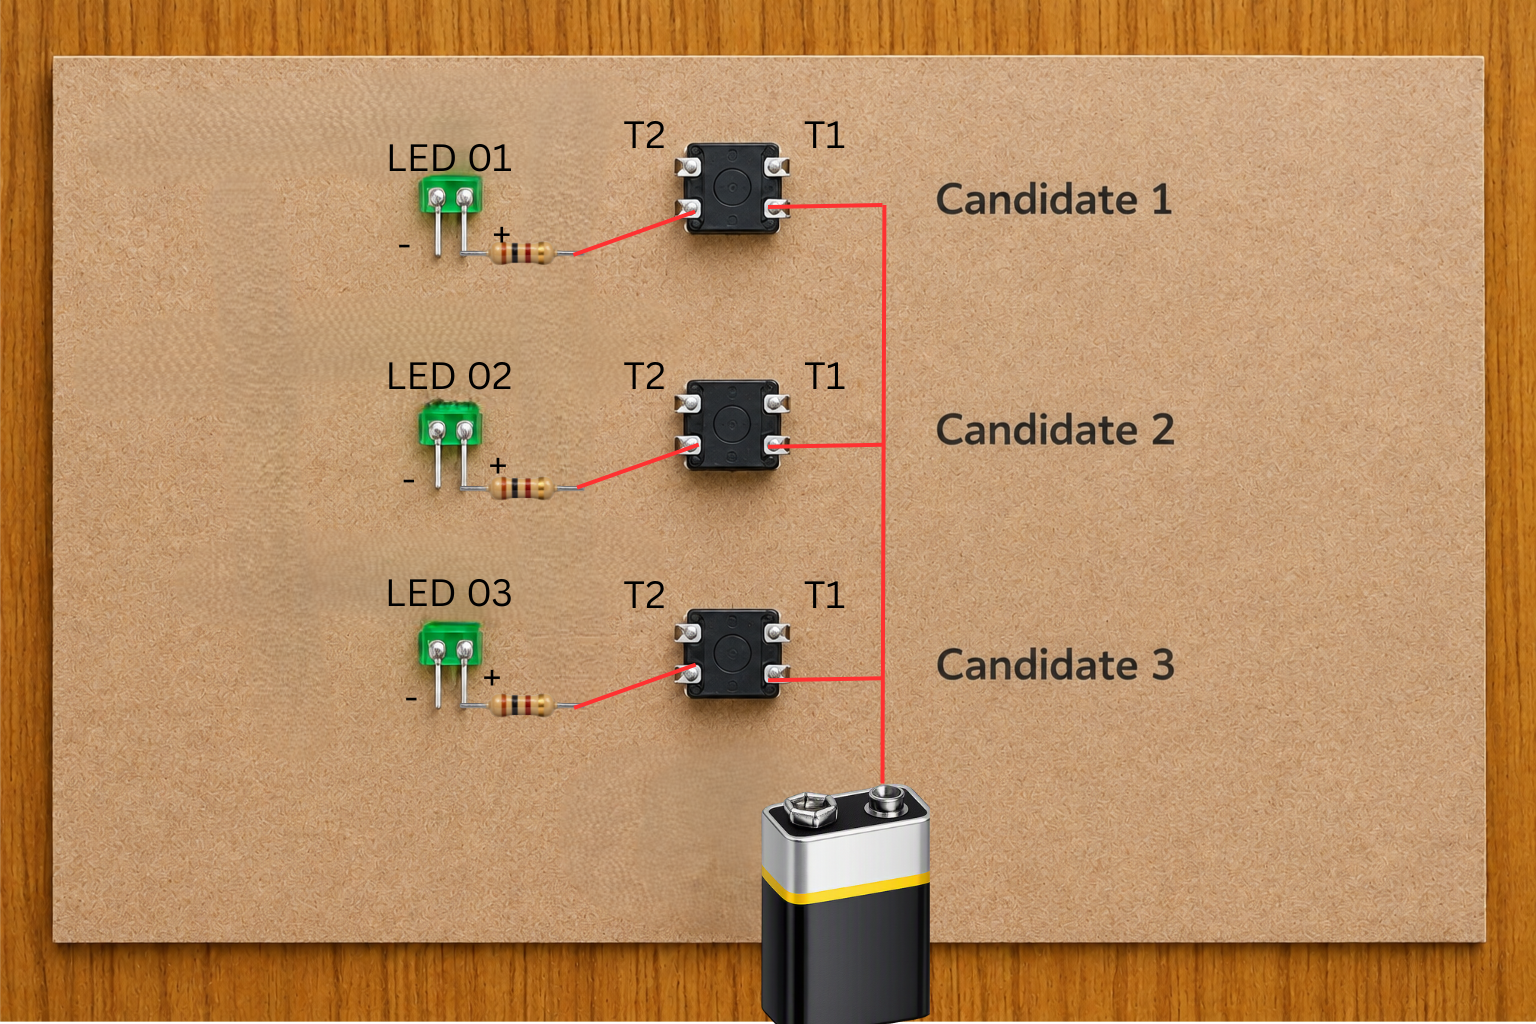
Step 5. Connect Each Button to Its LED
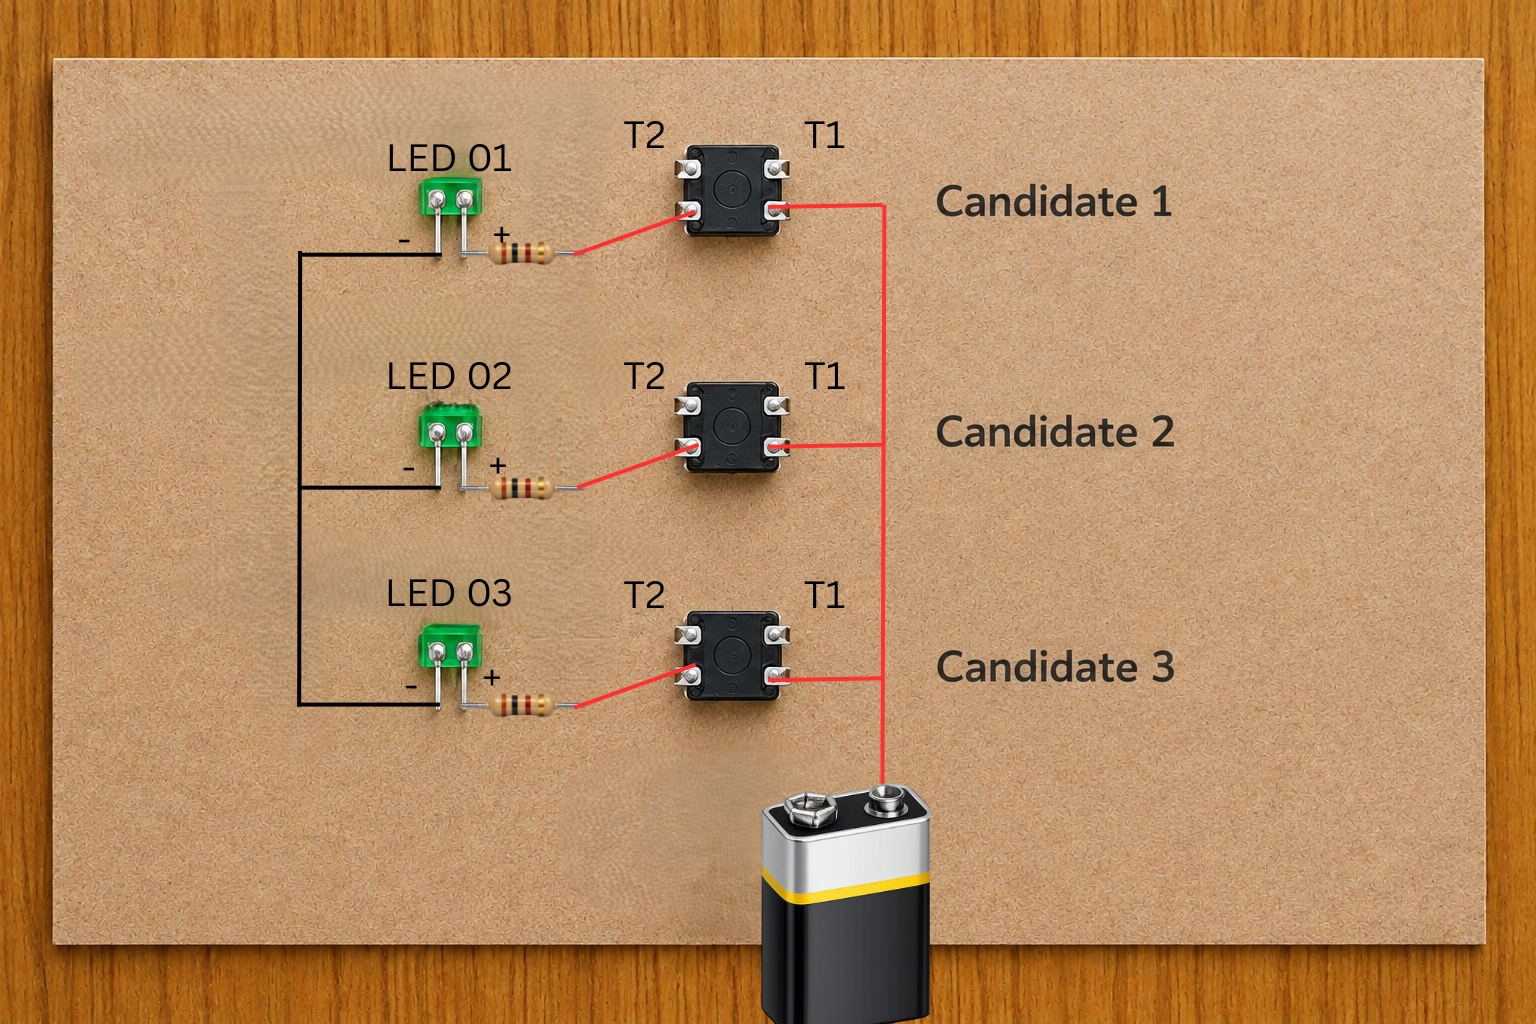
Step 6. Connect All LED Negative Terminals
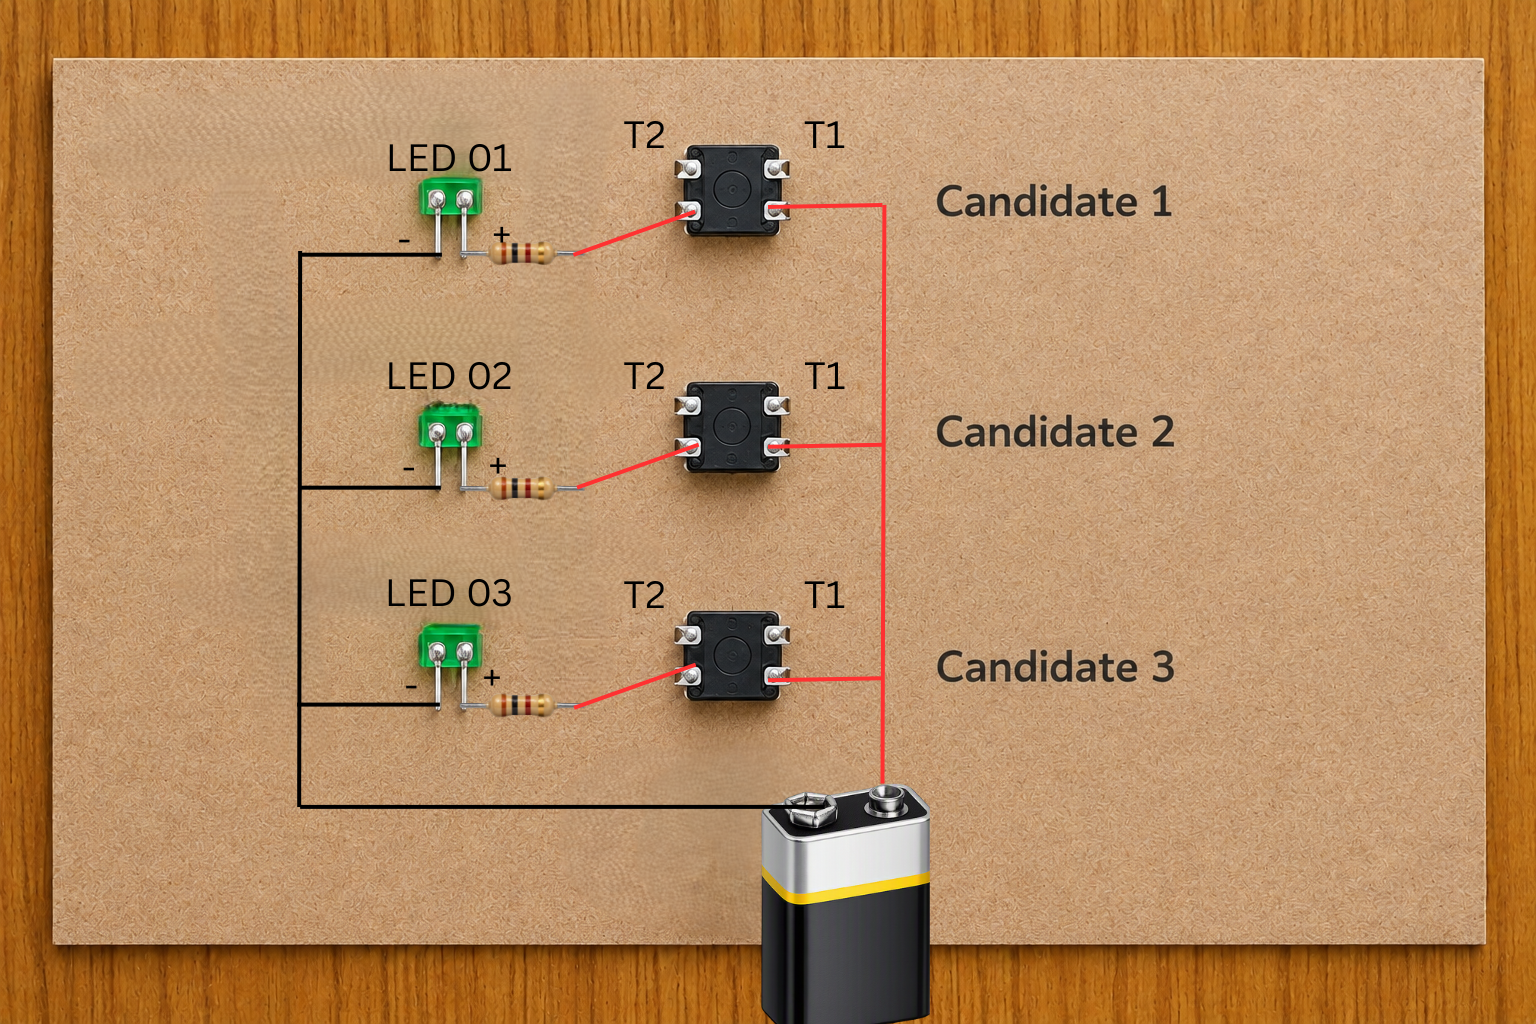
Step 7. Attach the Battery
If an LED does not glow, check:
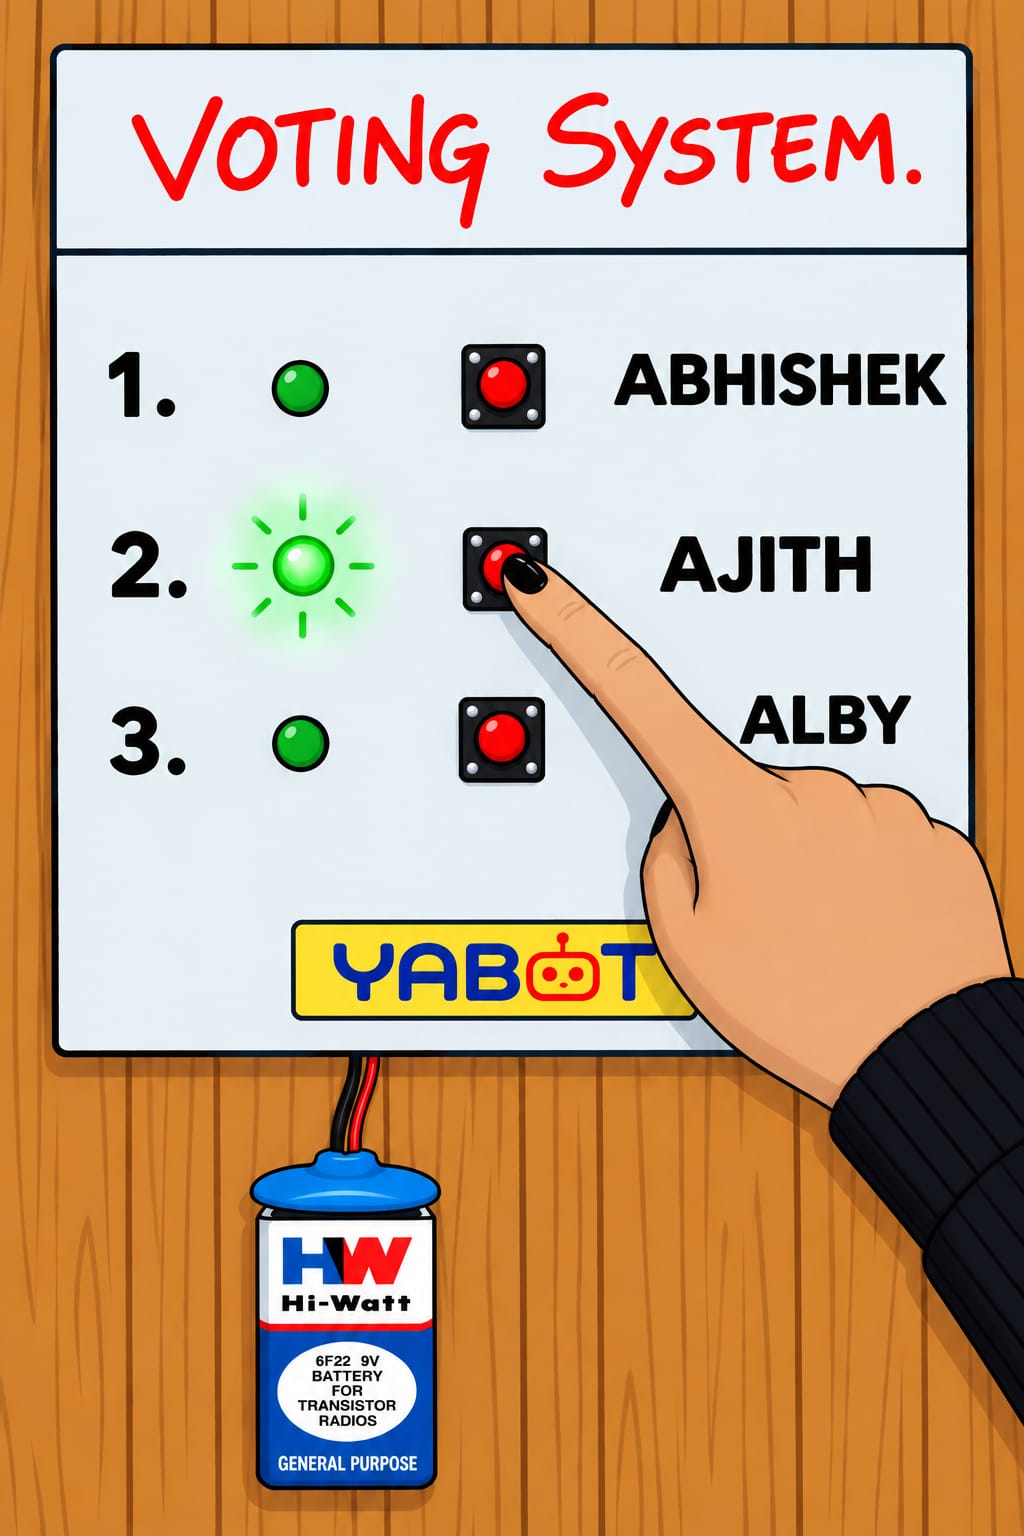
Step 8. Testing the Voting System
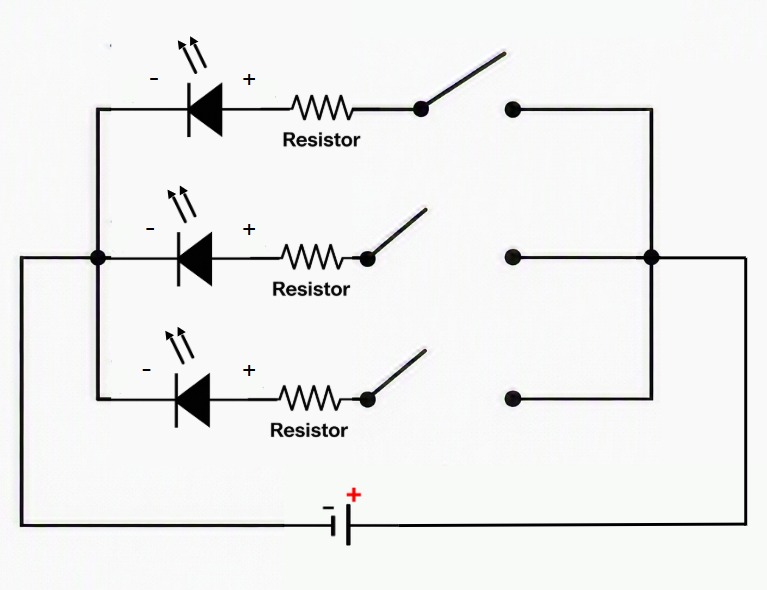
Figure 1. Circuit Diagram of the Voting System
When a pushbutton is pressed, it completes the circuit for its specific branch.
Current flows through:
Battery (+) → Pushbutton → Resistor → LED → Battery (–)
The LED glows only during pressing—indicating a vote.
This teaches:
A functional Voting System Board is created where each candidate has a dedicated button and LED. Pressing a button lights that LED, showing a “vote” has been cast. Kids can count votes by noting how many times each LED glows.
(i) LED OFF – No vote
All buttons released → No LED glowing.
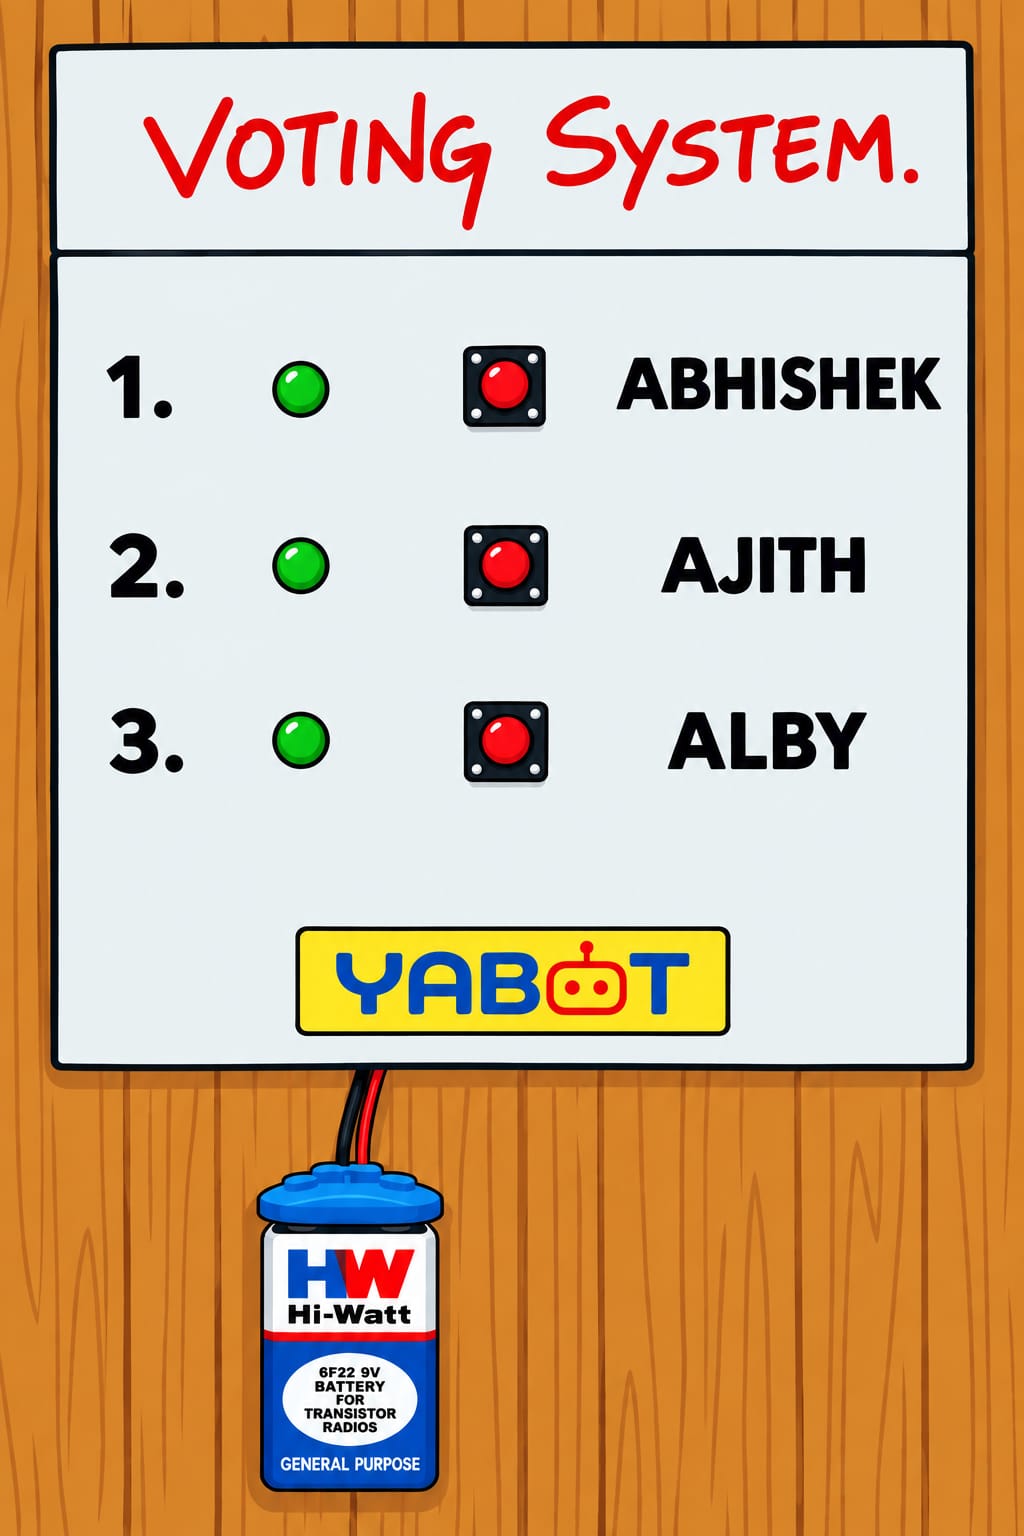
Sample Output – LED OFF / No Vote
(ii) LED ON – Vote registered
When a button is pressed → Corresponding LED lights up.
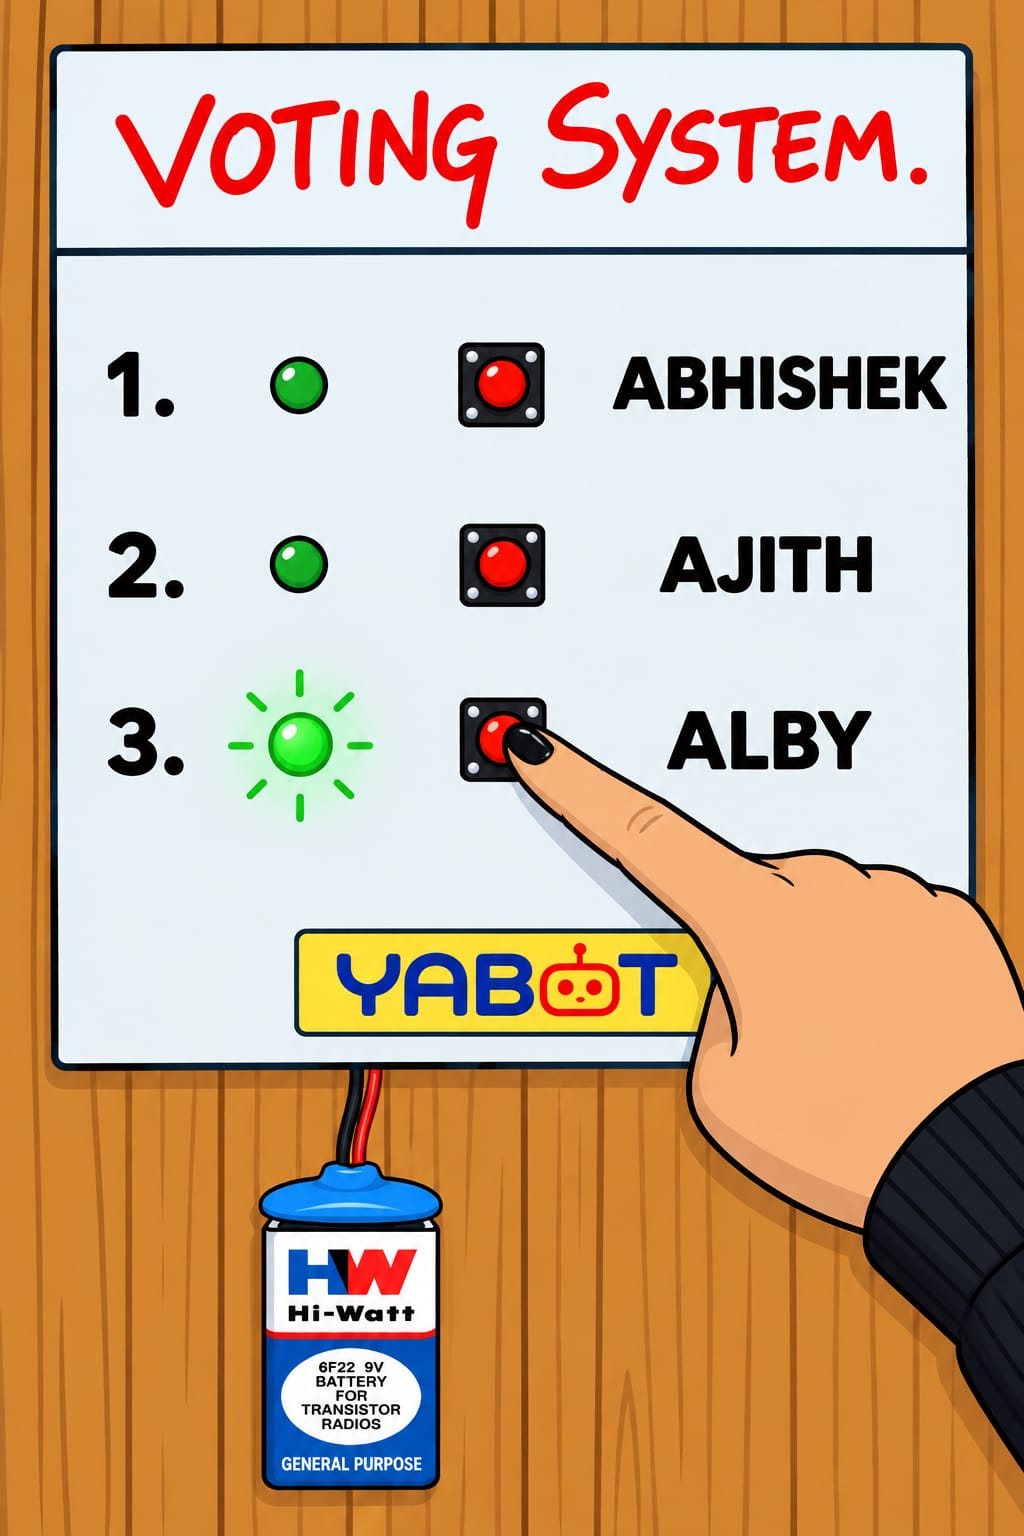
Sample Output – LED ON / Vote Registered
Watch the Maker’s Lab video to understand the Voting System project and its working.