DIY BEGINNER PROJECT NO.05 (TWINKRELLA – THE UMBRELLA THAT GLOWS!)

Twinkrella | Project Repository
PROJECT REPOSITORY

Twinkrella – The Umbrella That Glows!

Design and construct a glowing umbrella model using one LED, a resistor, and a 9V battery to understand basic electrical connections and how electrical energy is converted into light energy through a creative craft design.

Note: Please read the full instructions before making the product.

Category

DIY Electronics Project

Level

Beginner

TABLE OF CONTENTS

AIM

To design and construct a glowing umbrella model using one LED, a resistor, and a 9V battery to understand basic electrical connections and how electrical energy is converted into light energy through a creative craft design.

OBJECTIVE

This project helps students understand the basics of electrical circuits through a fun craft activity. The umbrella design uses one LED placed at the top (open-cap LED) to create a glowing umbrella effect, making the concept easy for beginners.

This activity encourages creativity while teaching circuit assembly, polarity, and safe handling of components.

MATERIALS REQUIRED

Material Quantity / Details
LED 1 – Basic method
Resistor 1 – Recommended 470Ω–1kΩ
9V Battery 1
Battery Connector 1
Insulation Tape As needed
Glue / Fevicol / Glue Gun For fixing
Straw or Stick Umbrella handle
Paper or Cardboard Umbrella canopy
Scissors / Cutter For shaping
Colours / Sketch Pens For decoration
Base / Stand Cardboard or Thermocol

CIRCUIT DESIGN CONCEPT

★ A single LED is placed at the top center of the umbrella in the open-cap position.

★ The LED anode is connected to the positive terminal of the battery through a resistor.

★ The LED cathode is connected to the negative terminal of the battery.

★ The resistor limits the current flowing through the LED and helps protect it.

This demonstrates:

  • Basic electrical connections
  • LED polarity
  • Current flow through a simple circuit
  • Electrical energy → Light energy conversion
  • Safe use of a resistor with an LED

PROCEDURE

Follow the steps below carefully to assemble the Twinkrella glowing umbrella.
STEP 1

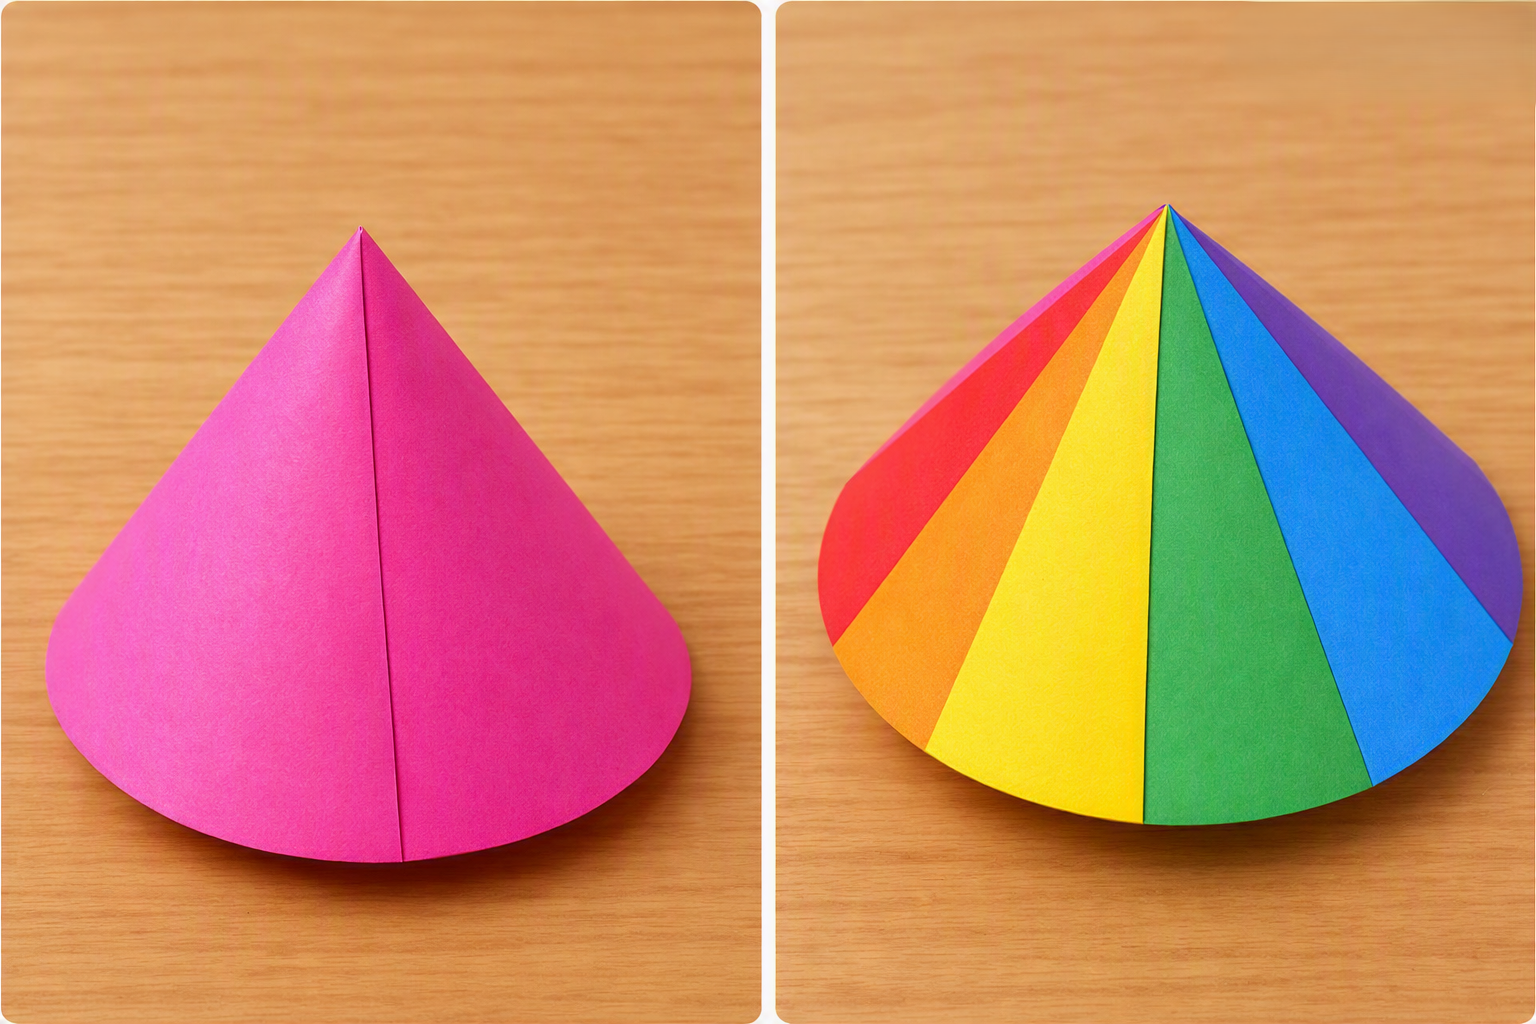
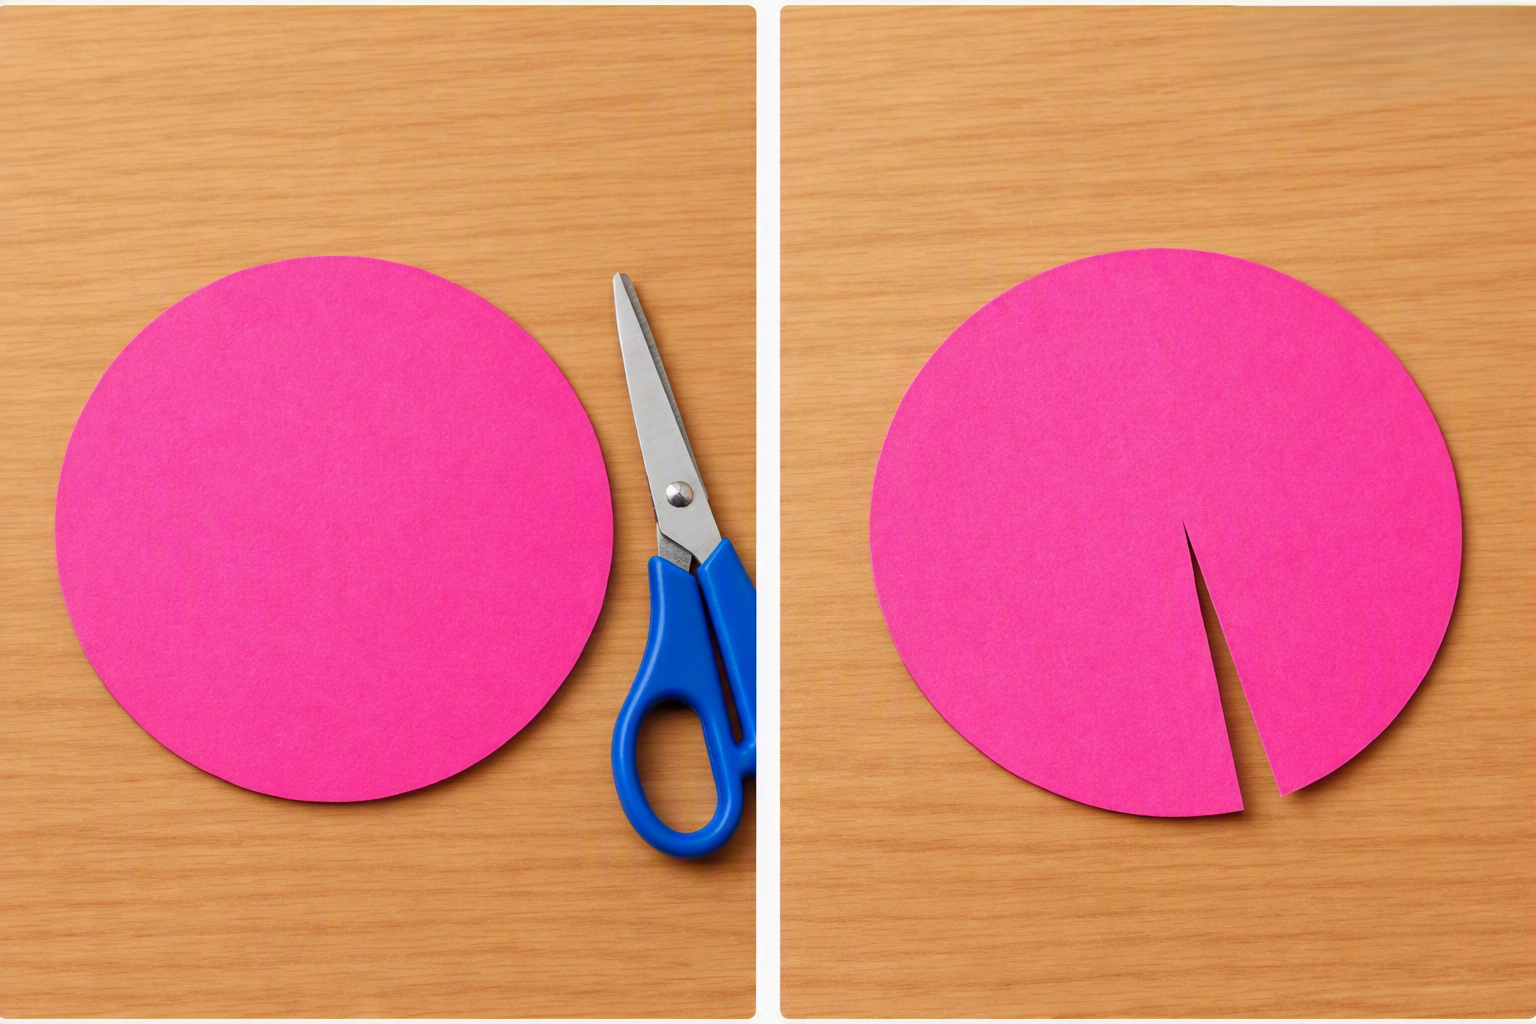
MAKE THE UMBRELLA CANOPY

  • Cut a circle approximately 10–12 cm in diameter from coloured paper.
  • Cut a slit from the edge of the circle to the center.
  • Overlap the edges slightly to form a cone.
  • Glue the overlapping edges firmly in place.

💡 TIP

  • Make the canopy multi-coloured by sticking different paper pieces.

🔄 ALTERNATIVE

  • You can use cardboard for a stronger canopy.

Step 1. Make the Umbrella Canopy

STEP 2

FIX THE HANDLE

  • Insert a straw or stick into the center bottom of the cone.
  • Glue it firmly so the umbrella stands upright.

💡 TIP

  • If the hole becomes large, reinforce it with tape before fixing.

🔄 ALTERNATIVE

  • A wooden skewer or pencil can be used instead of a straw.

Step 2. Fix the Handle

STEP 3

PREPARE THE LED

  • Identify the longer leg of the LED as the Anode (+).
  • Identify the shorter leg as the Cathode (–).
  • Insert the LED through the top of the umbrella in the open-cap area.
  • Keep the LED legs inside the umbrella for wiring.

💡 TIP

  • Do not bend the LED legs too close to the bulb. Leave some space.

🔄 ALTERNATIVE

  • If the LED hole becomes big, apply small tape around the LED base to hold it.

Step 3. Prepare the LED

STEP 4

CONNECT THE RESISTOR

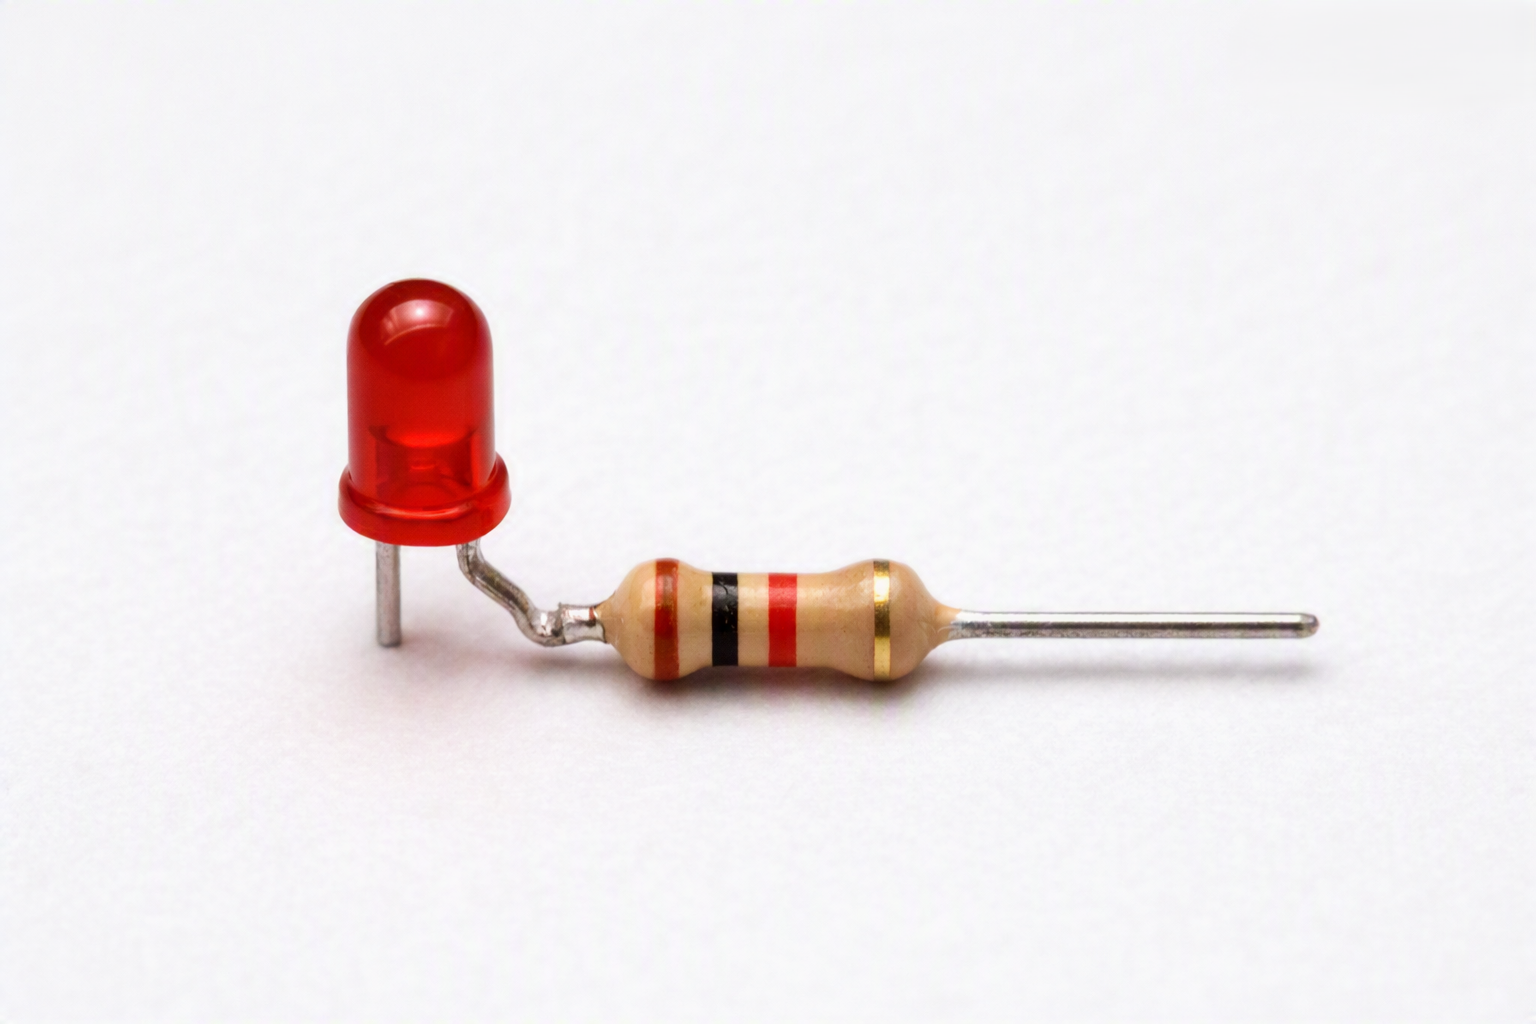
  • Connect one end of the resistor to the anode (long leg) of the LED.
  • Twist the wires tightly.
  • Tape the joint securely.

💡 TIP

  • If wires loosen, apply a drop of glue to lock them.

🔄 ALTERNATIVE

  • A resistor value between 470Ω–1kΩ works safely with a 9V battery.

Step 4. Connect the Resistor

STEP 5

CONNECT TO THE BATTERY

  • Connect the free end of the resistor to the red (+) wire of the battery connector.
  • Connect the LED cathode (short leg) to the black (–) wire of the connector.
  • Attach the connector to the 9V battery.

💡 TIP

  • Double-check the polarity. A reverse connection will not light the LED.

🔄 ALTERNATIVE

  • If a connector is not available, tape wires gently to the battery terminals.

Step 5. Connect to the Battery

STEP 6

FIX EVERYTHING ON THE BASE

  • Stand the umbrella on a cardboard or thermocol base.
  • Glue the handle securely.
  • Place the battery on the base where students can reach it easily.

💡 TIP

  • Decorate the base to match the umbrella theme.

🔄 ALTERNATIVE

  • Make a small battery pocket using cardboard to keep the battery in place.

Step 6. Fix Everything on the Base

MAKER’S LAB VIDEO

Maker’s Lab Video – Twinkrella

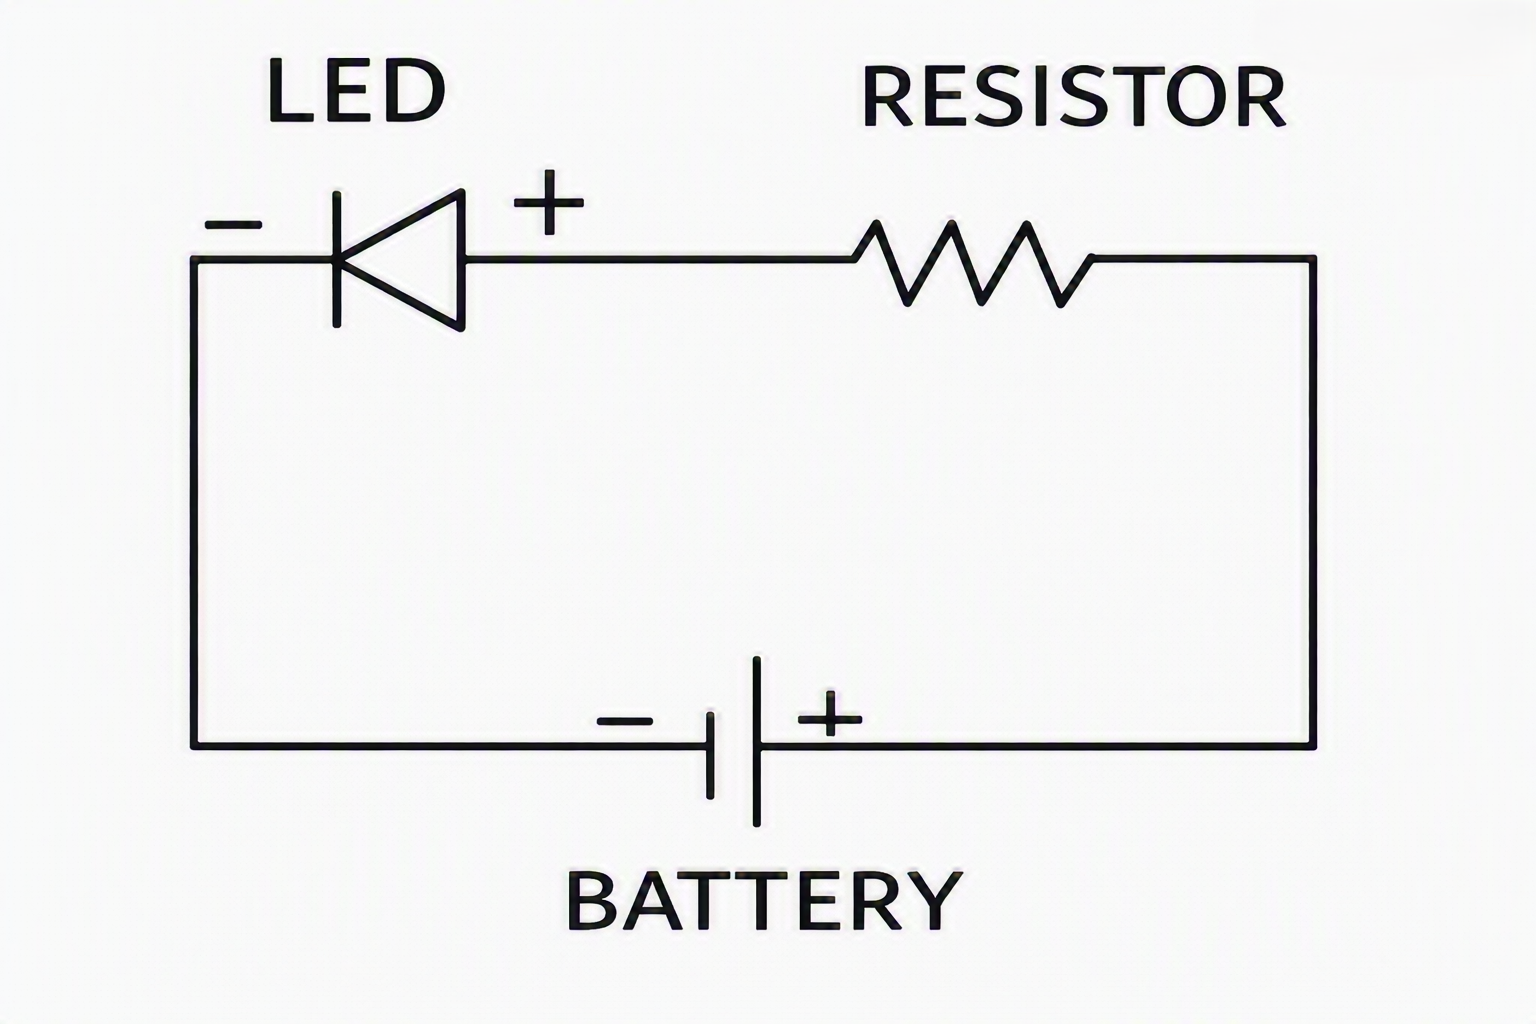
CIRCUIT DIAGRAM

Figure 1. Circuit Diagram of the Twinkrella

WORKING PRINCIPLE

When the 9V battery is connected, current flows from the battery positive terminal through the resistor, enters the LED anode, passes through the LED, which emits light, leaves via the cathode, and returns to the battery negative terminal. The resistor limits the current to protect the LED.

FINAL RESULT

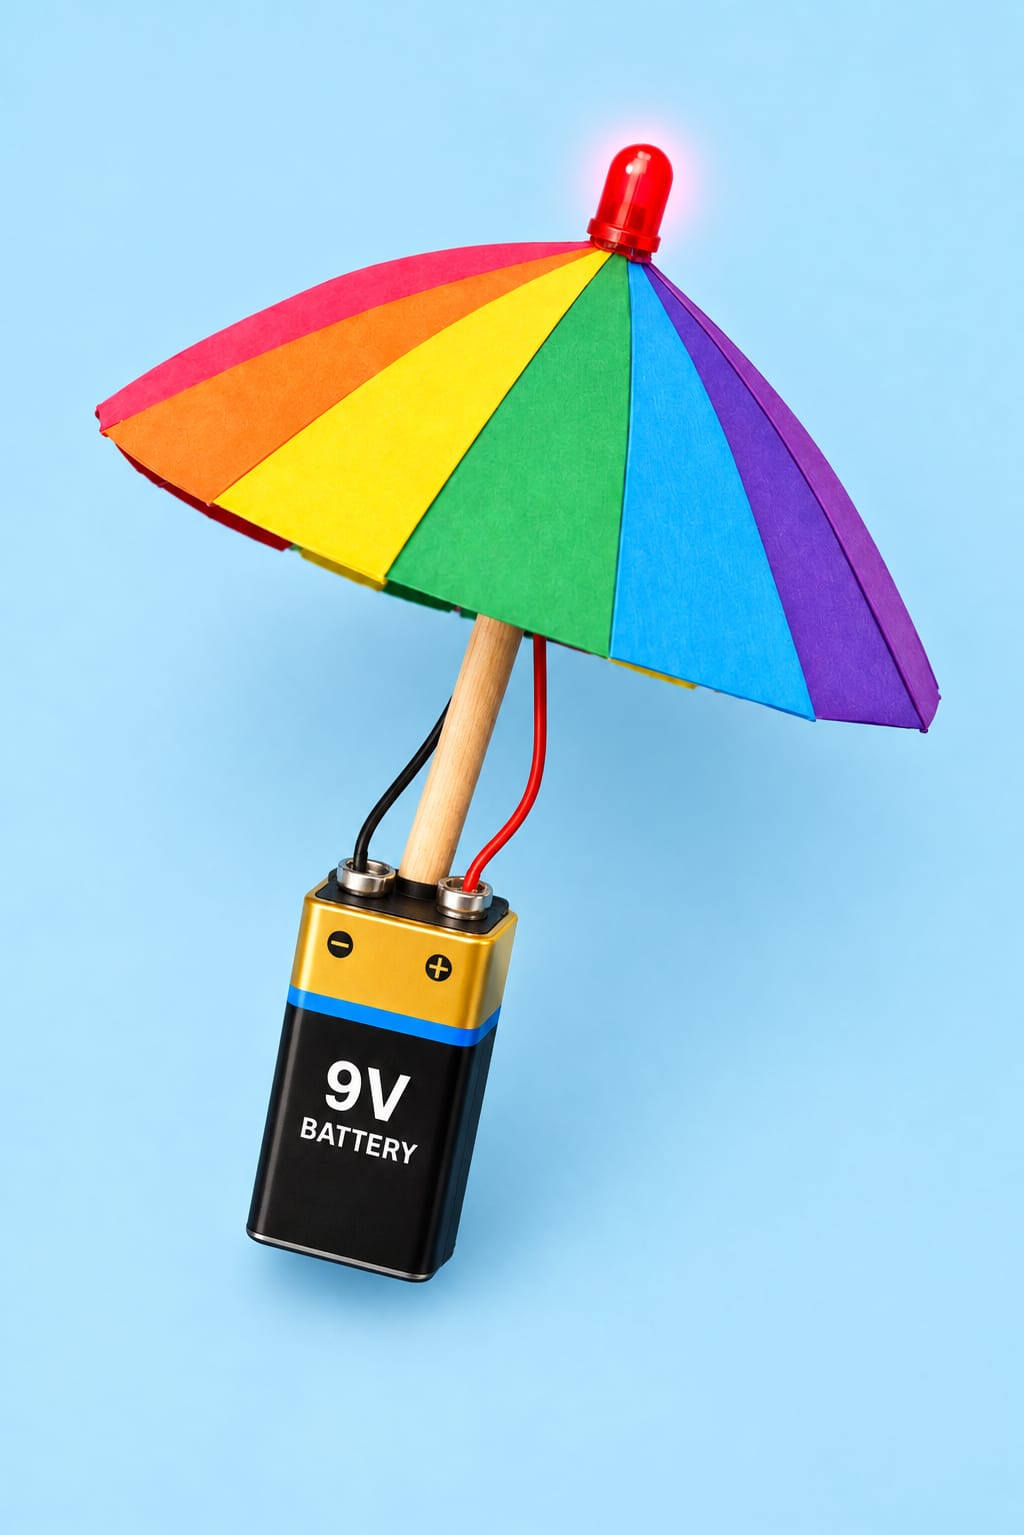
A glowing umbrella model called Twinkrella is successfully created, featuring a single LED at the top in the open-cap position. The LED glows beautifully and makes the umbrella look magical while students learn the basics of electronics.

SAMPLE OUTPUT

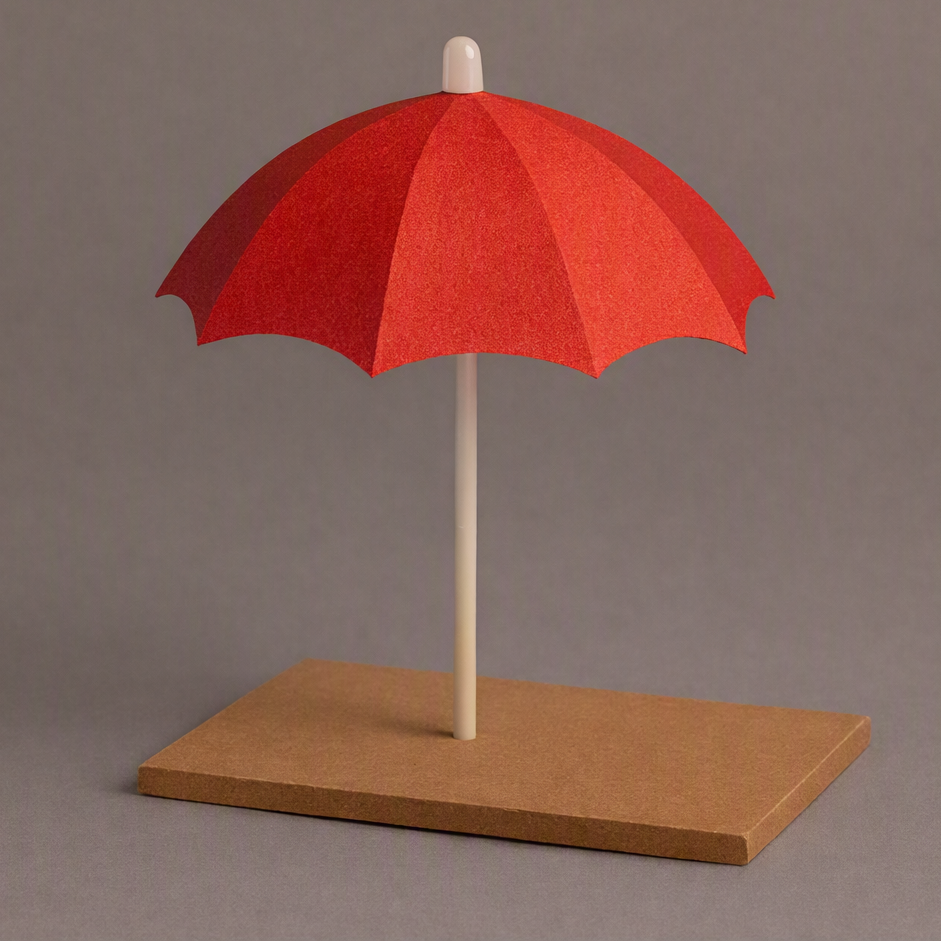
(i) LED IS OFF

Sample Output – LED OFF


(ii) LED IS ON
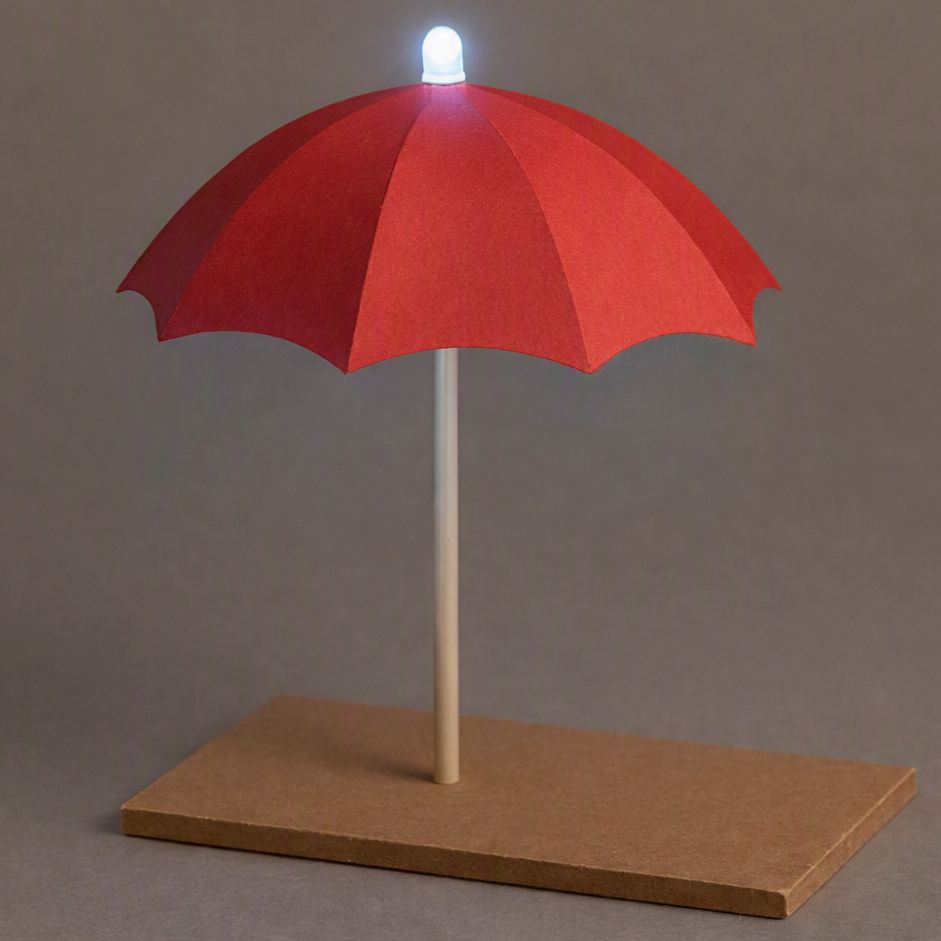
Sample Output – LED ON

ADDITIONAL NOTES

🌟 ADVANCED OPTION – MULTI-LED VERSION

For kids who want to try a more advanced model:

  • Use 2, 3, or 4 LEDs connected in series around the umbrella’s rim.
  • Place one resistor in series with the LED chain.
  • Connect both ends of the LED chain to the 9V battery.
  • This gives a brighter, decorative umbrella effect.

Leave A Comment

Your email address will not be published. Required fields are marked *